How to Make a Pinecone Topiary Tree
When you have extra pinecones lying around, what do you do with them? Today I’m sharing How to Make a Pinecone Topiary Tree!
Maybe you thought it would be too hard or you are not sure how to make one? A Topiary Tree is easy and so much fun to make!
What You’ll Need to Make Your Topiary Tree
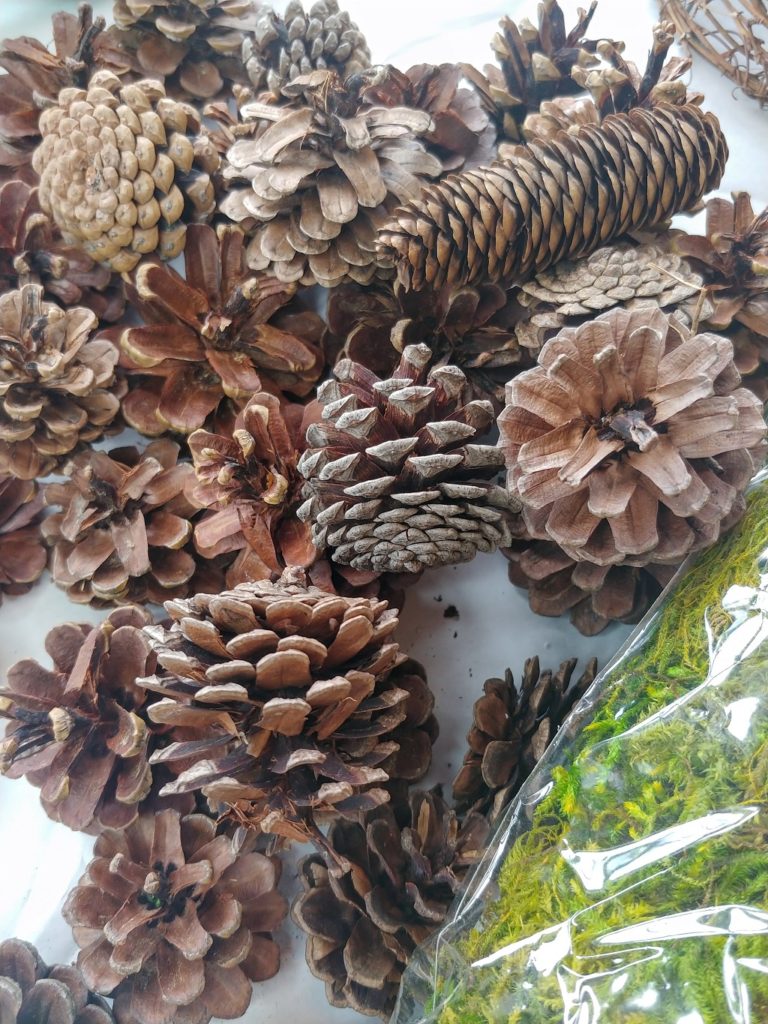
- 30 Pinecones (approximately) I chose different sizes and types
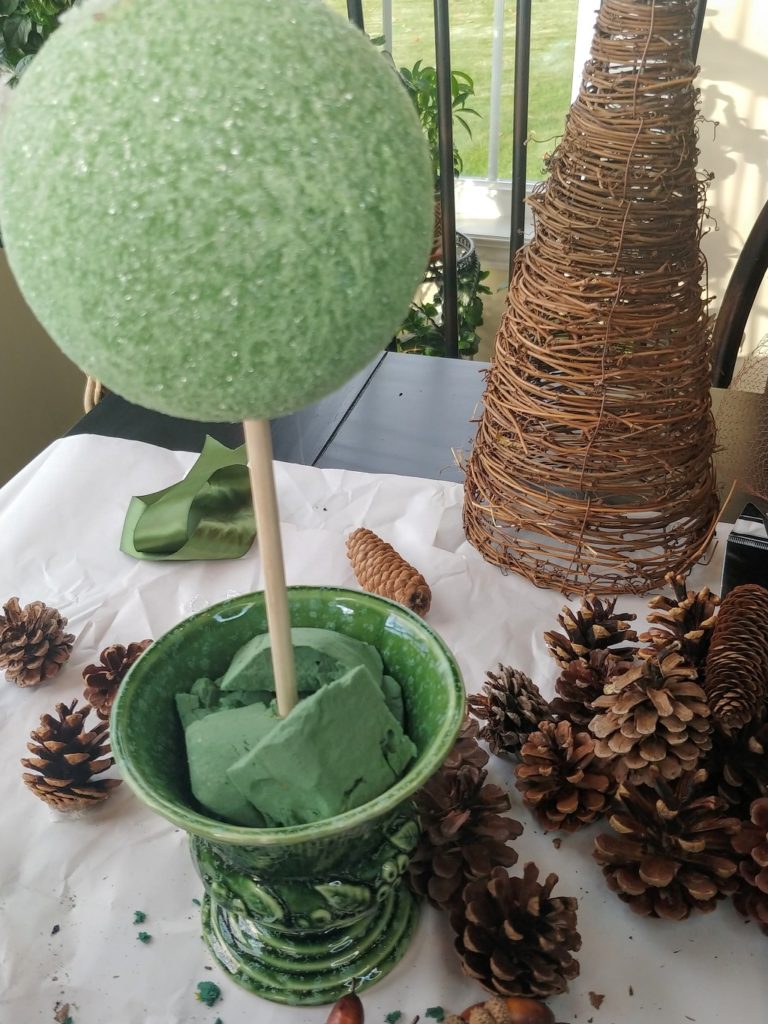
- 1 Styrofoam Ball
- 12-inch wooden dowel
- Use any container of choice ( I chose my vintage urn)
- Floral Foam -cut to fit your vessel
- Any type of tape to adhere the foam to the vessel
- 3 Springs of greenery
- a hand full of moss
- 8 – 10 Acorns (optional)
- Glue Gun/Glue sticks
- Black trash bag – cut small
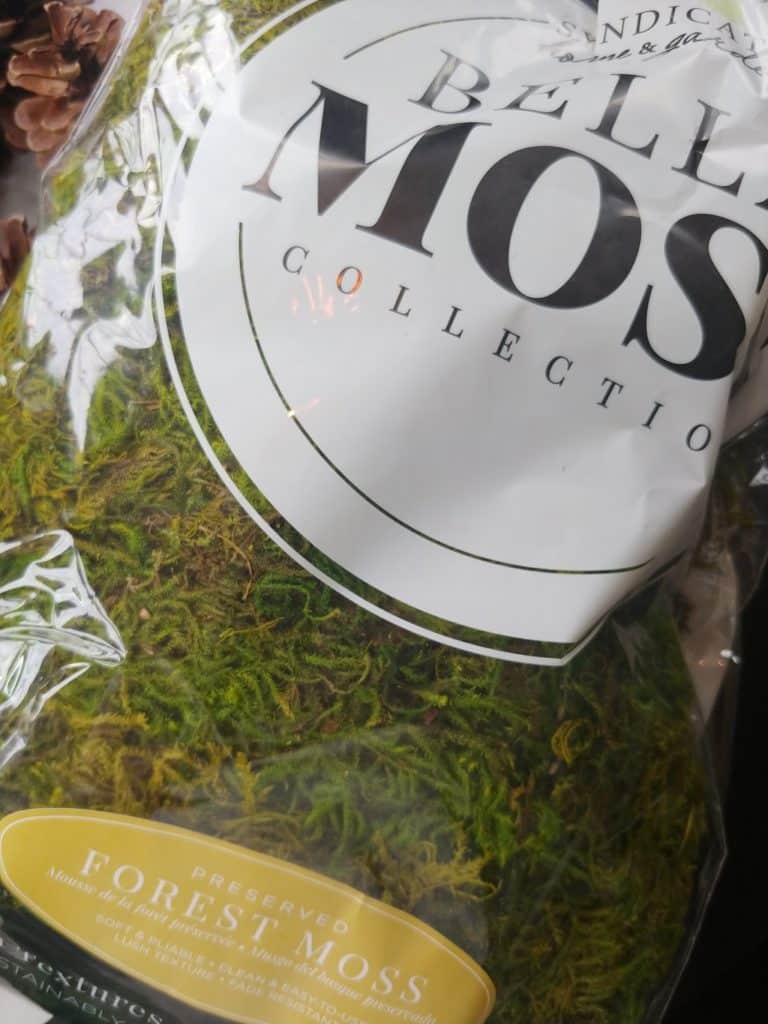
Adding forest moss will add a lovely layer of texture at the end while also being perfect for covering up the floral foam.
Where did Topiaries Orginate?
Topiaries are a popular form of garden landscaping that originated in England. The word topiary comes from Latin meaning “to make into shapes” and refers to the original intention for these sculptures. Not only did they provide beauty, but also served practical purposes, such as hiding unsightly brush or controlling erosion on hillside estates.
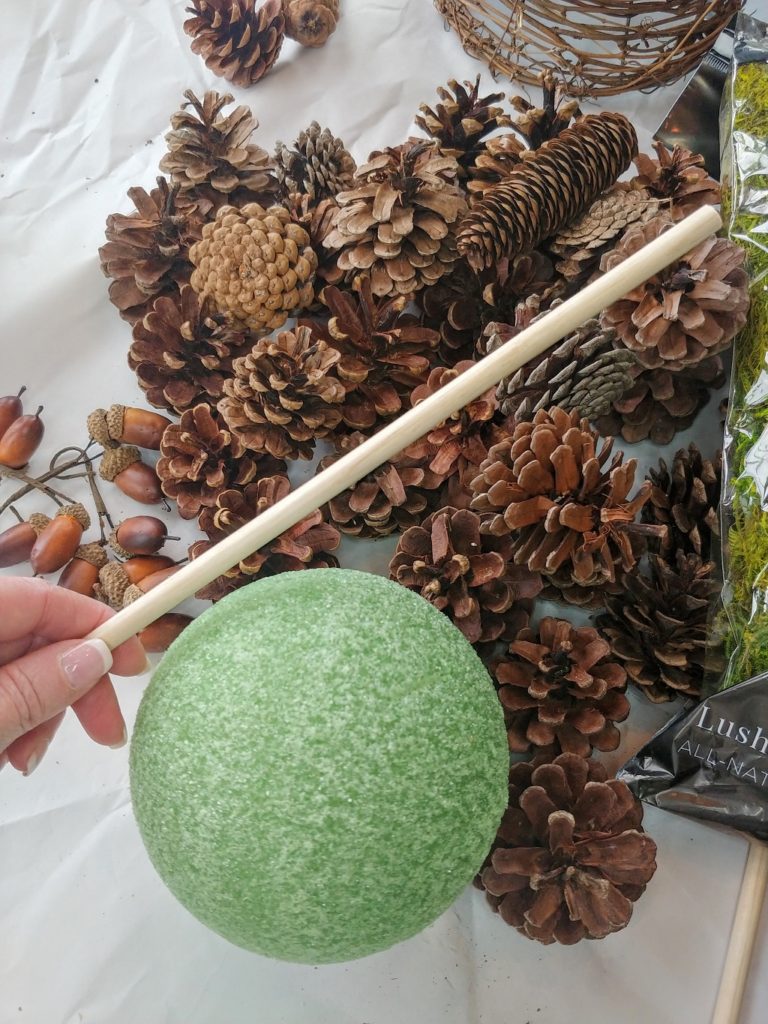
- I’ve used a 12-inch dowel, along with a 6-inch styrofoam ball.
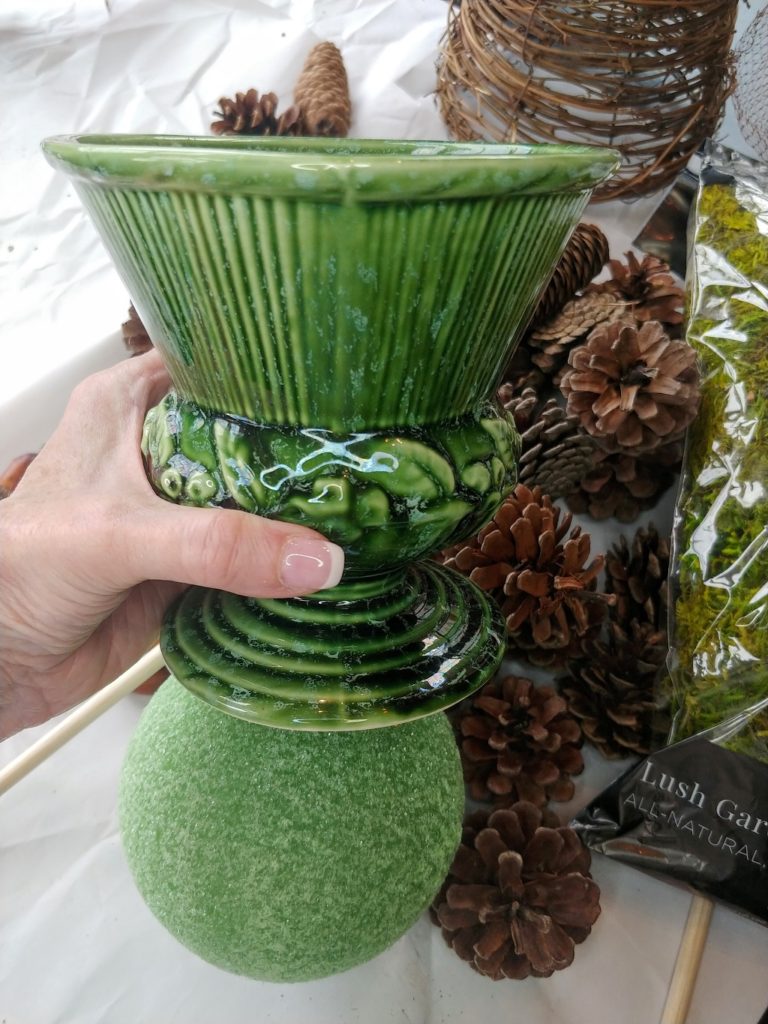
Recently, I’ve used my vintage green urn several times for flower arrangements and decorating vignettes. Finding this urn was such a bargain for only $8.00. It was hiding way in the back of a glass case. As far as I can see, it was meant to be that I found it!
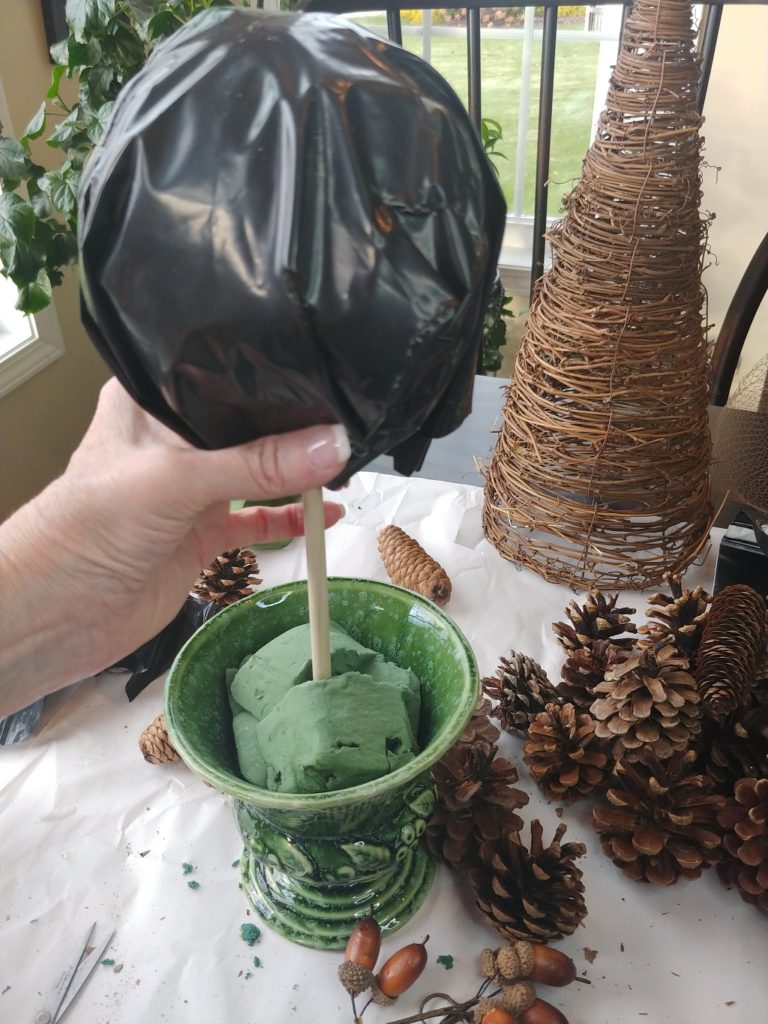
- the next step, fill your urn or vessel with floral foam to secure the topiary.
- insert the dowel into the styrofoam ball, inserting the dowel into the foam.
- Step four was a bit tricky. In order to ‘hide’ the green foam, I opted to cut a small piece of a black trash bag and glued it to the styrofoam ball. (be cautious with hot glue while attaching the bag)
Enjoying This Post? Sign Up for my Weekly Newsletter
We’re almost to the end. The next step was to adhere the foam, the dowel, and the styrofoam ball to the green urn.
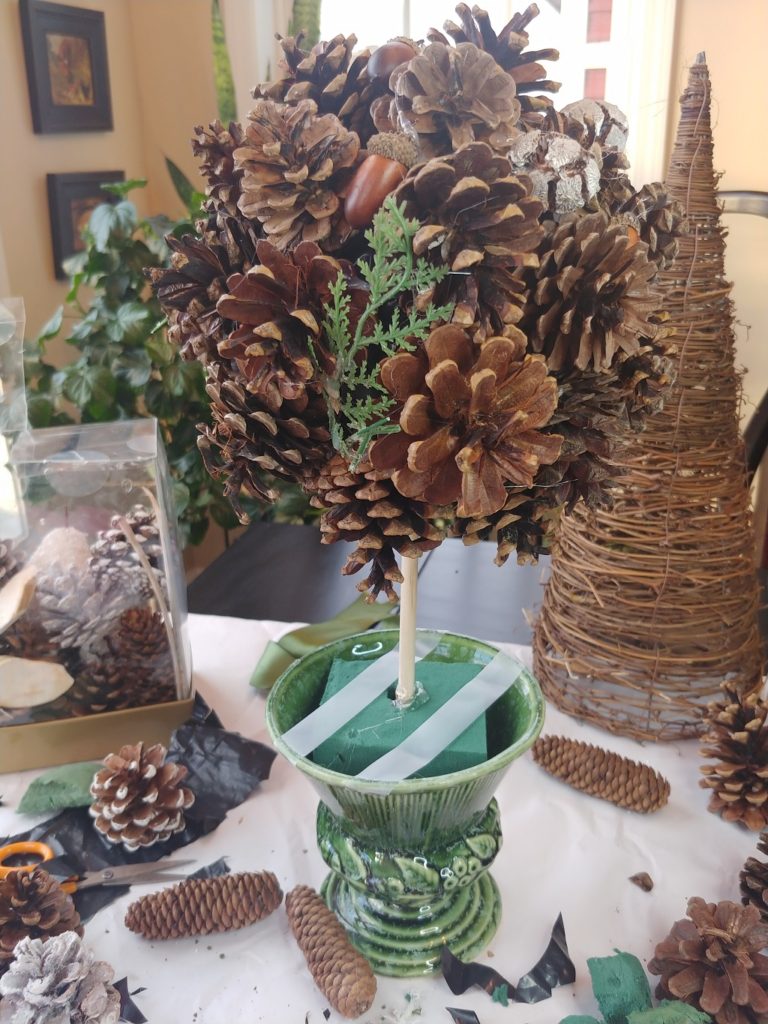
- Use regular scotch tape to secure to the side of the urn. Another option would be to use green floral tape.

- Lastly, after you have the ball secure, it’s time to start gluing the pinecones.
It’s fun to use different shapes and sizes to create a unique look.
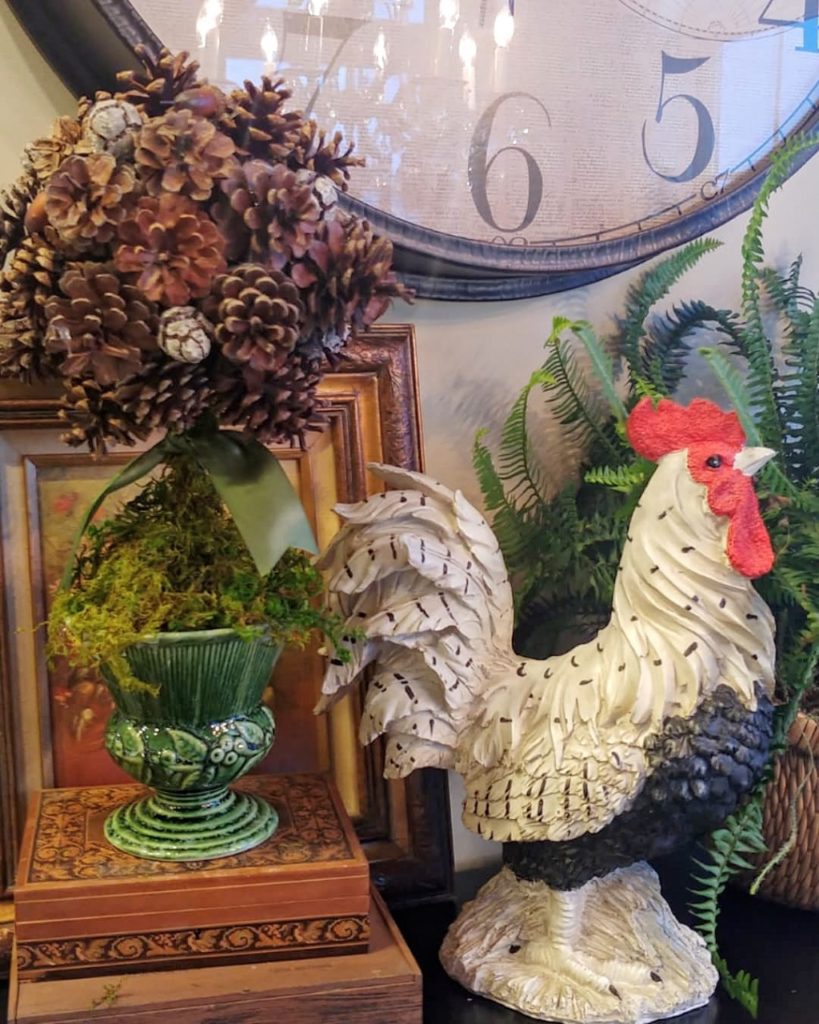
When that step is complete, simply add your moss to the base for a finished look.
That is it!
You’ll be styling your Pinecone Topiary Tree in your home in no time!
In early Autumn, I made this topiary with roses. Click here.
Then I did this with my pumpkins!
Have you checked out my other social channels? Follow along so you don’t miss out on any of my tips, recipes, or stories! ( you know I love a good story 😉 Join me on my other social channels for more! Pinterest, Instagram, and Facebook.
I hope you enjoyed learning How to Make a Pinecone Topiary Tree.
Maybe next, I’ll think about making a pinecone Christmas tree! Wouldn’t that be great!
There are so many ways to style and create with pinecones!
Happy crafting friends!
![]()
- All Post
- Blog
- DIY
- Entertaining
- Garden
- Home Decor
- Recipes
- Seasonal
- Shop My Home
- Back
- Breakfast
- Salads
- Side Dishes
- Appetizers
- Main Dishes
- Beverages
- Desserts
- Soups
- Back
- Breakfast Room
- Living Room
- Kitchen
- Dining Room
- Main Bedroom
- Guest Room
- Porch
- Back
- Tablestyling
- Centerpieces
- Back
- Christmas
- Spring
- Summer
- Fall
- Thanksgiving
- Patriotic
- Easter
- Valentine’s Day
- Back
- Organizing
- Easy Crafts
- Home Improvement
- Back
- Living Room
- Porch

7 Easy Plant Care Tips for Your Indoor Plants
Do you have trouble keeping plants alive? Follow these simple plant care tips to keep your indoor plants healthy and…
How to Make Spinach Ricotta Ravioli
How to Make Spinach and Ricotta Ravioli – A step-by-step guide on how to make delicious spinach and ricotta ravioli…
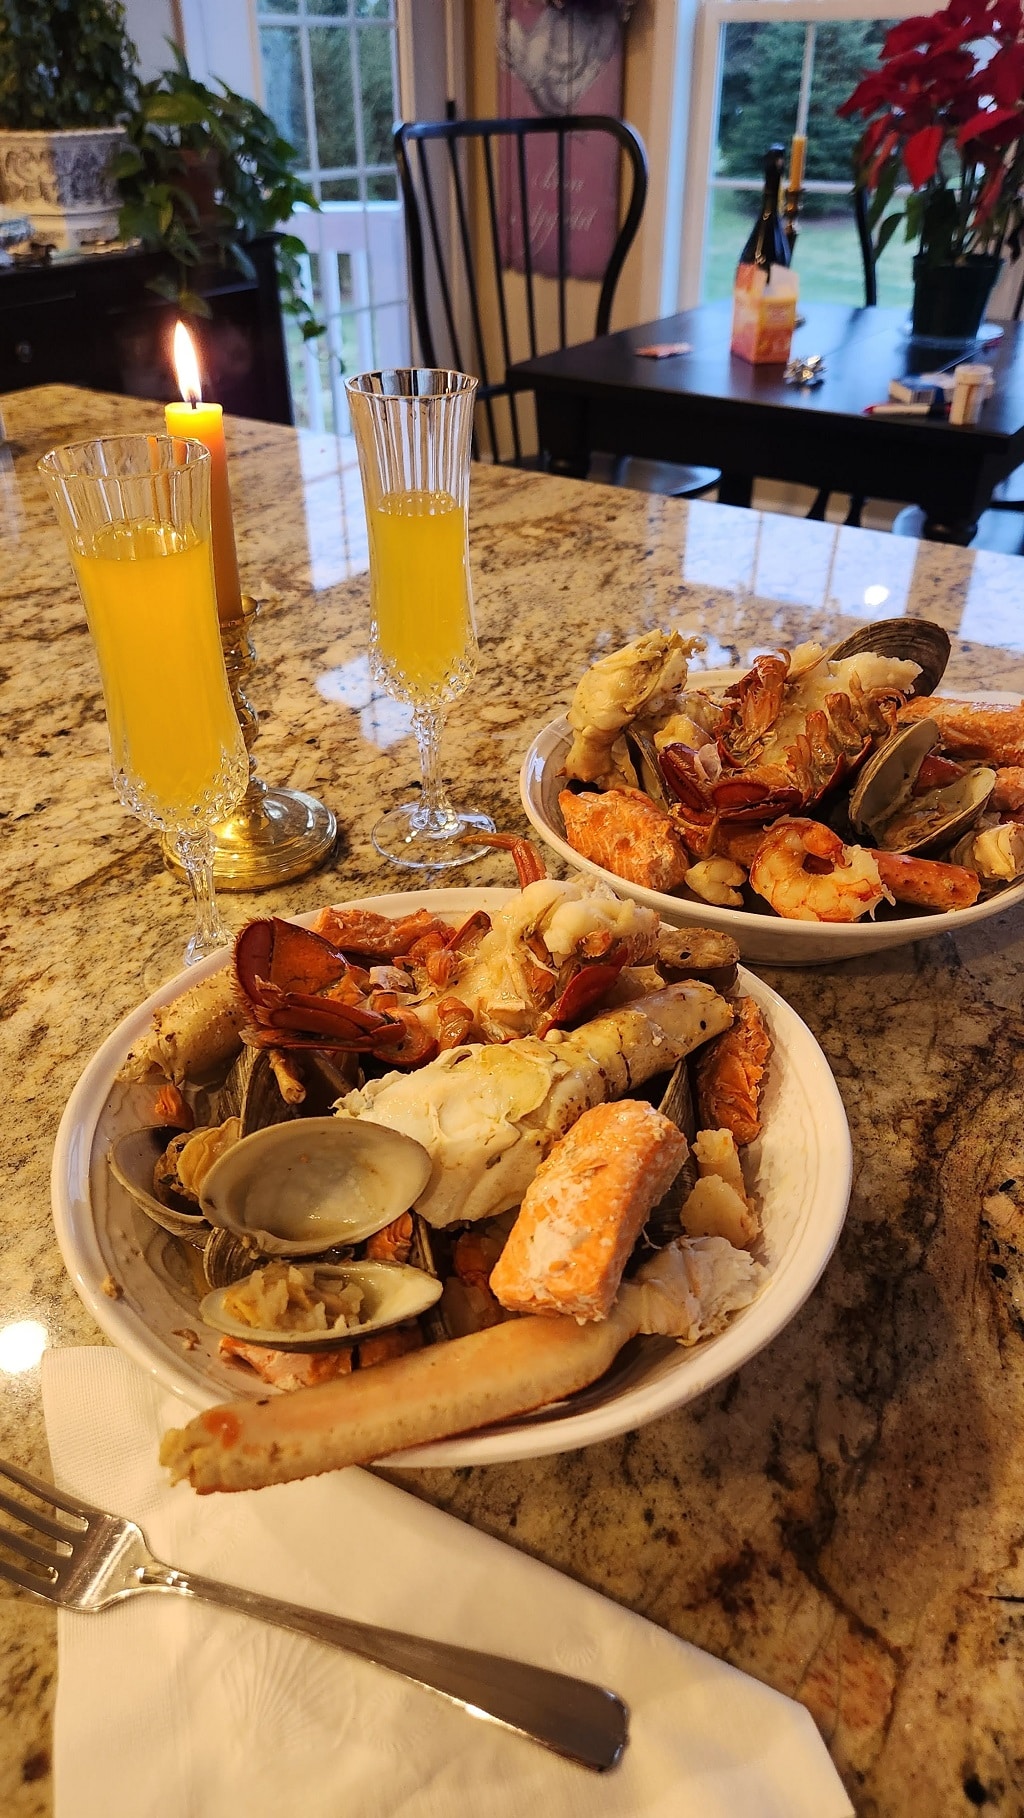
How to Make an Easy Seafood Boil
How to Make an Easy Seafood Boil! This easy seafood boil is great for a party or a weeknight meal.…
Around the Roost – Why I Love Adding to My Dish Collections
I Love Adding To My Vintage Dish Collections And Just Recently Started Adding Blue Dishes Around Our Home. Plus I…
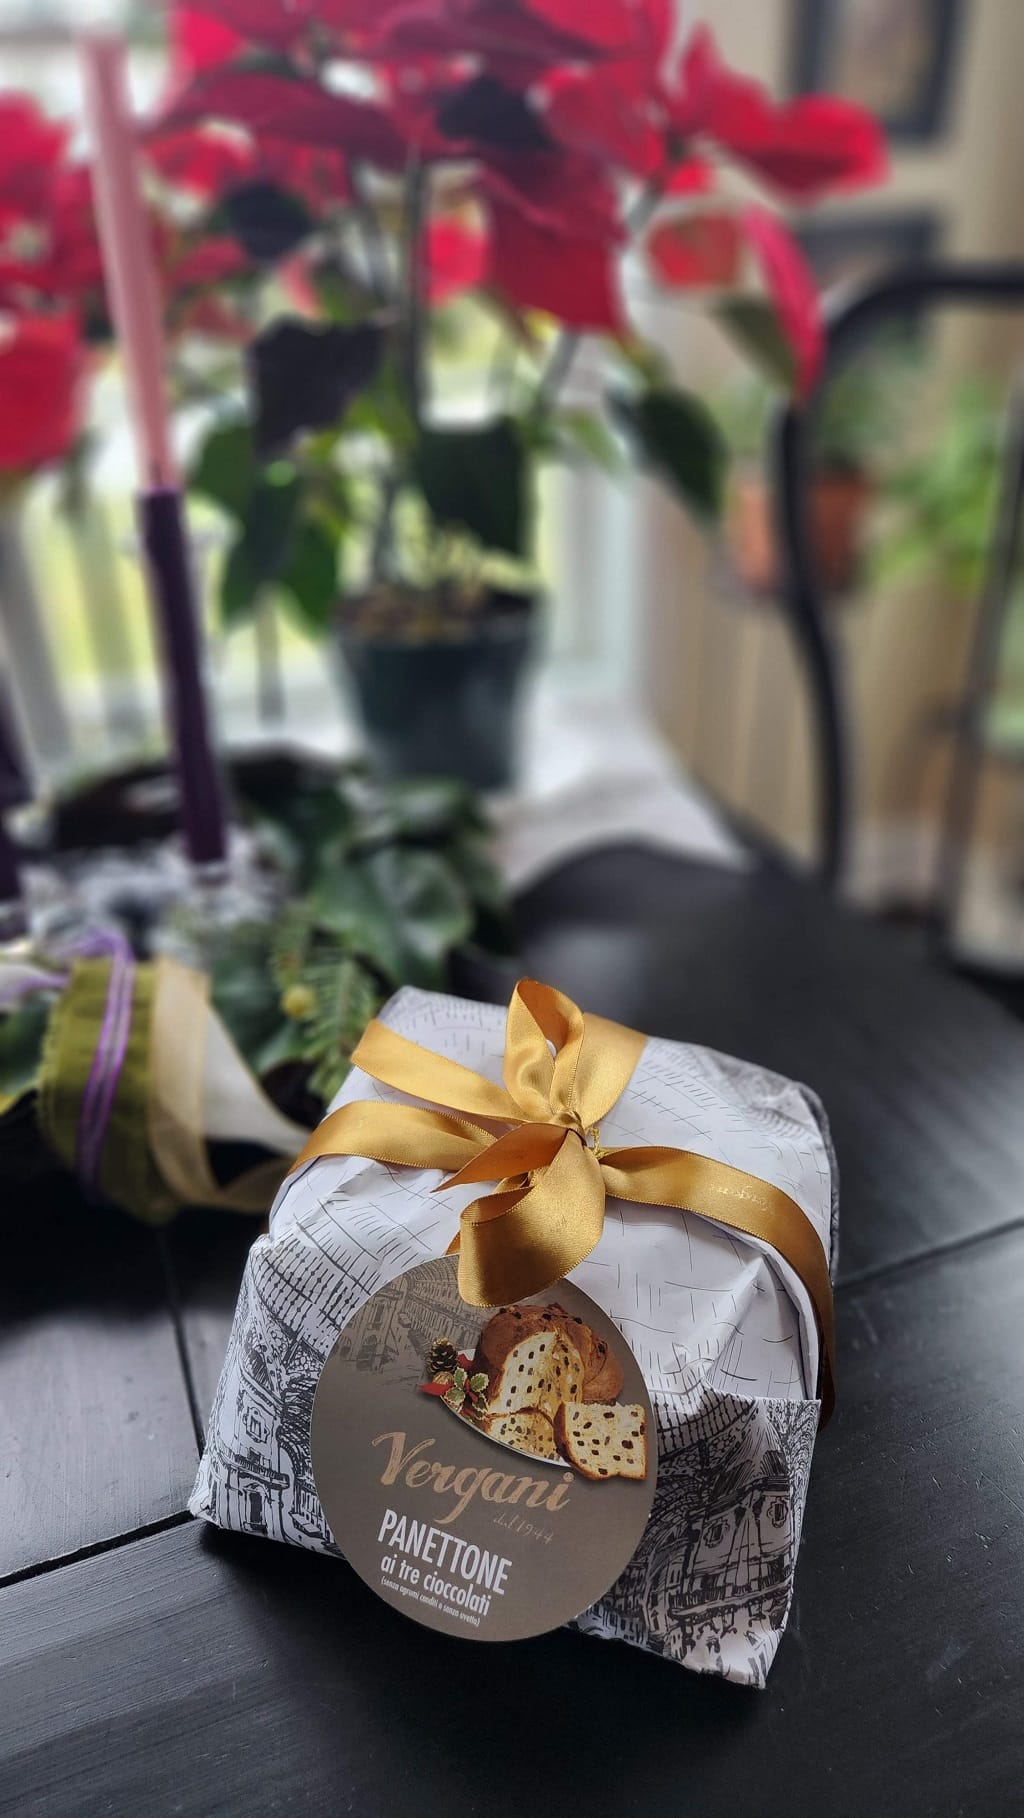
My Mom’s Christmas Panettone Tradition
How my mom’s Christmas panettone tradition made her famous in the family and how we carry the custom on every…
My Festive Christmas Dinner Menu & Recipes
Get in the holiday spirit with my festive Christmas dinner menu! From appetizers to dessert, I’ve got you covered.

12 Ideas To Style A Dough Bowl Throughout The Year
Find inspiration with 12 Ideas To Style A Dough Bowl Throughout The Year. Use these ideas to create fun displays…
How to Layer Your Christmas Tree Decorations
Learn how to layer your Christmas tree decorations for a fuller, more textured look. This easy guide will show you…

The Best Ricotta Vanilla Challah Bread Pudding Recipe
Love bread pudding? This recipe for ricotta vanilla challah bread pudding is going to knock your socks off, plus it’s…
End of Content.

I absolutely love this project. It is right up my alley. I will be making one. Hugs to you.
Susan, I love how this topiary turned out. It is lovely! I will need to make one.