How to Make a Dried Hydrangea Wreath
One of the fun things I like to do this time of year is to head outdoors to clip my hydrangea plant and make a beautiful wreath. Today I’m sharing how to make a dried hydrangea wreath in six easy steps.
Each year I have an abundance of Hydrangea blossoms that are perfect for this easy DIY project. All you need is a grapevine wreath and some floral wire. It’s so easy your dried flowers will look amazing in no time at all.
We are lucky enough to have two limelight hydrangeas in our front yard. One bush can easily make an entire wreath.
I’ve been thinking of adding a row of different variations of hydrangeas alongside our house. I still have not decided on that idea.
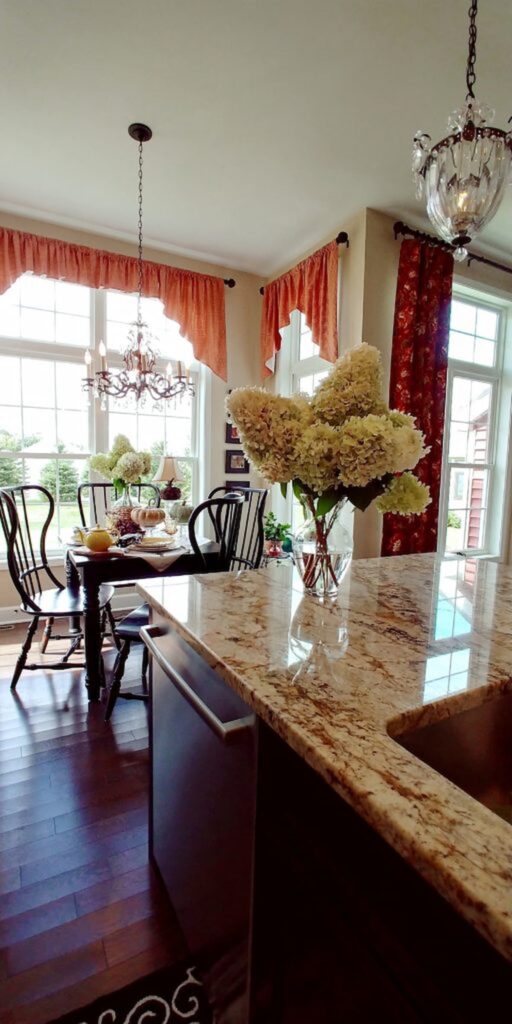
Last year I dried hydrangeas and put them in each room of our home. The large hydrangea head flowers make gorgeous centerpieces. There is always something so special about fresh flowers in a home.

How to Dry Hydrangeas?
There are two main methods for drying fresh hydrangeas: air drying and vase drying.
Air Drying
Air drying is the most common method. To air dry hydrangeas, cut the stems on a slight angle about 6 inches long and strip off the leaves. Hanging the stems upside down in a cool, dark spot in your home that has good air circulating is an easy way to dry the beautiful blooms. The drying time will vary and typically take about two weeks time.
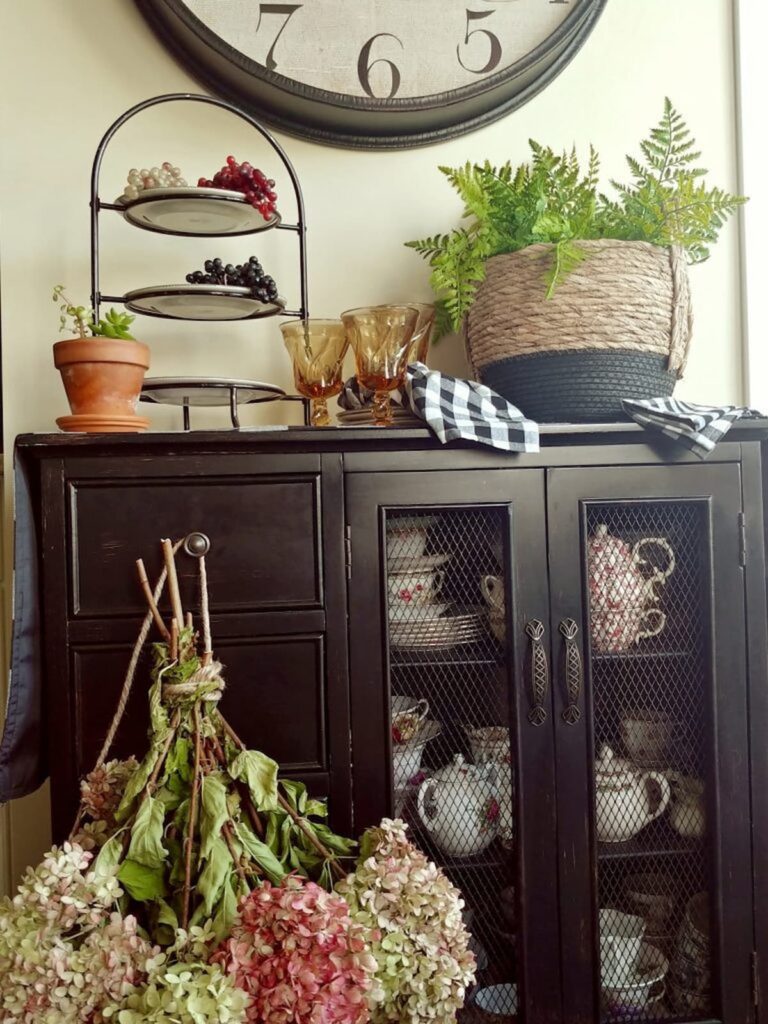
When it came time to dry my stems I did not use them in a vase, I found some jute and hung my Hydrangeas right in my kitchen until they were dried. All I needed to do once they dried was to remove the leaves from the branches and cut them to the appropriate size.
I enjoyed seeing them hanging in my kitchen while they were drying.
Vase Drying
Vase drying is a faster method, but it can also be more difficult. To vase dry hydrangeas, fill mason jars or a vase of water, with about 2 inches of water and add the flowers.
Make sure that the water does not touch the leaves. Place the vase in a cool, dark place and change the water every few days. The flowers should be dry in about one week.
The beautiful color of the hydrangeas will change with limelight blossoms from snow white to a pretty pale pink or burgundy color over time.
Here are some tips for drying hydrangeas:
- Choose hydrangeas that are in their prime. Late summer is the best time. The blooms should be fully open and not starting to wilt.
- Cut the stems on a cool, dry day.
- Strip off the leaves as much as possible. Leaves will slow down the drying process and can also make the flowers look messy.
- Place the flowers in a cool, dark place with good air circulation. Avoid placing them in direct sunlight, as this can fade the colors.
- Check the flowers periodically and make sure that they are not getting too dry. If they are, add a little more water to the vase.
Once dried it’s time to make your dried floral wreath.
How to Make a Hydrangea Wreath?
To make a DIY wreath you will need the following materials:
- A grapevine wreath form (or another wreath option)
- Dried hydrangeas
- Floral wire (available at any craft store)
- Scissors or wire cutters
- A glue gun (optional)
- Ribbon or bow (optional)
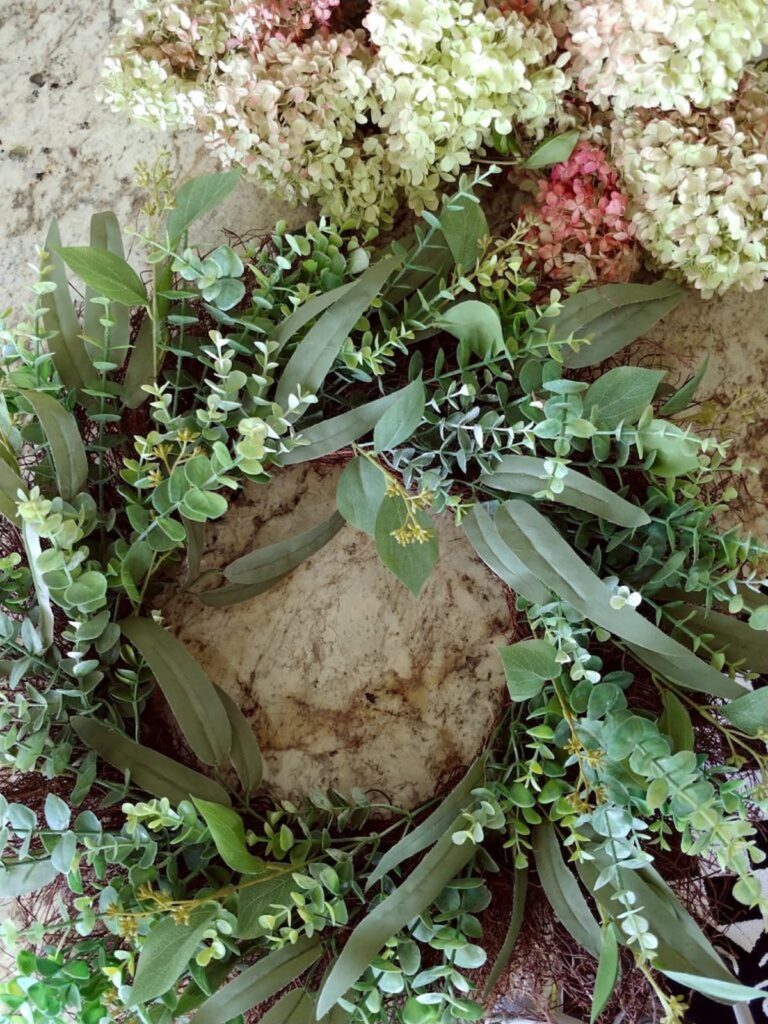
Rather than buy a new grapevine wreath, I opted to shop in my basement and found this wreath with greenery on it. I removed some of the greenery and added the hydrangea blossoms to the top of it.
Follow these simple steps and Instructions:
- Cut the stems of the hydrangeas so that they are about 4 inches long.
- Bunch the hydrangeas together and wrap the floral wire around the stems several times to secure them.
- Attach the bunches of hydrangeas to the grapevine wreath form or wreath base, starting at the bottom and working your way up. You can use floral wire or a hot glue gun to attach the hydrangeas.
- The next step is to fill in any gaps with additional hydrangeas.
- Once you are happy with the way the wreath looks, trim the stems on the back of the wreath so that they are even.
- Add a piece of ribbon or a pretty bow ( a pink rose-colored satin ribbon would look so pretty)
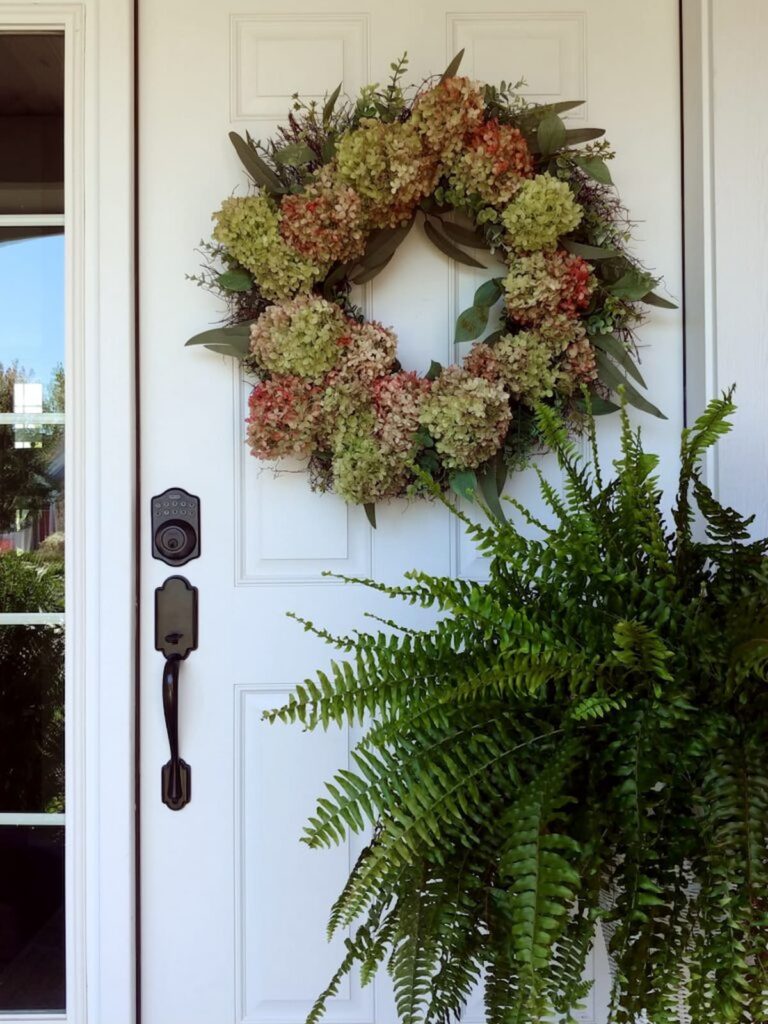
Your completed wreath is now complete! You can hang it on your front door, mantel, or anywhere else you like.
Here are some additional tips for making a hydrangea wreath:
- Use a variety of hydrangeas in different colors and sizes to create a more interesting wreath.
- Add other elements to the wreath, such as berries, pinecones, or ribbon, to make it more festive.
- If you are using a glue gun, be careful not to burn the hydrangeas or your fingers.
My Favorite Crafting Tools

My Hydrangea Wreath is all done and it took me only about 30 minutes from the time I started gluing until I hung it on my door.
I hope you enjoyed this late summer and the easy tutorial. It’s a great way to use a favorite flower.
FAQ
How do I care for a dried hydrangea wreath to ensure its longevity? To ensure the longevity of your dried hydrangea wreath:
- Display it indoors or in a covered outdoor area to avoid direct sunlight and harsh weather.
- Avoid touching the dried blooms frequently, as they can be fragile and prone to shedding.
- Gently dust the wreath occasionally with a soft brush or compressed air to keep it clean.
- If you notice any loose or shedding blooms, you can secure them with a touch of hot glue.
- If desired, apply a light coat of spray sealant to the hydrangeas to protect the colors and minimize shedding.
- Enjoy your wreath for years to come as a beautiful and natural decoration.

WELCOME
Hi, I’m Susan: A little bit about me
Designing Dreams with Tinker Bell Sparkle: Hello there, If you’re new here, I’m delighted to meet you! If you’ve been around for a while, thank you! I love seeing you here.
Hen and Horse Design is my canvas of creativity. My journey from ballet to design has been a graceful evolution.
Home, Garden, and Neverland: From pirouettes on stage to crafting designs with the same finesse, I bring a touch of Tinker Bell’s sparkle to everything I create.
I believe that home should be a place where you can relax, recharge, and be inspired. That’s why I focus on creating designs that are both stylish and comfortable. I also love to incorporate vintage elements into my home, because I believe they bring a sense of the past and interest to any space.
From Ballet Slippers to Sofas and Pillows: I’ve traded in my slippers for sofas and pillows. Whether you’re looking for a new sofa, a fresh coat of paint, or a complete home makeover, I’m here to help you create a space that reflects your unique style and personality.
I’m also a big fan of cooking and gardening, so I love to incorporate those elements into my designs as well. I believe that a well-designed home should be a place where you can enjoy all the things you love, from spending time with family and friends to cooking delicious meals to relaxing in your garden.
Join me as I pirouette through the world of home décor, cooking, and gardening,
I’m excited to share my designs with you and help you create a home that you love. Read more here.
Susan
-
Rambling From The Roost: Volume 24
The little garden that thinks it’s big, a barn update, and a porch that’s finally coming together. Hi there, friend— pull up a chair, because I have things to tell you. The kind of things best shared over something cold and something good, because summer is doing her very best right now, and I am…
-
21 Simple Spring Home Tips and Decorating Ideas
There is something about the change of seasons that makes me want to throw open every window, pull back every curtain, and breathe in all that fresh air. Spring is a time of renewal — a fresh start after the cold winter months — and honestly, it is one of my favorite times of year…
-
Trader Joe’s Flowers What to Buy: Best Spring Guide
There is something that happens to me every single week without fail. I walk into Trader Joe’s with my list — olive oil, lemons, seafood blend — and without even meaning to my cart takes a hard left turn straight into the flower section. Every time. I cannot be stopped. If you’ve never lingered in…
-
Charcuterie Board Serving Size: The Perfect Guide
Long before anyone called it a charcuterie board, my family was making them. A platter of meats, cheeses, crackers, whatever looked good — it just appeared at every gathering without anyone thinking twice about it. We didn’t have a name for it. We just knew it disappeared fast. 😄 These days, the charcuterie board has…
-
What to Plant in Spring Garden: Best Guide and Tips
There is something about this time of year that makes me want to throw open the back door, pull on my garden gloves, and just dig. You know that feeling? That restless, hopeful, let’s-make-something-beautiful energy that arrives right along with the first warm days? That’s exactly where I am right now — standing in my backyard…
-
Rambling from the Roost: Volume 23
The one where we escape to our favorite island, eat very well, and I share a few things you might have missed on the blog. Oh friend, pull up a chair. Pour yourself something cold — or hot, depending on where you live — because it’s time for another Rambling from the Roost. These little…

Beautiful post, Susan! So many great styling ideas. And, I love the video! Thank you for your creative inspiration! ~Missy
Thank you Missy! They are so fun to play with!
I love dried hydrangas. Thank for the great tutorial for drying and making the gorgeous wreath!