How to Apply Gold Leaf
I love using Gold Leaf and this easy DIY How to Apply Gold Leaf for my Autumn Leaves was such fun. Let me show you how easy this is!
I’m a shiny ‘thing’ lover. I’ve always been a bit distracted when I see the latest shiny new thing over there, or wait, let me see, there is another shiny thing over here!
Take me to a pretty shop and you’ll quickly see what I mean. Today I’m going to share with you How to Apply Gold Leaf to your home decor. When I discovered how much fun it was to add gold leaf to my leaves I was all in.
You can add it to pretty much any object. Isn’t that so fun!
Fall Crafts
Autumn is the perfect time to go foraging in the great outdoors to gather nature’s bounty for decorating. This fall I’ve collected birch branches, leaves, acorns, milkweed, and chestnuts. There are so many things you can create and ways to style your decor with outdoor gems, and it’s all basically free!
What a wonderful way to preserve this glorious season by adding Gold Leaf!
How To Apply Gold Leaf
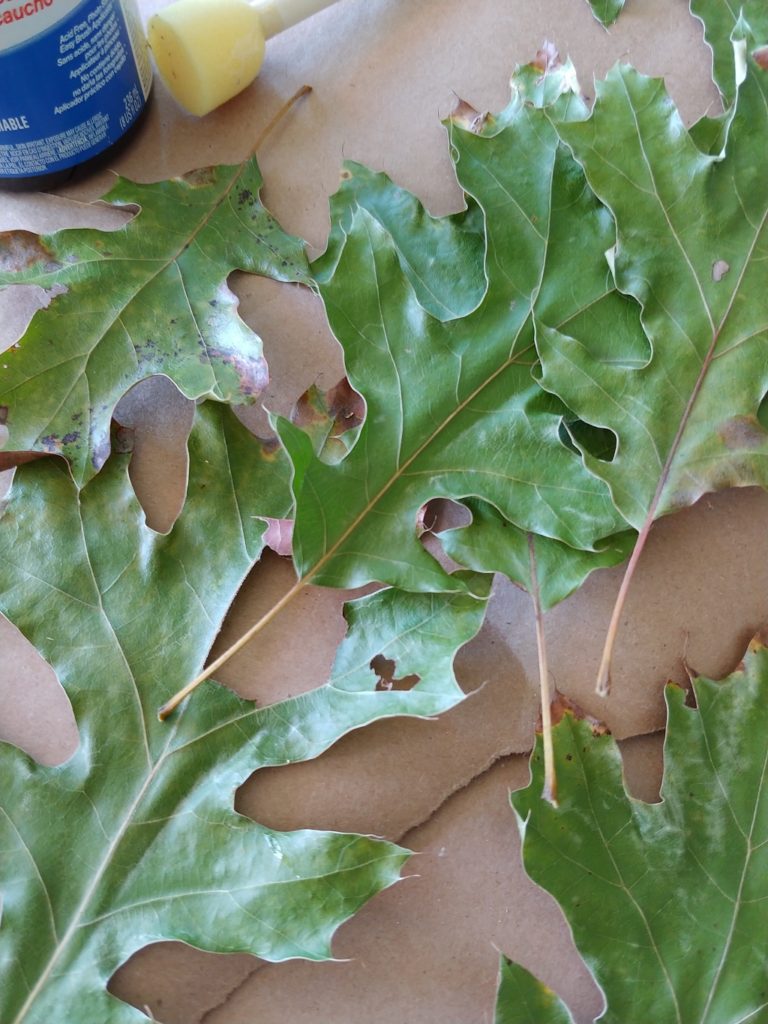
Once I had collected my leaves, (I used oak but you may use any leaf as long as they are fresh) I then let them sit in between the pages of a book for a day, to have them flatten out and have the edges smooth.
Then I laid out my workspace. I suggest working on newspaper or brown kraft paper like THIS for any glue that may drip to protect your countertop or surface.
Here is the secret.
The secret is to use rubber cement as the adhesive for the gilding process rather than glue. This form of sizing will allow the Gold Leaf to adhere properly.
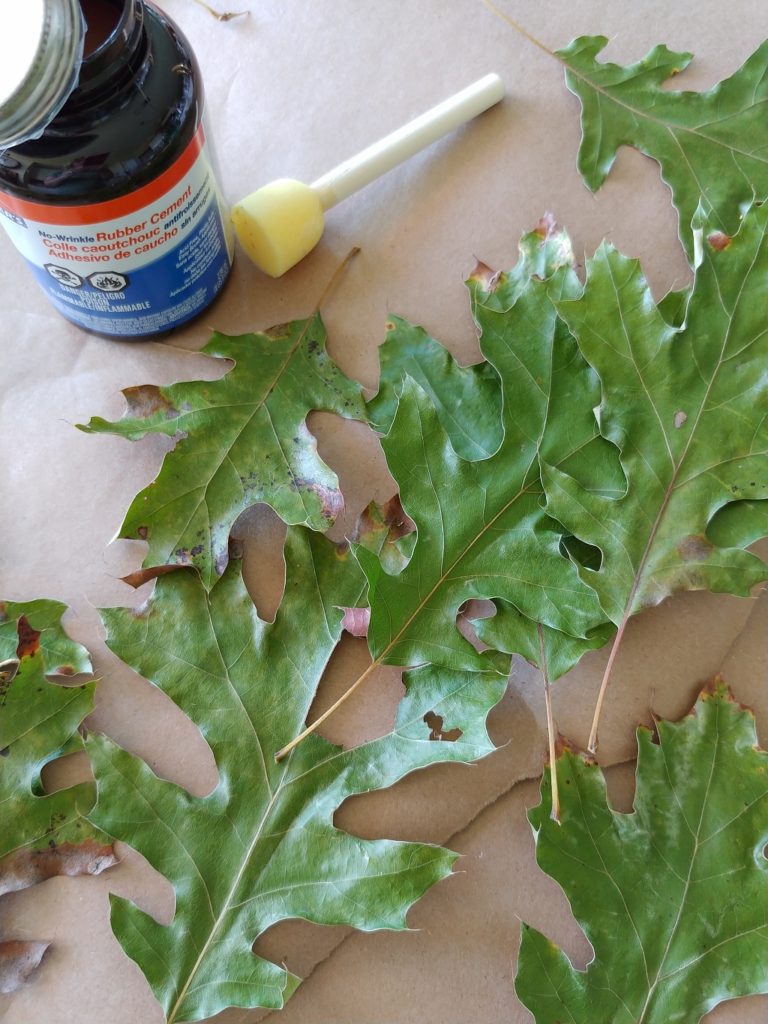
Brush each leaf with rubber cement with a paintbrush.
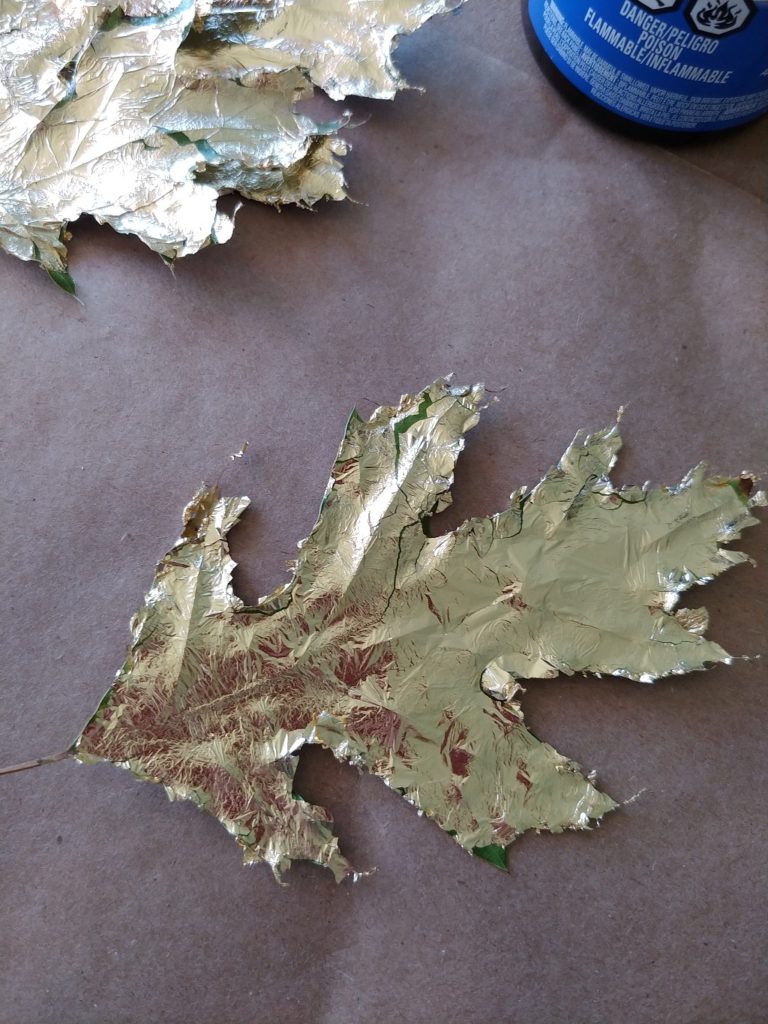
Next, test each leaf for tackiness.
Once the leaves are tacky to touch, press the tacky side down onto the sheet of gold leaf and rub the leaf gently.
Gently tear the leaf from the sheet.
Leave the leaves overnight to dry!
(I went back and retouched up a few spots that I thought needed a little more gold. I simply added more glue then some additional gold leaf)
https://henandhorsedesign.com/wp-content/uploads/2021/10/1020211256.mp4
Once they sat overnight, I lightly brused the leaf edges with a dry brush to remove any gold leaf flakes and acheive a smooth finish.
Crafting is so much fun. Did you see when I did THIS?
This ONE was so much fun too!
My Favorite Crafting Tools

It’s that easy.
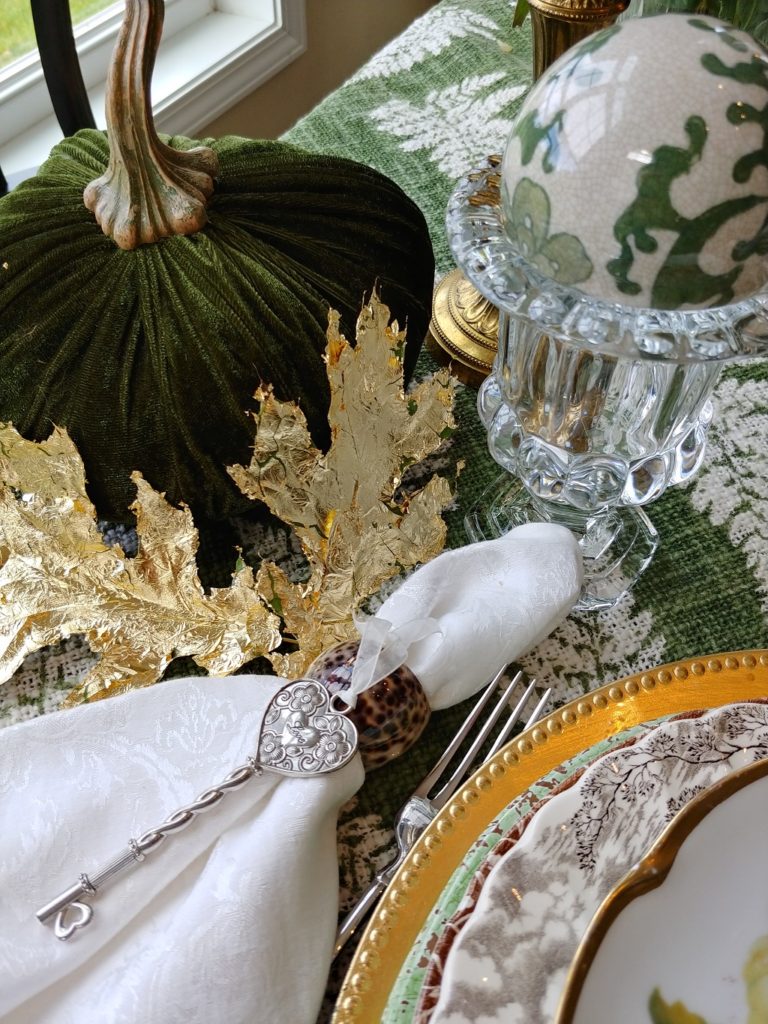
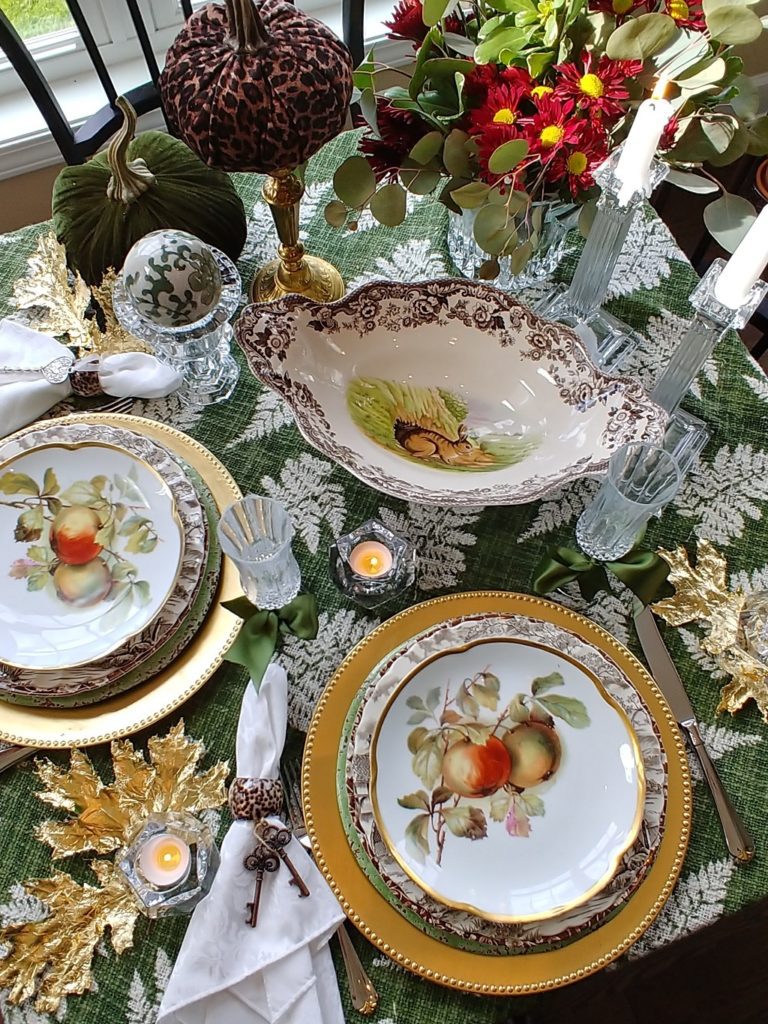
Now all you have to decide is where you are going to use them. For Thanksgiving, I may sprinkle them all around the table, on top of my table runner, or as part of my centerpiece display.
How about hot gluing them to a thin piece of velvet or twine for a garland on your mantle? or your chandelier? This list is endless.
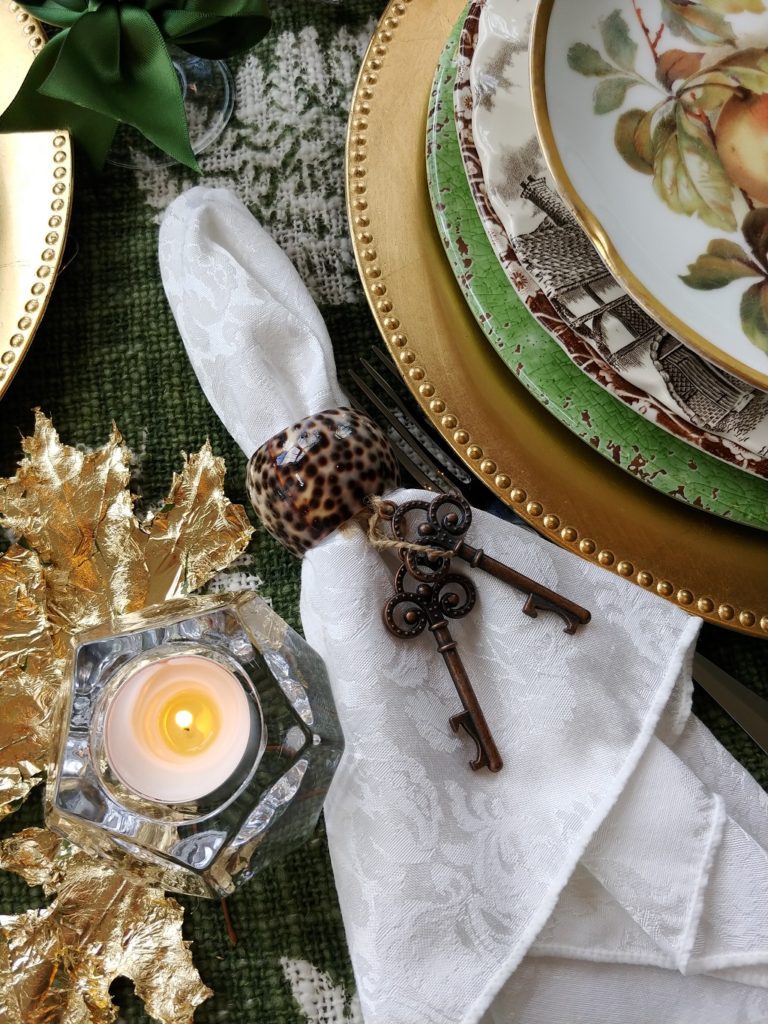
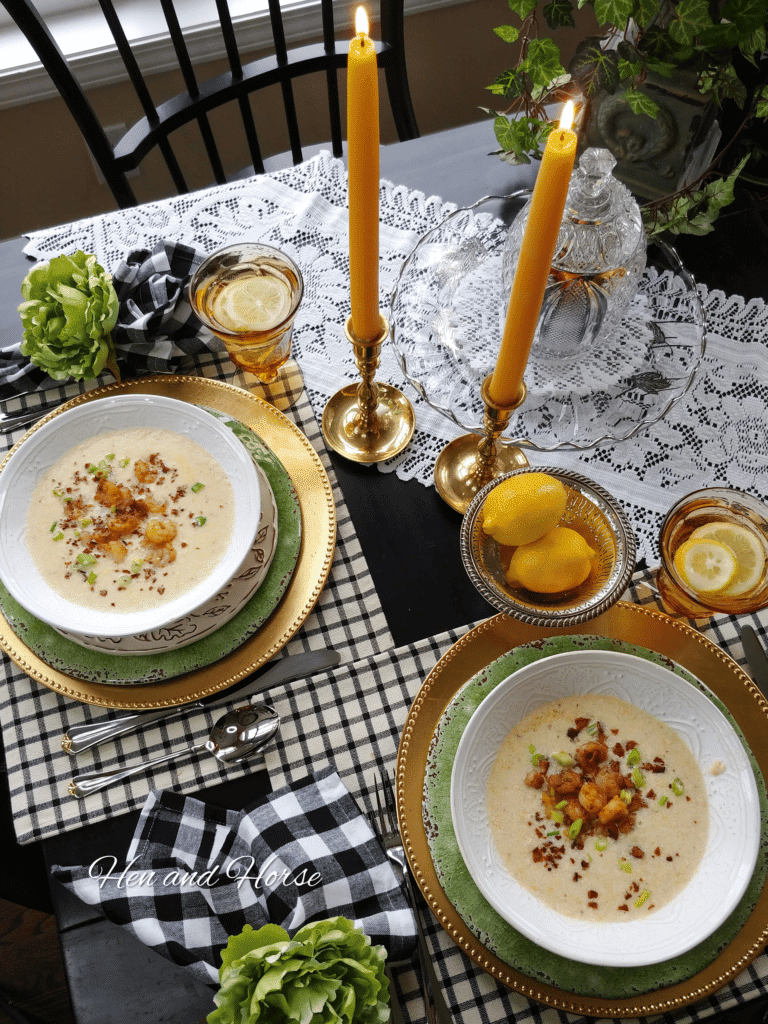
Here layered a few leaves under my napkin for a little bit of glitz added to my dinner-for-two table!
I hope you enjoyed this fun DIY on How to Apply Gold Leaf!
Happy Crafting my friends!
XO Susan
This post has affiliate links which means I get paid a small commission, however, this doesn’t cost you a penny more!
If you enjoyed this post, you may like these!

Beautiful Susan! I love gold leafing just about anything. Lol! Also love the napkin ring keys!
thank you Missy! It’s a fun way to have a little shimmer!
They leaves are so beautiful. I definitely want to try this. Hugs to you.
thank you so much Renae! It was fun. I’m wondering what else I can turn to ‘gold’ 🙂
I love the leaves. I want to make some for my wreath. I noticed you didn’t put a sealant on
won’t tarnish ?