How to Layer Christmas Tree Decorations Like a Pro
Ready to take your Christmas tree decorating skills to the next level? Learning how to layer your decorations is a simple trick that can add a lot of depth and visual interest to your tree. And the best part is, it’s easier than you think!
In this guide, we’ll show you everything you need to know about layering Christmas tree decorations, from choosing the right ornaments to placing them strategically. So get ready to create a tree that’s sure to impress all your friends and family this holiday season!
What better way to celebrate this festive season than with a Christmas Tree Tour, featuring eight of my talented pals? If you’re stopping by for the first time from Kim at Perfecting Places – Welcome!
Kim has such a beautiful, classic, and elegant home style and shares creative and fun crafts and more on her blog! Isn’t her tree just gorgeous?
I’m overjoyed that you’ve joined us for this holiday decor tour and learning how to layer your Christmas tree like a pro! Let’s get started!!!
Types of Christmas trees: artificial vs. real
Before we head into decorating we have to decide which type of tree is best for you. Here are a few tips to consider. When choosing a Christmas tree, you have two main options: artificial Christmas tree or real. Both types of trees have their own advantages and disadvantages.
Artificial trees
- Pros:
- More convenient and less messy than real trees.
- Can be used for many years, saving you money in the long run.
- Come in a variety of styles, sizes, and colors, so you can find the perfect tree for your home.
- Some artificial trees are pre-lit, which saves you time and hassle.
- Cons:
- Can be more expensive than real trees upfront.
- Don’t have the same natural look and smell as real trees.
- May not be as environmentally friendly as real trees, depending on how they are made and disposed of.
Real Christmas trees
- Pros:
- Have a natural look and smell that many people love.
- Are more environmentally friendly than artificial trees, as they are replanted after they are harvested.
- Can be recycled after the holidays.
- Cons:
- Real trees require more care and maintenance than artificial trees.
- Need to be watered regularly to prevent them from drying out and shedding needles.
- Can be messy, as they may shed needles and sap.
- May be difficult to find in some areas, especially later in the season.
Unlit trees
Both artificial and real Christmas trees can be purchased unlit. Unlit trees are less expensive than pre-lit trees, but they require you to purchase and string your own lights. This can be a time-consuming process, but it also gives you more control over the look of your tree.
Lit Christmas tree
Ultimately, the best type of Christmas tree for you depends on your personal preferences and lifestyle. If you’re looking for a convenient and low-maintenance tree pre-lit tree, an artificial tree is a good option. Love the natural look and smell of a real tree? A real tree is the way to go.
If you’re not sure which type of tree to choose, consider visiting a local Christmas tree farm or garden center. The staff can help you choose the right tree for your needs and budget.
What is layering Christmas tree decorations?
Ways to add dimension and interest to your tree
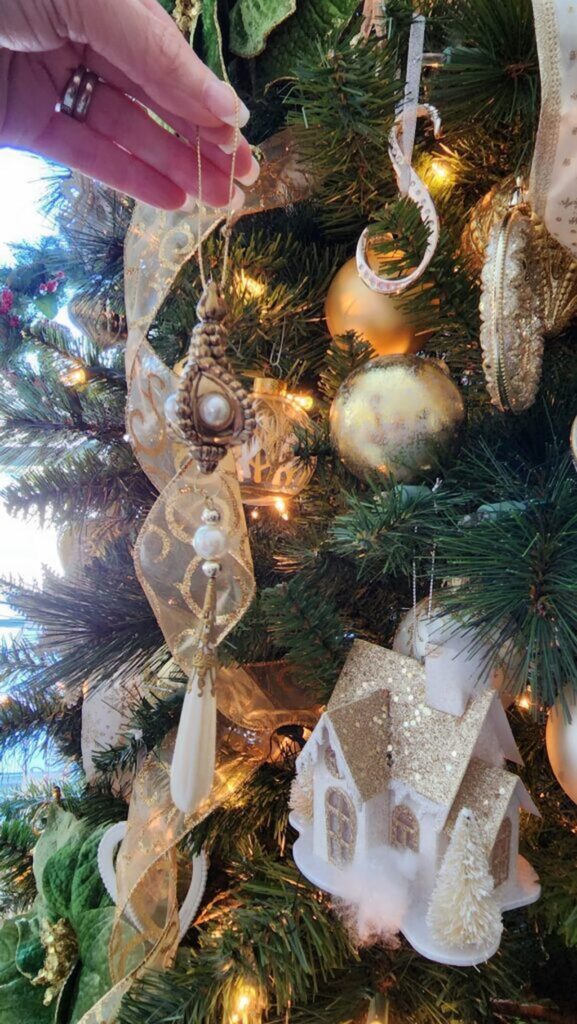
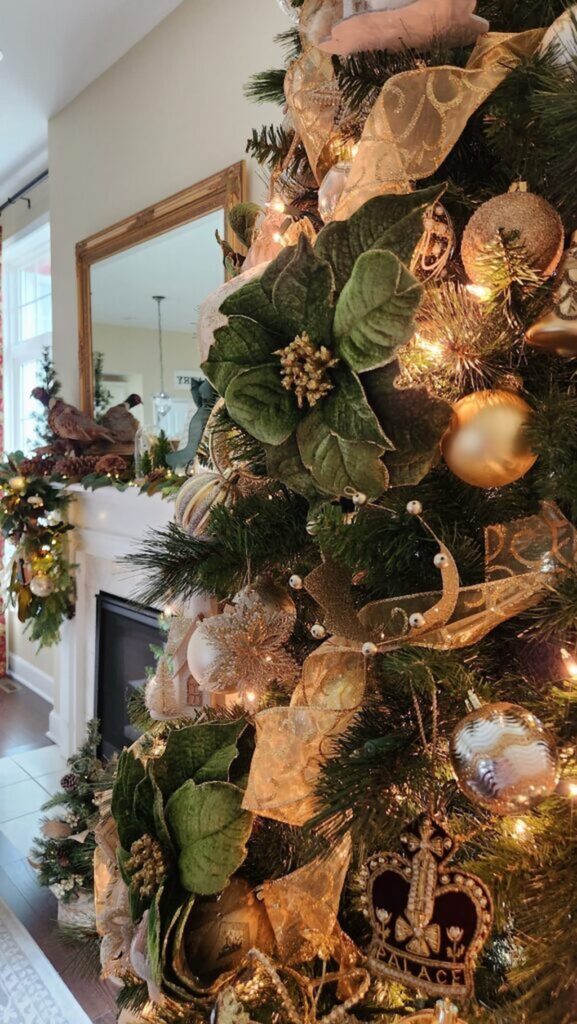
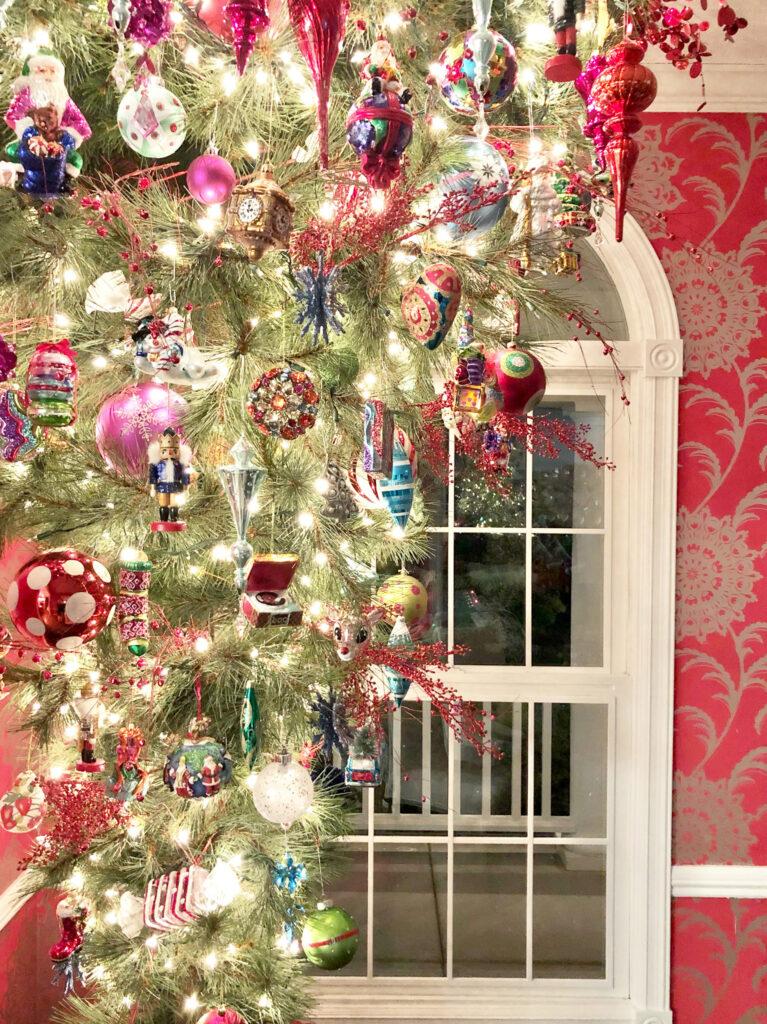
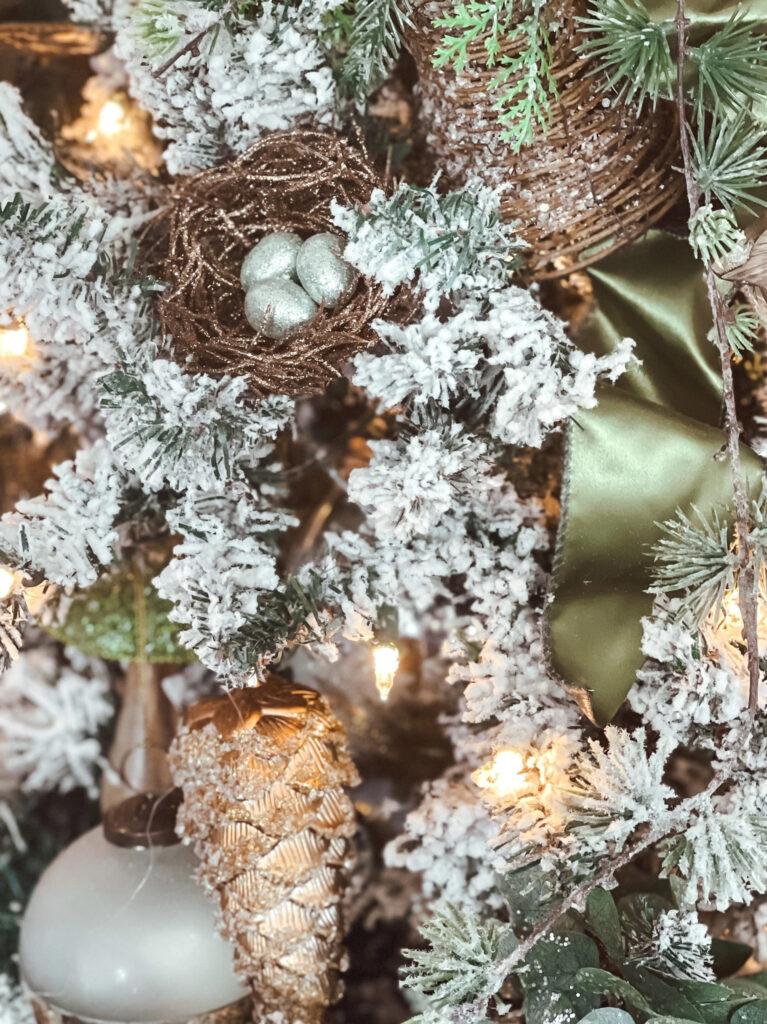
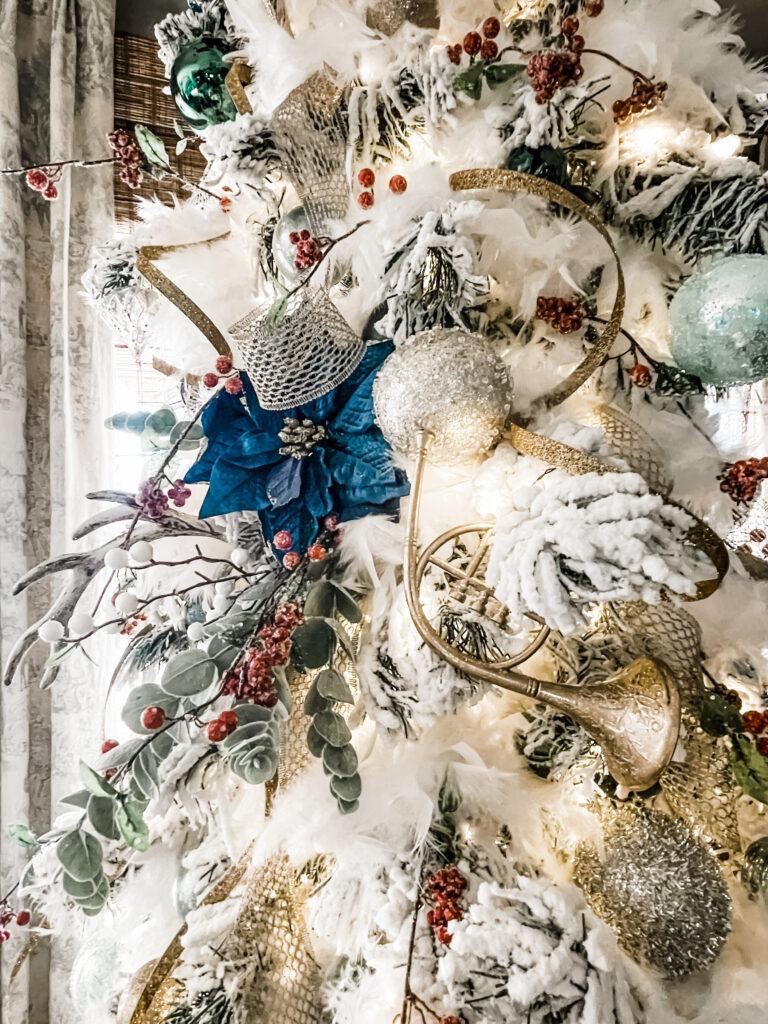
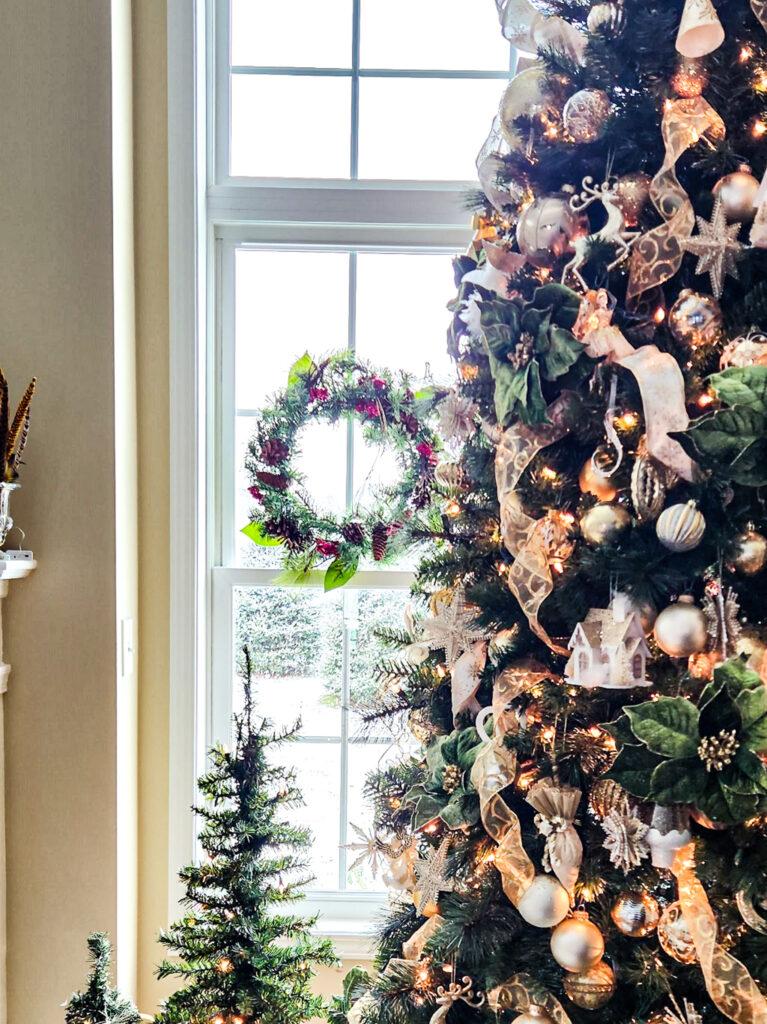
First, let’s chat about what exactly is layering tree decorations and why you should do it. Layering your ornaments is the best way to add dimension and interest to your tree. Larger ornaments should be tucked deeper into the branches while small ornaments will look best on the outer branches of the tree.
Combining your Christmas tree decor will give your tree a professional and designer look.
Why should you layer your Christmas tree Decorations?
Adds visual interest and depth
- 1. Layering your tree decorations adds depth and visual interest
- 2. Allows you to mix and match with coordinating colors and textures
- 3. Creates a fuller and more professional look
- 4. You get to be fun and creative adding your own special touches that are unique
What is the order of decorating Christmas tree?
Step 1: Select a specific theme and color palette
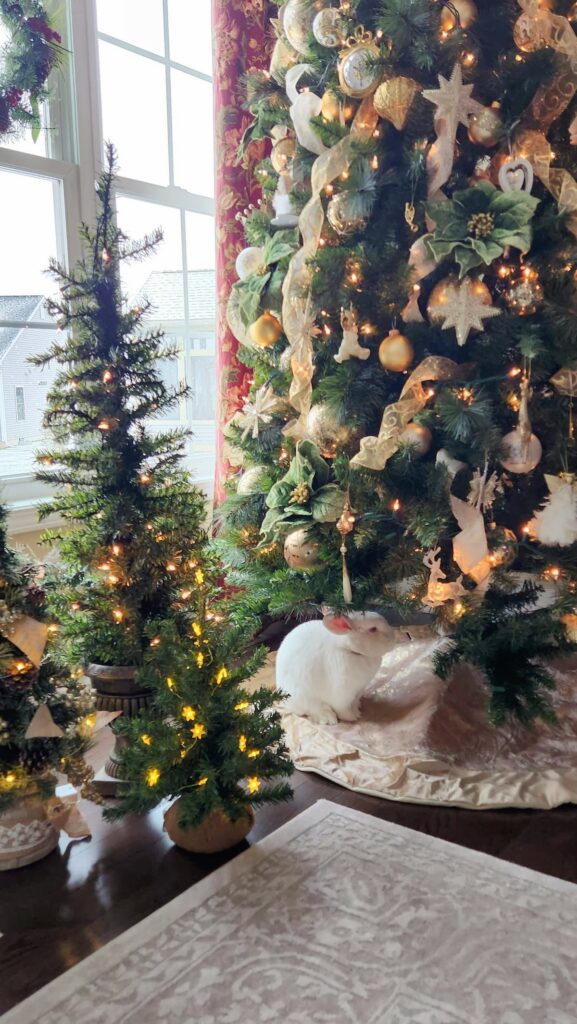
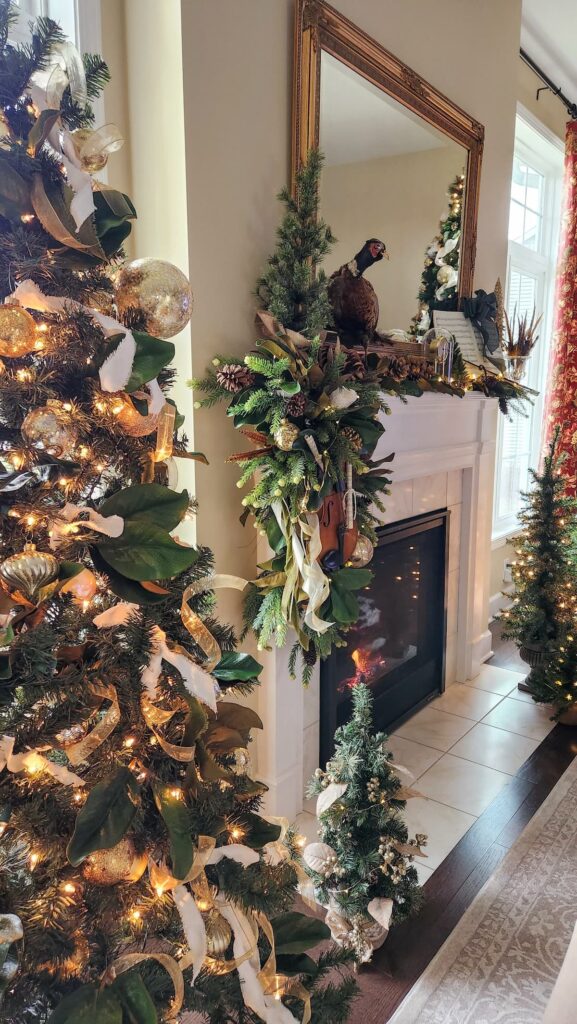
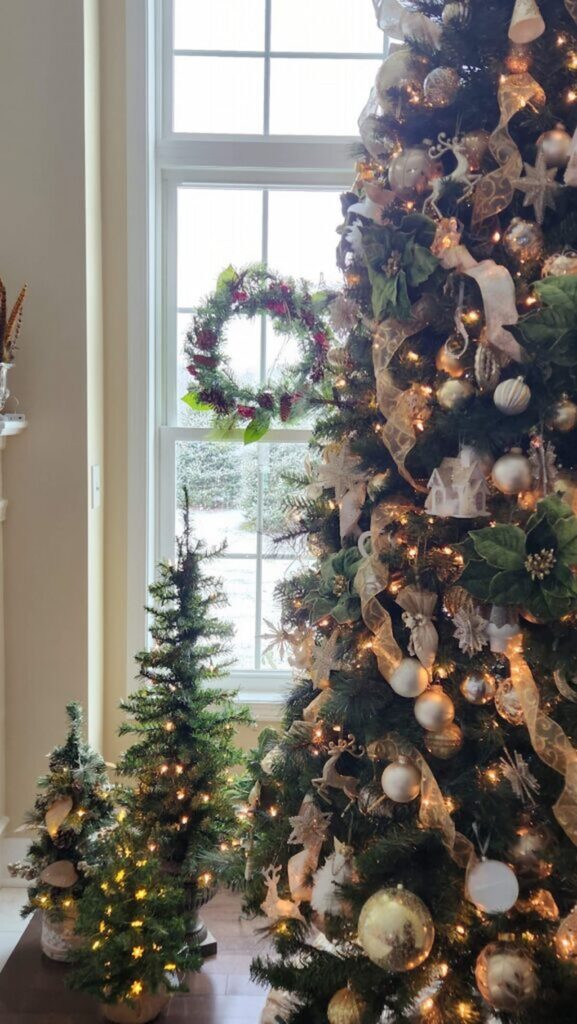
For this year’s color scheme, I chose gold, ivory, and green as my decoration colors! Before you begin deciding on a color palette, shop your home to see what you have and what you can use in a new way!
Step 2: Choose the type of ribbon you will be using
When it comes time to choose the type of ribbon you’ll be using wire-edged ribbon works the best. The wire helps form the ribbon to the shape and style you like.
Step 3: Fluff tree before you begin to decorate
Tree fluffing is a thing. The first time I said to my husband we needed to fluff the tree he looked at me and laughed. ‘What is that’?
Fluffing the branches makes a huge difference. Simply move the tips of the branches until they are straightened out and not bunched together.
Step 4: Check your string lights or add lights
Plug in your lighting cord prior to beginning to check your string lights are working properly. If needed you can add lights at this point.
The worst thing is when you decorate your tree and discover half of the lights are not working.
Step 5: Decorate the top of your tree topper first
Each year I forget to decorate the top of my tree first. Then I’m left to climb high up on the ladder to attach my Christmas tree topper.
This year the first thing I am going to do is to place the topper on the smaller portion of the tree before adding it to the trunk of the tree.
Step 6: Add the garland
Up next it’s time to add the garland. This is an easy step and important thing. Layering your loops of ribbon at this point will help when it comes time to add the ornaments. This way you’ll know where the gaps are and ornaments won’t get hidden behind the garland.
Step 7: Add largest ornaments first
Add your largest ornaments first by attaching with either ornament hooks or using floral wir e. Take a step back to check how the tree is filling in and where you may need to add more ornaments.
Step 8: Fill in gaps with smaller ornaments
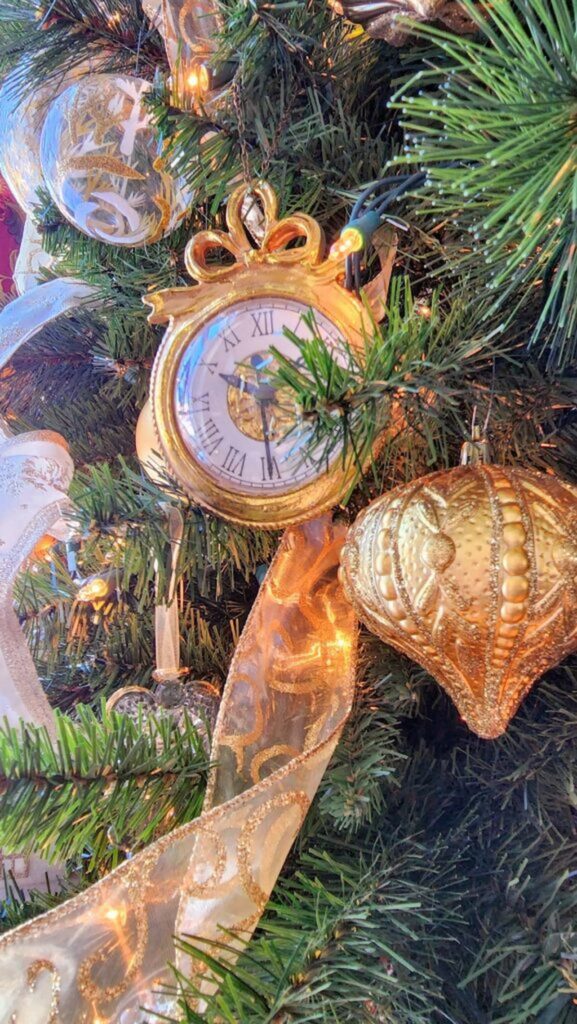
Once the larger ornaments are added it’s time to fill in gaps with smaller ornaments. I love adding new shiny ornaments I have acquired throughout our trips together from various favorite destinations.
Step 9: Add Christmas tree ribbon and bows
A great way to showcase smaller decorations is by hanging them from beautiful ribbon for an extra wow factor, or tying a bow to the top of the ornament for a whimsical look.
Curling the ribbons around your hand or finger gives your ribbon a beautiful natural look. Tuck the ends deep into the tree branches to hide the ends.
Step 10: Don’t forget the Christmas tree skirt
Lastly, add your Christmas tree skirt. This is the opportunity to showcase your tree and give the tree a finished and weighted look.
What is the best way to arrange ornaments on a Christmas tree?
Here is a short list with the best way to arrange ornaments on a Christmas treet.
- Start from the top of your tree and down
- Remember to place ornaments tucked in and not on the edge of the tree branches
- Keep ornaments spaced apart but not perfectly symmetrical
- For a blank canvas, white lights are best for showcasing your ornaments. When using colored lights, the colors of the lights will be the main focus.
How do you cluster Christmas tree ornaments?
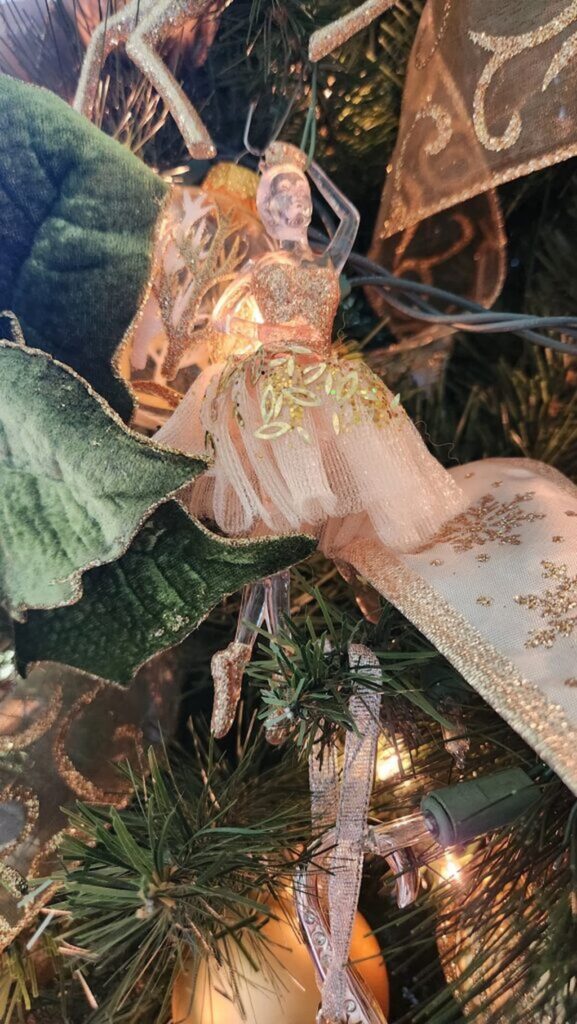
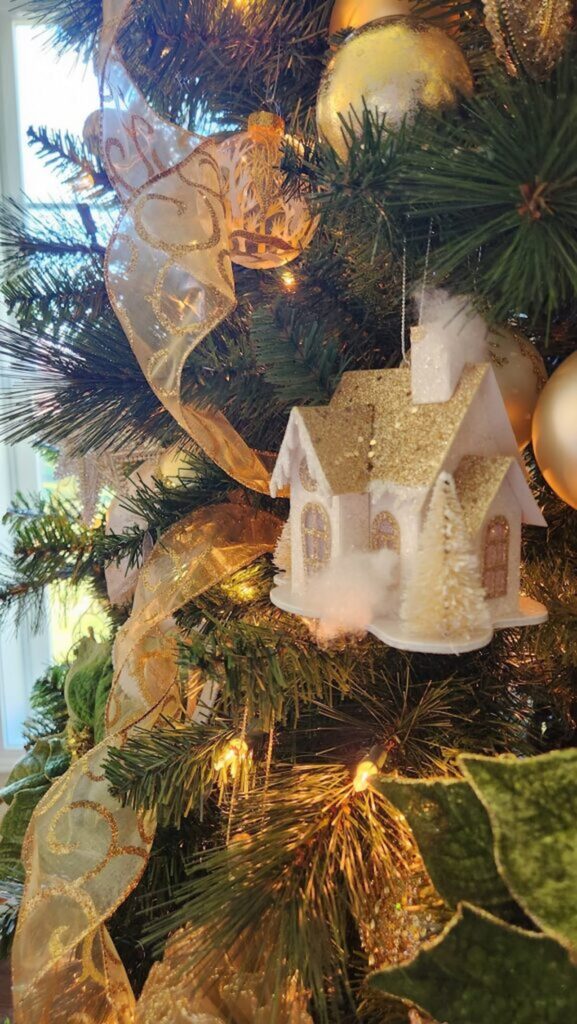
Cluster your ornaments in several areas to give an even look, while also allowing other larger baubles and decorations to be layered amongst them. As a starting point, in groups of three, attached your ornaments with floral wire. Twist the wire to lock them into place prior to adding to your tree.
Experiment with different color schemes, textures, and shapes to create a look that is both stunning and special!
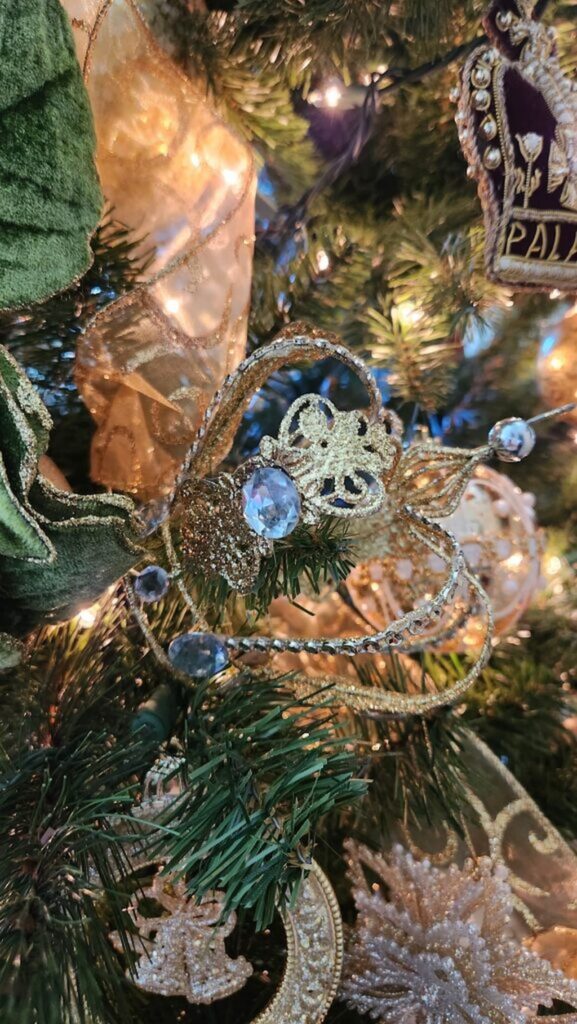
Decorating your Christmas tree can be one of the most exciting parts of the holiday season! It’s my favorite time of year.
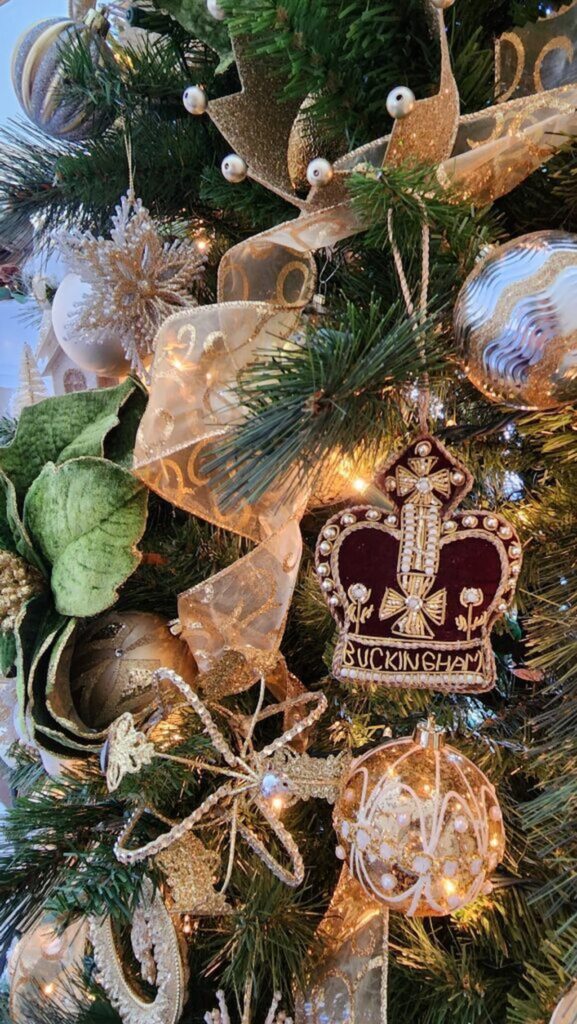
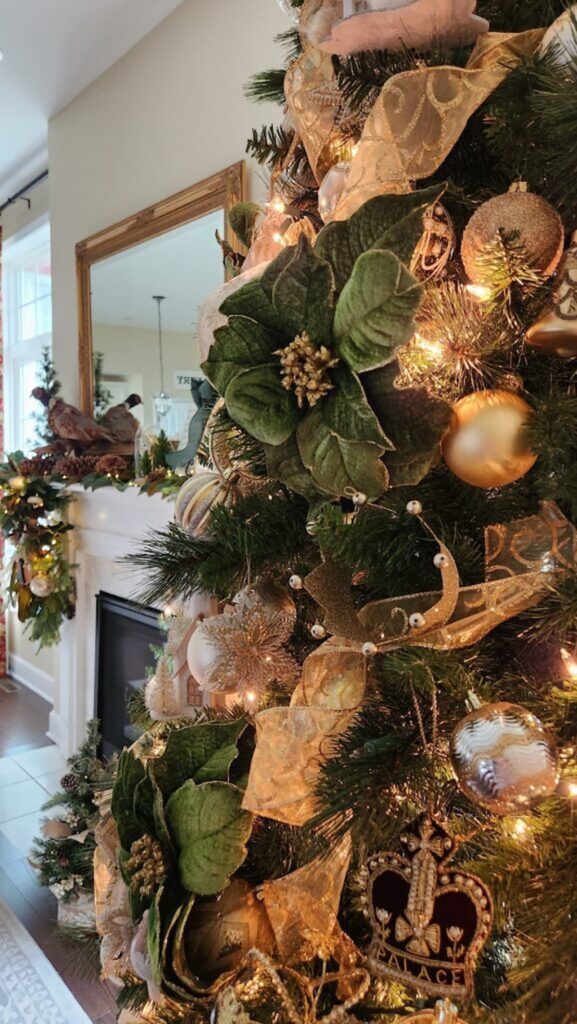
Each year I add this special burgandy Buckingham Palace velvet ornament to my tree. It adds a pop of color against the gold and ivory colors.
Years ago when visiting Buckingham palace with my parents and my sons, my mom purchased this ornament. I was lucky enough to inherit it and it has quickly become one of my favorite ornaments. It has the best memory attached to it!
Best Tips for Tree Decorating
- Start by laying out all of the Christmas tree decorations that you plan to use, perhaps near the tree itself so that you can see how everything will look together.
- Many faux trees come with lights so you don’t need to worry about adding them unless you prefer additional lights.
- If you are a real tree fan, I recommend 100 lights per each 1 1/2 feet of tree
- Start from the top and work your way down to the bottom.
- Try clustering your ornaments in several areas to give an even look, while also allowing other decorations to be layered amongst them.
- If you want more depth, add ribbon, garland, artificial greenery or faux branches.
- For finishing touches hang a bow or some mistletoe at the top of the tree, both of which can anchor the rest of your holiday look easily!
- Remember, when layering Christmas tree decorations there’s no one way to do it – experiment with different color schemes, textures, and shapes to create a look that is both stunning and special!
How do you organize Christmas Decorations?
Not to rush the season but before we know it we will be talking about how you organize Christmas decorations once Christmas is over! Until then, you may want to get a jump start on purchasing a few storage containers.
Experiment with different color schemes, textures, and shapes to create a look that is both stunning and special!
Shop & Source My Favorites
Other post to inspire you:
Christmas Home Tour 2022: Living room
Trader Joe’s Holiday Hash Soup
Chocolate Charcuterie Board Ideas You Can Make Today

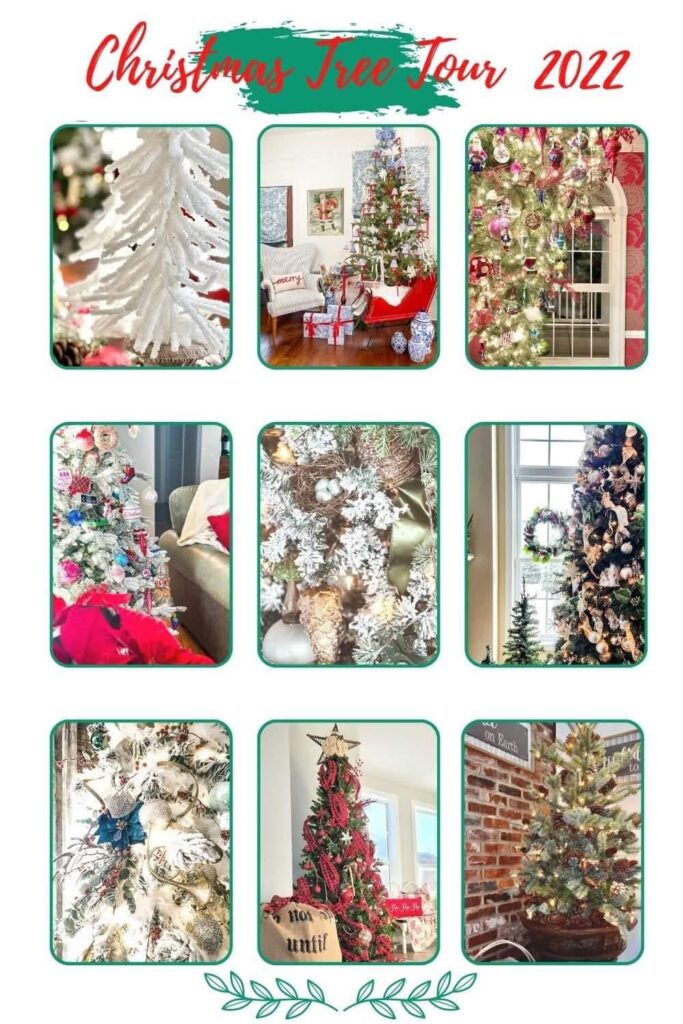
Be sure to check out all my friends Christmas trees. You’ll be filled with tons of inspiration!
Up next on the Christmas Tree Tour, is Wendy at WM Design House, click here to check out her gorgeous tree in the most creative tree stand. (I’ll give you a hint, a sleigh is involved.)
Until next time! Have a wonderful day!

Behind the Adventures
Hi, I’m Susan: A little bit about me
Hello there, If you’re new here, I’m delighted to meet you! If you’ve been around for a while, thank you! I love seeing you here.
Hen and Horse Design is my canvas of creativity. My journey from ballet to design has been a graceful evolution.
Home, Garden, and Neverland: From pirouettes on stage to crafting designs with the same finesse, I bring a touch of Tinkerbell’s sparkle to everything I create.
Join me as I pirouette through the world of home décor, cooking, and gardening,
I’m excited to share my designs with you and help you create a home that you love.
Susan
Which Plants Don’t Like Tea Leaves? Avoid These Garden Mistakes
If you’ve ever enjoyed a cup of tea and wondered whether your garden plants would appreciate the leftover tea, you are not alone. Many gardeners use tea leaves as a natural fertilizer, believing they provide essential nutrients to promote healthy growth. I happen to be one of them. However, how do you know which plants don’t like tea leaves? Not all plants benefit from this practice—some…
How to Make a Simple Cabbage Arrangement in 3 Steps
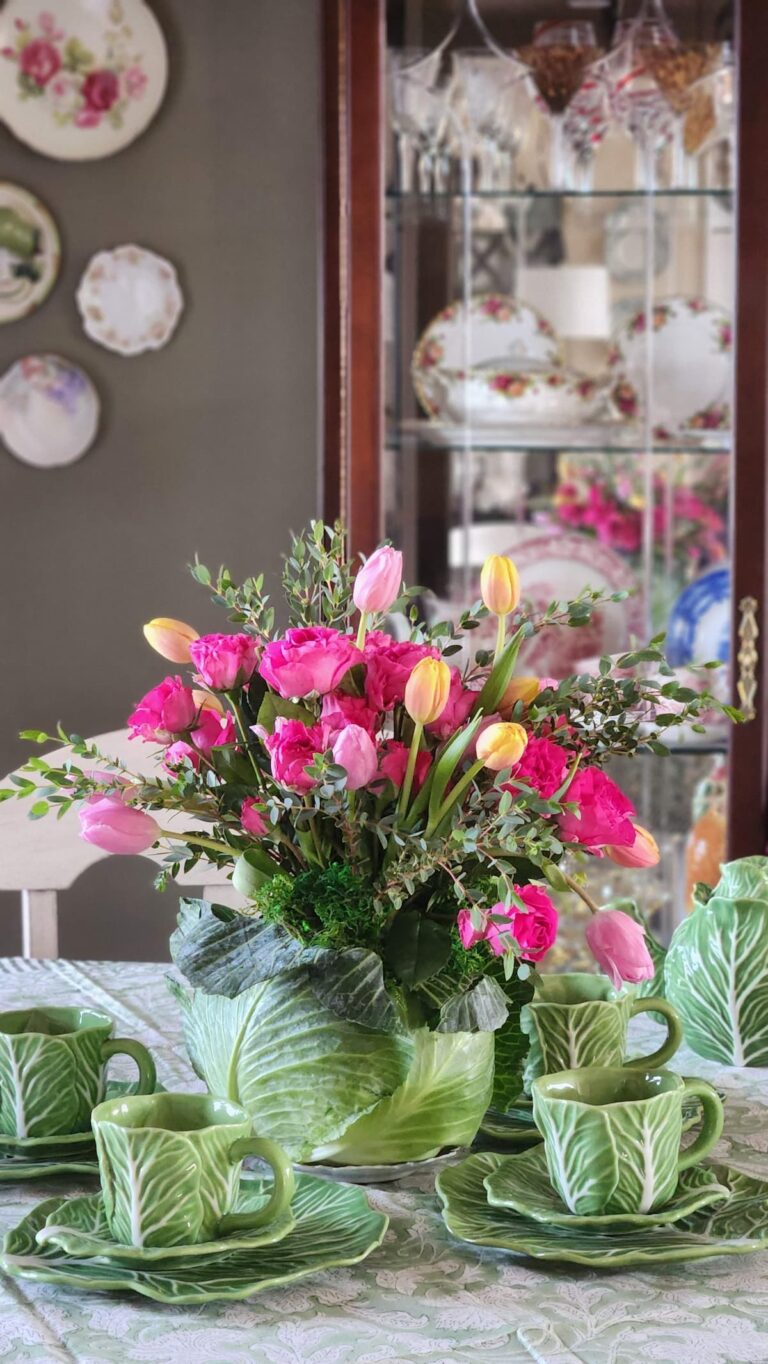
Creating a spring flower arrangement in a hollowed cabbage is an easy and charming way to add a natural touch to your home decor. Whether you’re decorating for an Easter tablescape, a gift basket, or just want a beautiful flower vase for your spring table, this diy How to Make a Simple Cabbage Arrangement in 3 Steps cabbage vase is the perfect solution. Using fresh tulips, pink roses, and…
Easy and Elegant St. Patricks Day Tablescape
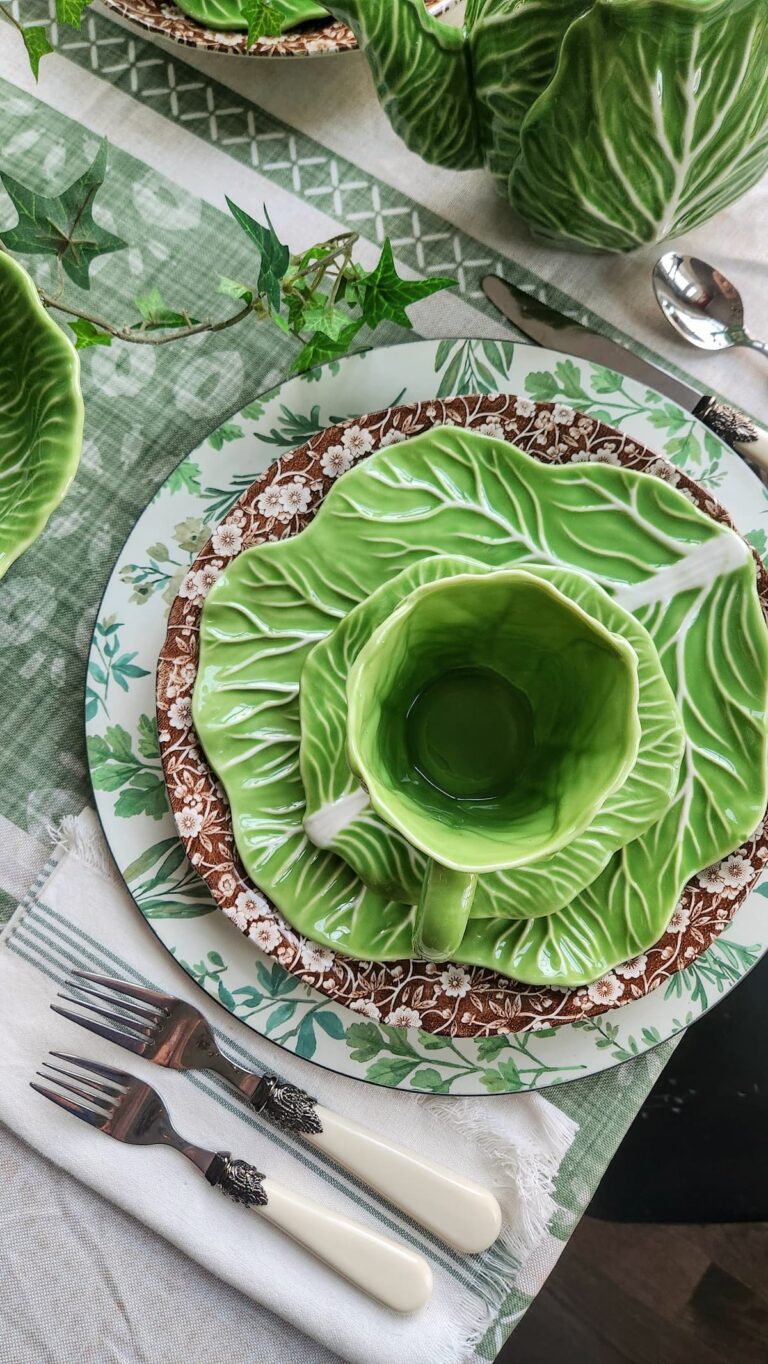
How to Style an Easy and Elegant St. Patricks Day Tablescape with Green Cabbageware Creating a beautifully curated table setting is one of my favorite ways to bring warmth and charm into my home. At Hen and Horse Design, we blend vintage treasures with new finds to craft inviting and timeless spaces. Today, I’m sharing how…
Simple Lavender and Green Inspired Tablescape
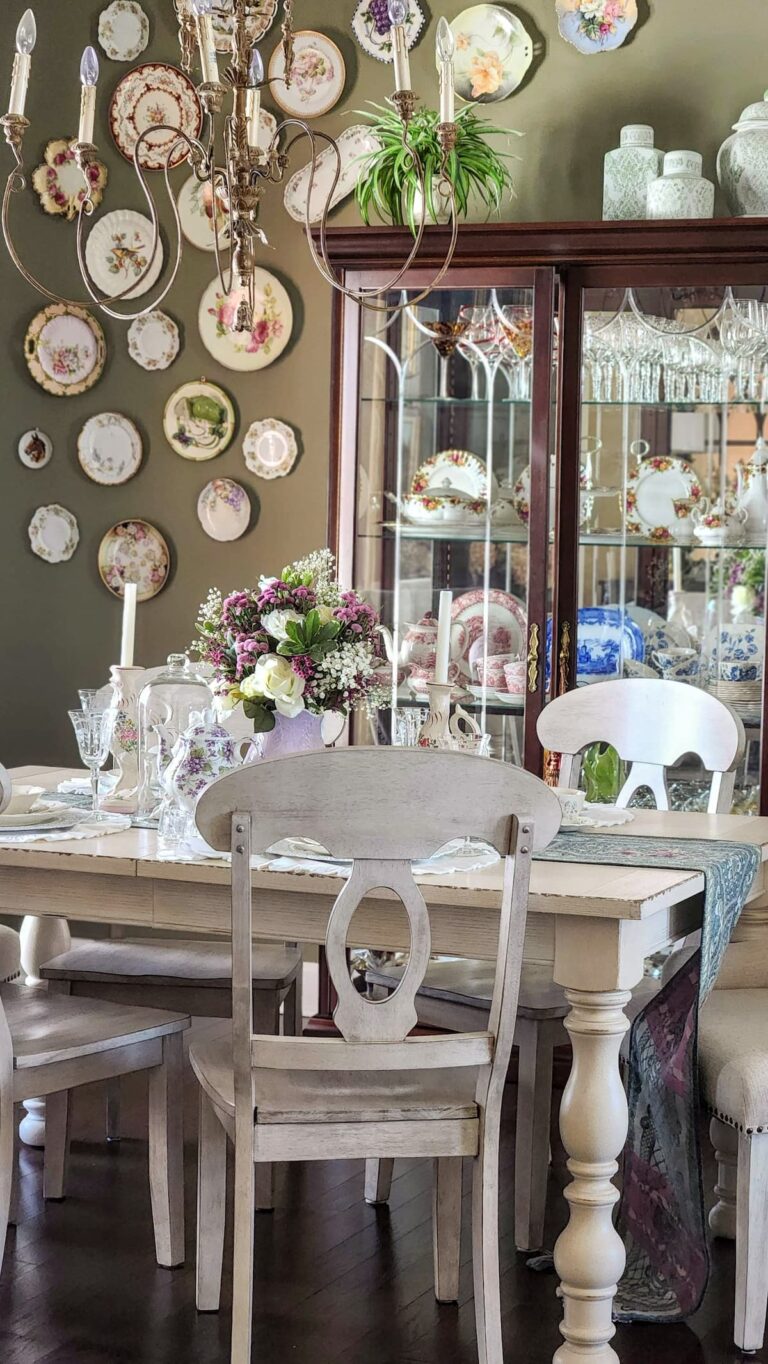
Creating a beautiful dining table and tablescape doesn’t have to be complicated or expensive. With a mix of sentimental pieces, a budget-friendly floral centerpiece, and a touch of vintage charm, you can set a stunning table perfect for spring. Today, I’m sharing how I styled my simple lavender and green inspired tablescape, incorporating my mother’s…
Best Braised Chicken with Pears Recipe
A Succulent Chicken Dinner with Sweet Pears – A Family Favorite There’s nothing quite like a delicious one-pot meal that comes out perfectly succulent and juicy every single time. This roast chicken dish has been a staple in my family for years, and every time I make it, I’m reminded of the comforting flavors that make it a must-try list favorite. With easy ingredients and a simple…
Rambling from the Roost: Volume 21
Welcome to Rambling from the Roost, Volume 21! As we settle into the new year, I’m excited to share everything from my nest to yours. Today, we’re diving into selecting the perfect paint colors to transform your space, a few delicious recipes I’ve whipped up to kick off the year, and some of my favorite…


Your tree is gorgeous, Susan. I love all of the layers and textures you have going on. The variations of ribbons is so pretty. Wishing you and Andrew a very Merry Christmas.
thank you Wendy! It was so nice to share with you on this hop. Such talented ladies.
All those gorgeous layers! So beautiful, Susan! You are so good at texture and this Christmas tree is stunning! Merry Christmas, my friend!
Thank you Missy. Merry Christmas to you as well.
Susan, I love all of the layers and beautiful textures in your tree. It turned out stunning.
thank you Tammy. It was fun to share this hop with you.
You’ve created such a beautifully layered tree, Susan, full of so many gorgeous ornaments and elements! You share lots of fabulous tips for creating a lovely tree. Merry Christmas to you and your family!
thank you Kim. Very kind of you!
Susan, your tree looks beautiful! So many tips and beautifully layered. So nice hopping with you, today! Merriest Christmas to you and yours!
Thank you Kim. I appreciate your kind words. Merry Christmas to you and your family.
Such great tips Susan and I love all your gorgeous decor! Wow so many beautiful pieces. Love how elegant they all are.
thank you Crystal. I appreciate you stopping by!
Susan, your Christmas tree is absolutely stunning! I love the color palette and all of the beautiful details! Great tree decorating tips too!
thank you Kristy. Wishing you a Merry Christmas to you and your family.
Of course your tree would be the ultimate in elegance! So stunning and with such great tips. Isn’t layering always the answer? Merry Christmas Susan! Hope it’s bright and beautiful for you and yours.
So kind of you Diane! A very big compliment. Wishing you a happy healthy New Year and Christmas