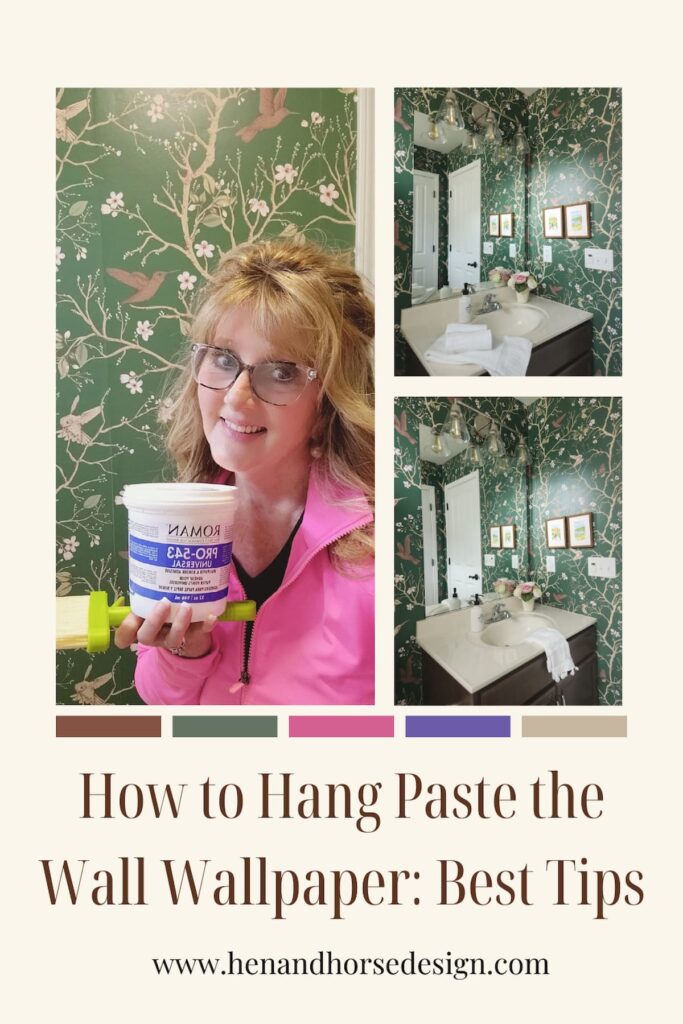
How to Hang Paste the Wall Wallpaper: Best Tips
When it came time to give my guest bath a new look I knew it would require adding wallpaper. No matter the latest trend, I love the look of a wallpapered room. I always have. I know that trends come and go and I’m here to tell you, that wallpaper is back in style which only means one thing. I’m a happy girl. I’m also here to tell you it doesn’t matter if wallpaper is trending in home decorating or not. What matters is that you love your home, which is why I encourage you to follow your heart rather than the latest trend. Today in this blog post, I’m sharing how to hang paste the wall wallpaper: best tips.
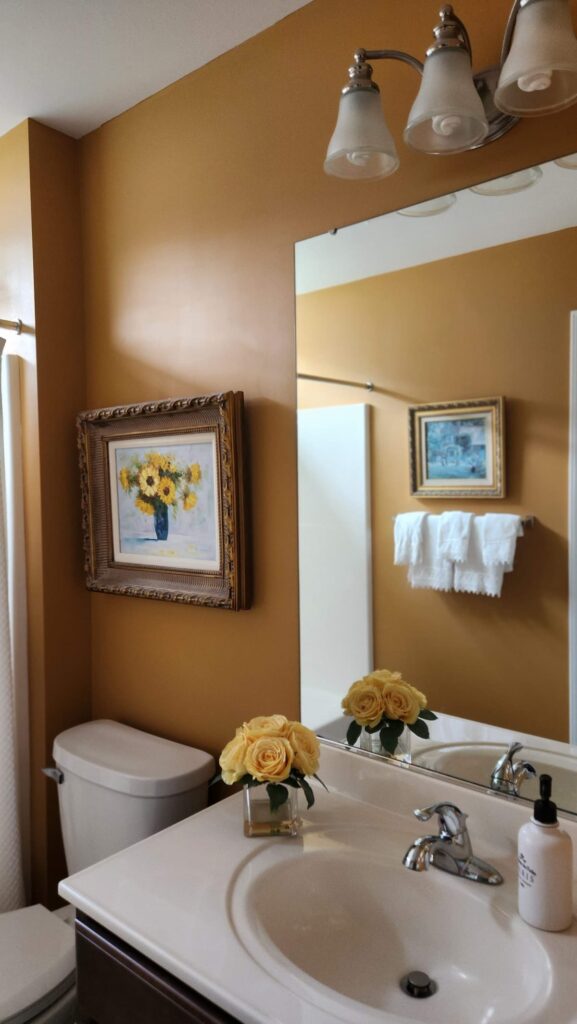
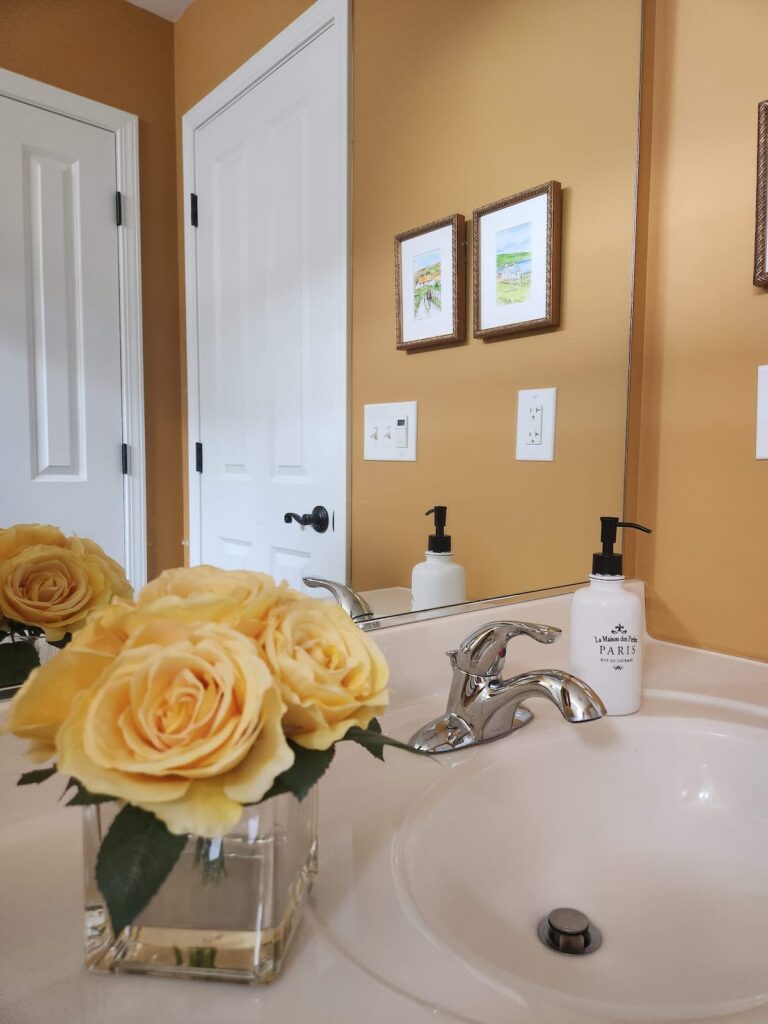
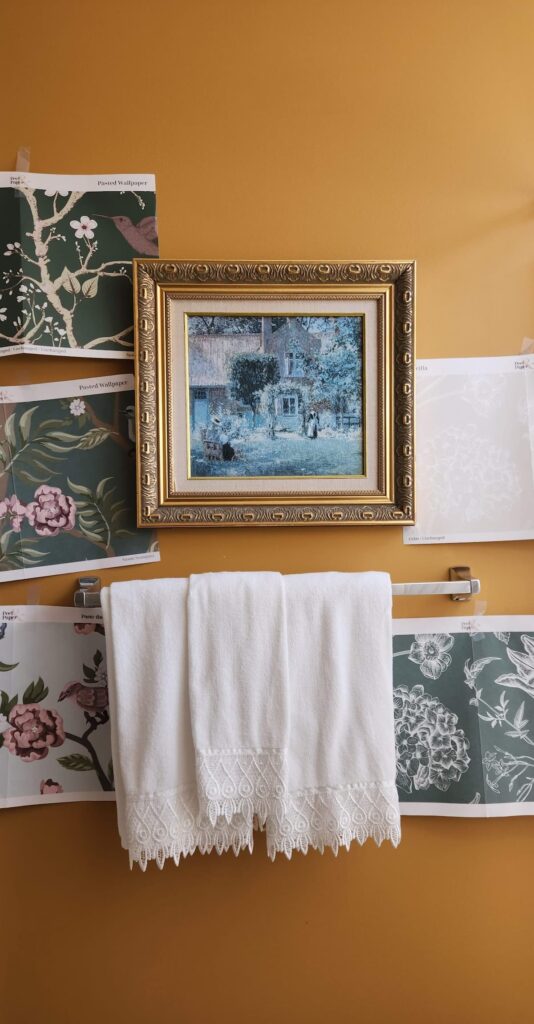
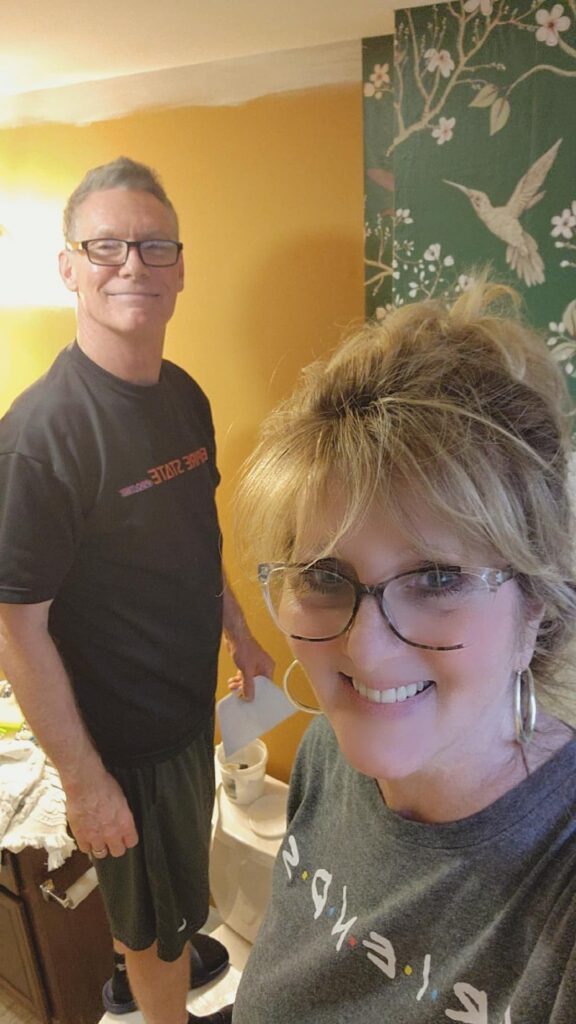
Before Photos of the Guest Bathroom
As you can see, our guest bathroom was in need of an update. I was ready for new lighting, a different color and feel for this room.
Deciding which type of wallpaper you want to use
The first decision I had to make was what type of wallpaper to choose. I was fortunate that a fabulous company, Peel and Paper reached out to me to collaborate with them. Now all I had to do was decide the pattern, the color and the type of wallpaper I wanted to use.
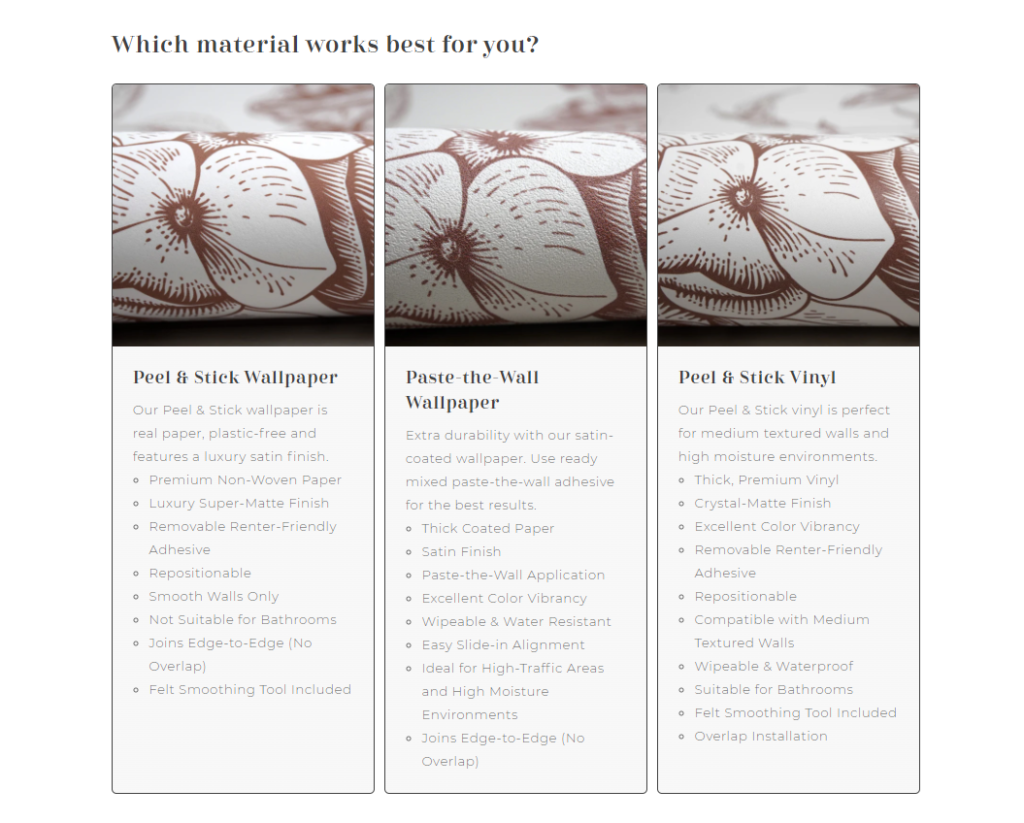
Which material works best for you?
My options were peel-and-stick wallpaper, paste-the-wall, or peel-and-stick vinyl. I chose the paste the wall type of paper because it is a heavy grade wallpaper that is water resistant and durable. Perfect for a bathroom!
Choosing the Right Wallpaper
Here are a few things that I loved about picking out wallpaper from Peel and Paper.
- Peel and Paper offers instant color change options (literally thousands of options).
- The inks used are eco-friendly.
- The peel-and-stick wallpaper option uses a water-based adhesive so no harmful chemicals get released into your home.
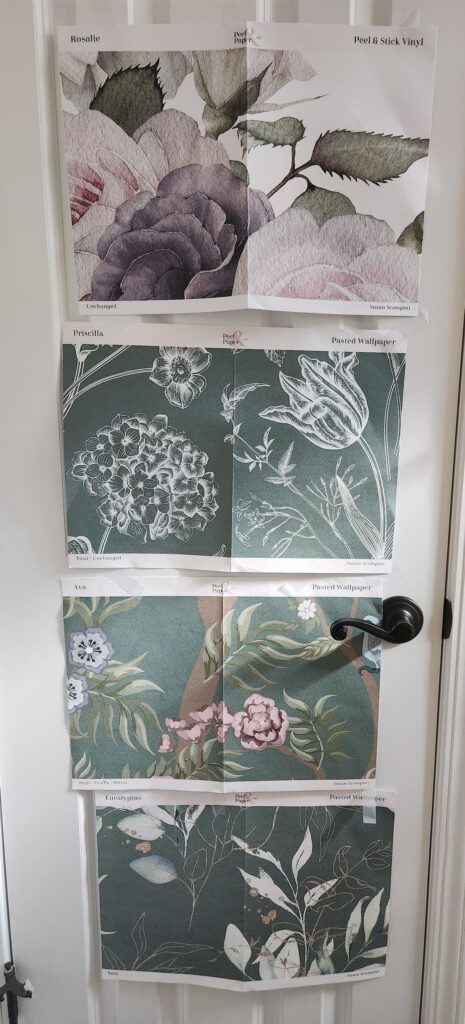
- Samples of wallpaper can easily be provided. As you can see, I tried out several before making my decision.
- Their customer service is outstanding.
Sample options
Picking just one pattern and which colors to choose was a bit difficult. With so many choices, I had to try out several options to be certain.
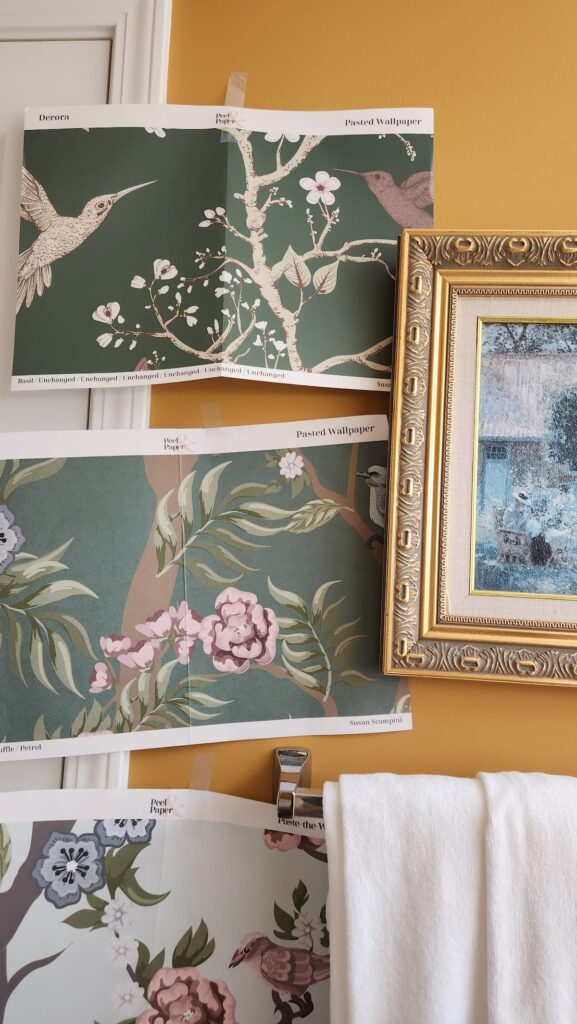
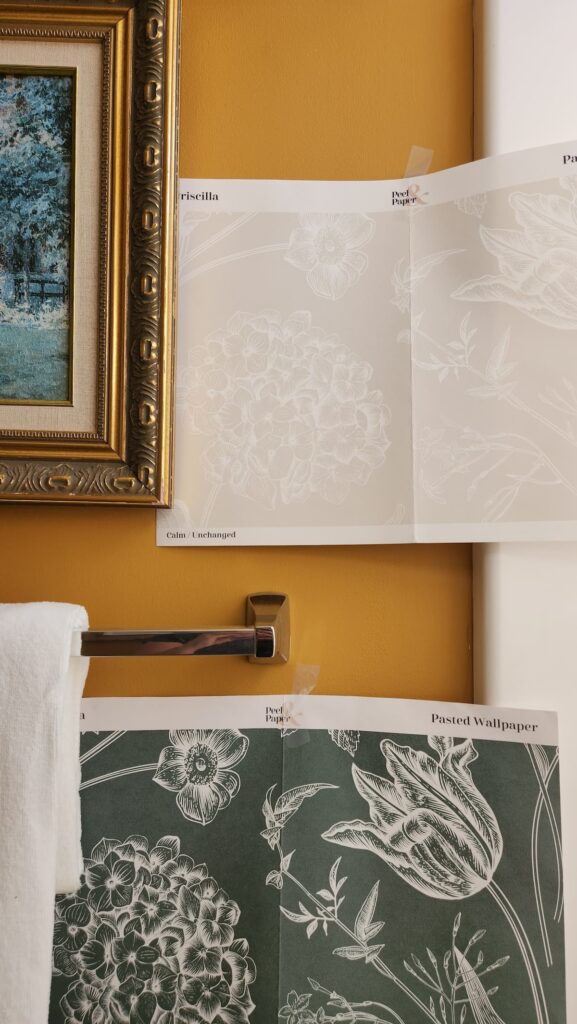
TIP: Hang a sample sheet(s) of wallpaper in the room is a must before deciding. I like to view the paper at all different times of day. This helps tremendously that the wallpaper color is just what you have in mind with different lighting.
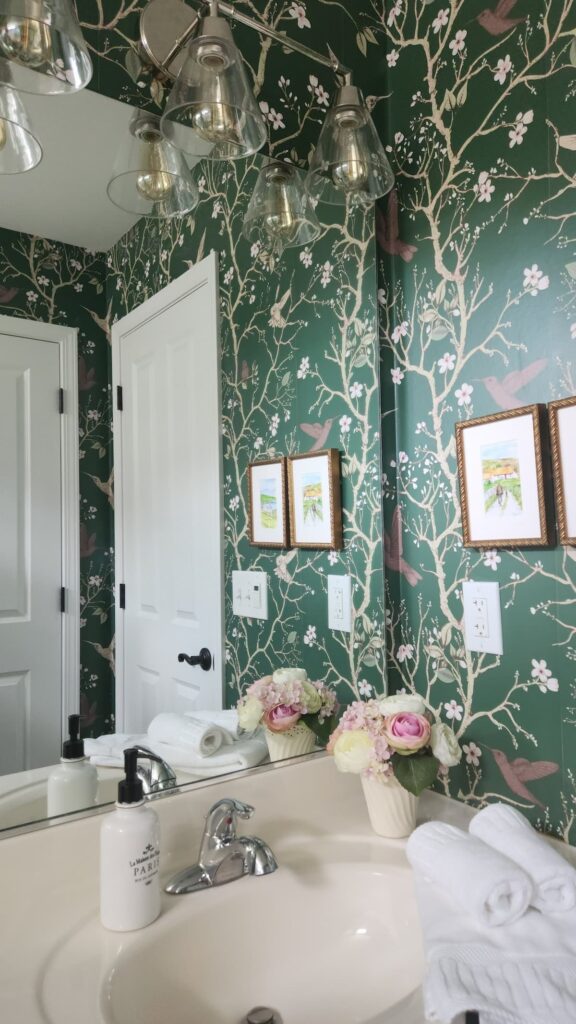
Peel and Paper: Choosing the Derora pattern
Once I decided the type of paper I wanted to use it was time to look at patterns. I quickly decided to go with a heavier-grade, durable wallpaper that would last and be water resistant. With its smooth satin finish, this premium wallpaper is both thick and luxurious and the perfect choice.
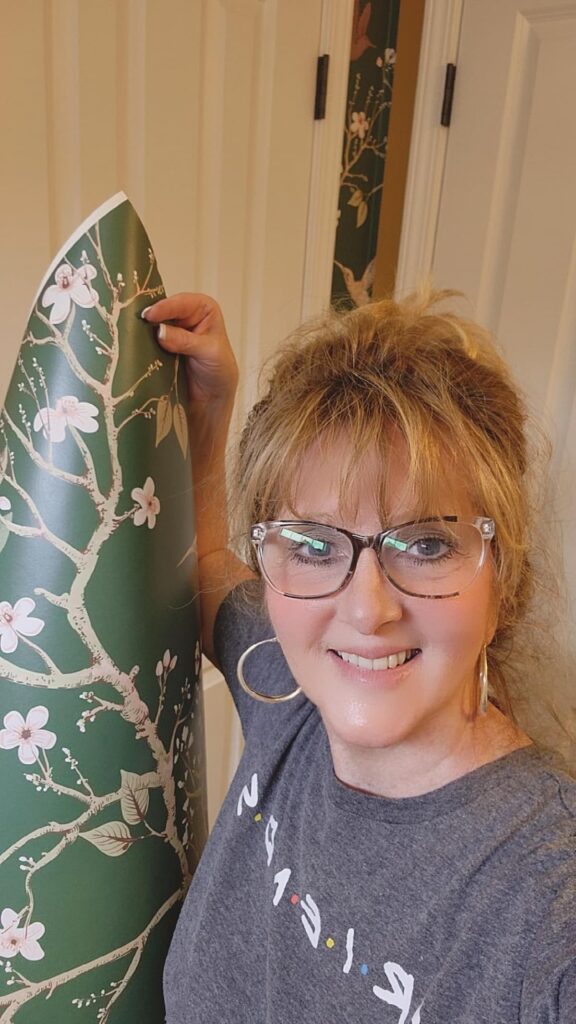
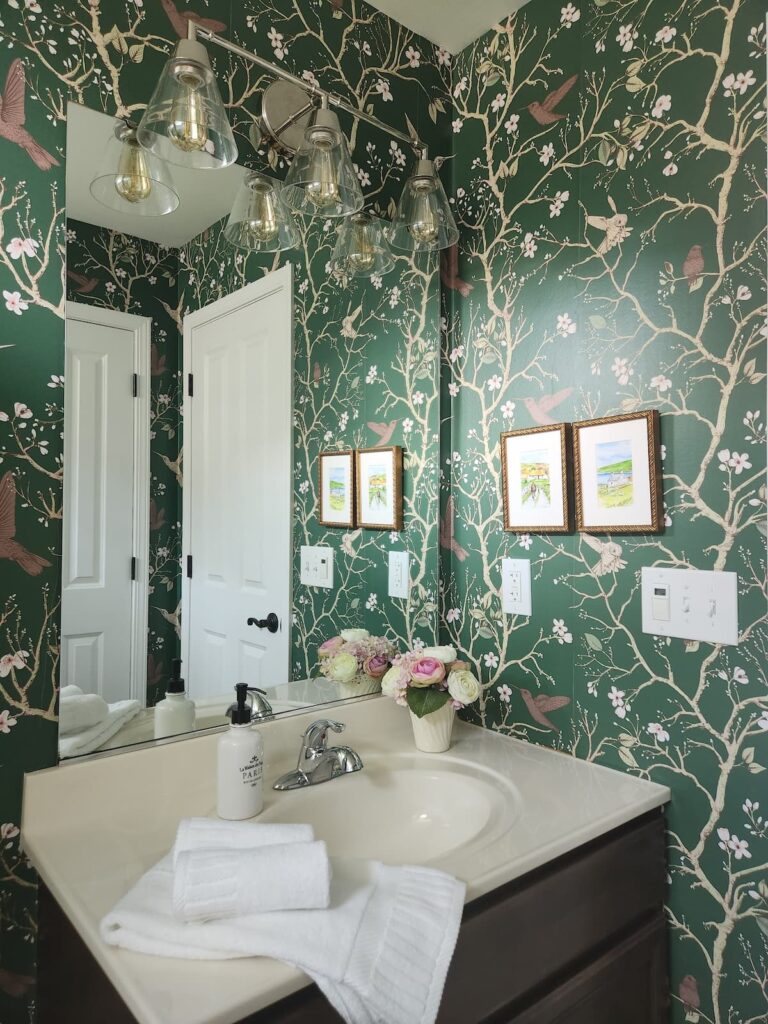
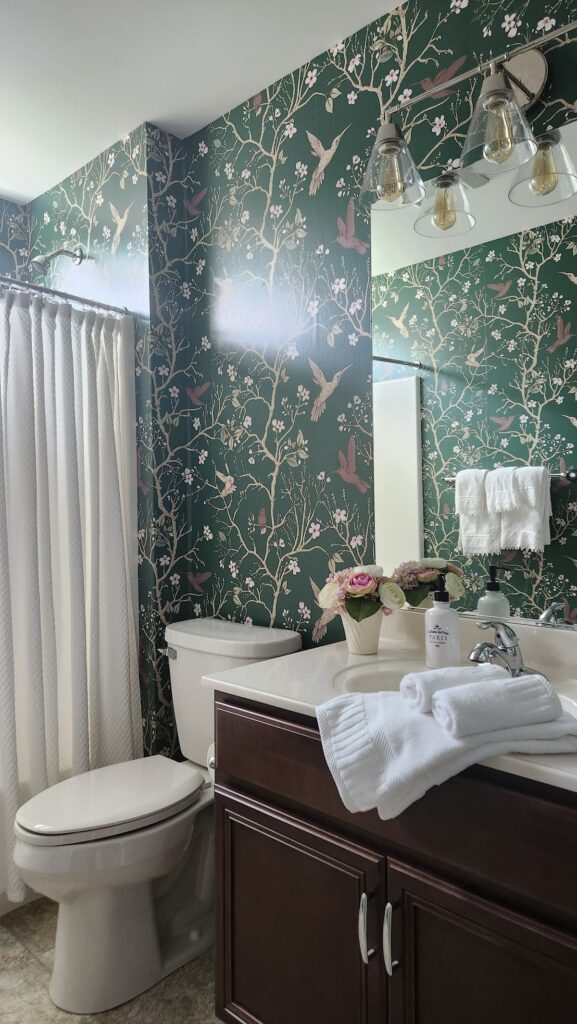
I went with Derora for my pattern. The Derora pattern is a mixture of chinoserie, birds and flowers that is bright, bold and eye catching. One of my favorite parts are the hummingbirds on the pattern.
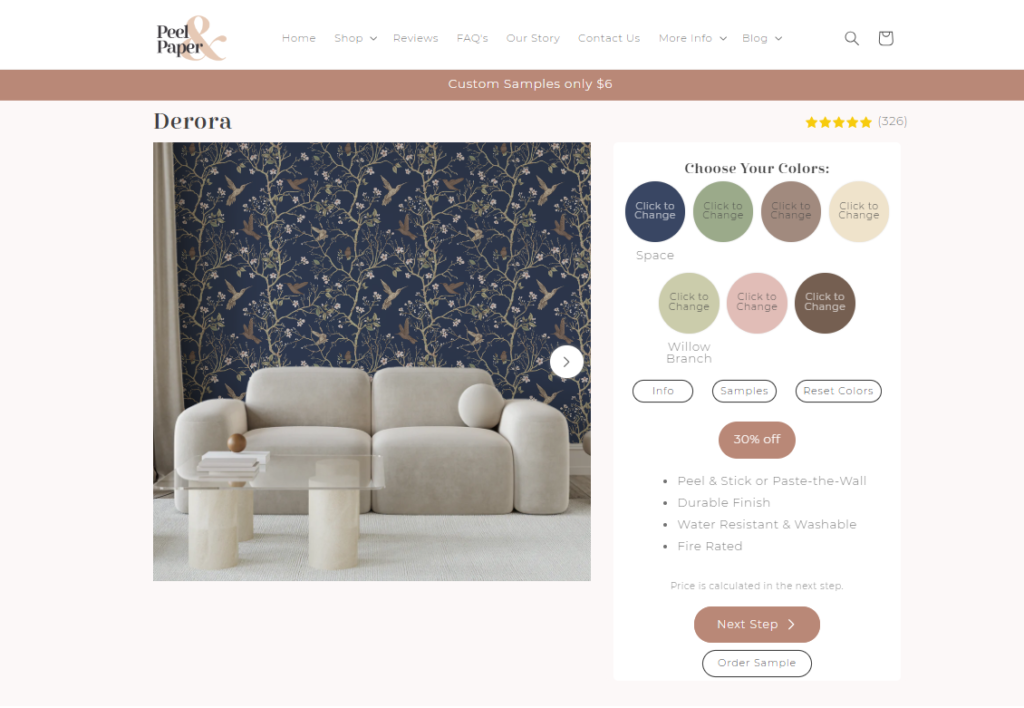
The rolls of wallpaper arrive with each sheet numbered so you know exactly which sheet is next for easy installation. Their fast delivery ensured that I could start my project without delay.
Tools and Materials You Will Need
Before diving into your paste the wall wallpaper project, gather all the necessary tools and materials:
- Wallpaper rolls from Peel and Paper
- Wallpaper adhesive
- Utility knife with a sharp blade
- Paint roller and paintbrush
- Level line and straight edge
- Damp sponge for smoothing out air bubbles
- Measuring tape to measure the height of your wall
- Step ladder for reaching higher areas
- Extra inches of wallpaper for trimming
- Small cut pieces for fitting around light switches and door frames
Preparing the Wall
The first step in wallpaper installation is proper wall preparation:
- Clean the wall thoroughly to remove any dust or debris.
- Measure the height of your wall to determine the length of wallpaper needed. Add a few extra inches to ensure you have enough for trimming. (With Peel and Paper, all I needed to do was to measure the height of my bathroom and the width of the entire room and enter into their form, they did the rest.)
- The next step is to Mark a vertical line using a level to ensure your first strip of wallpaper is in a straight line.
Applying the Wallpaper: How to hang paste the wall wallpaper
Now for the fun part: hanging the wallpaper!
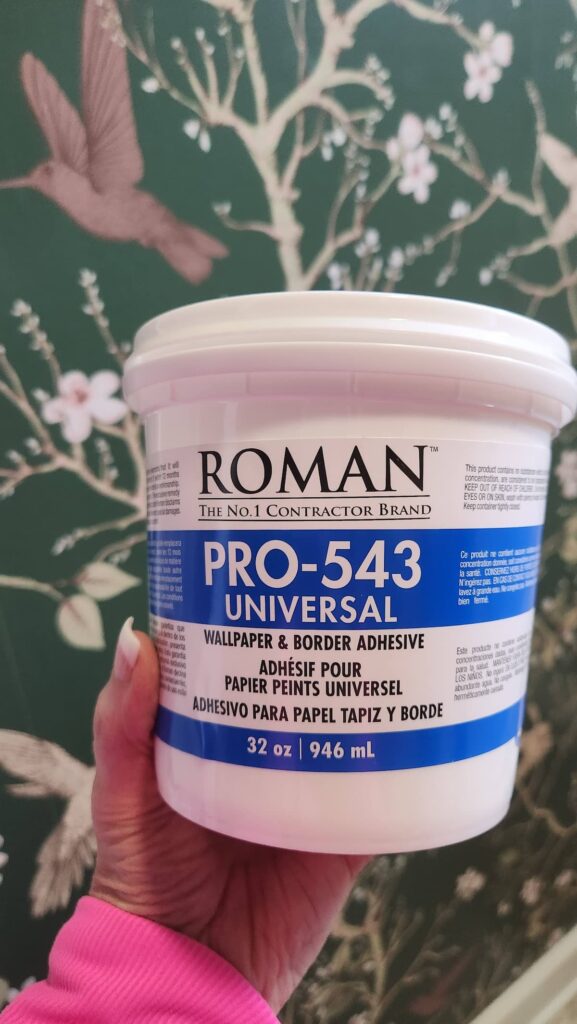
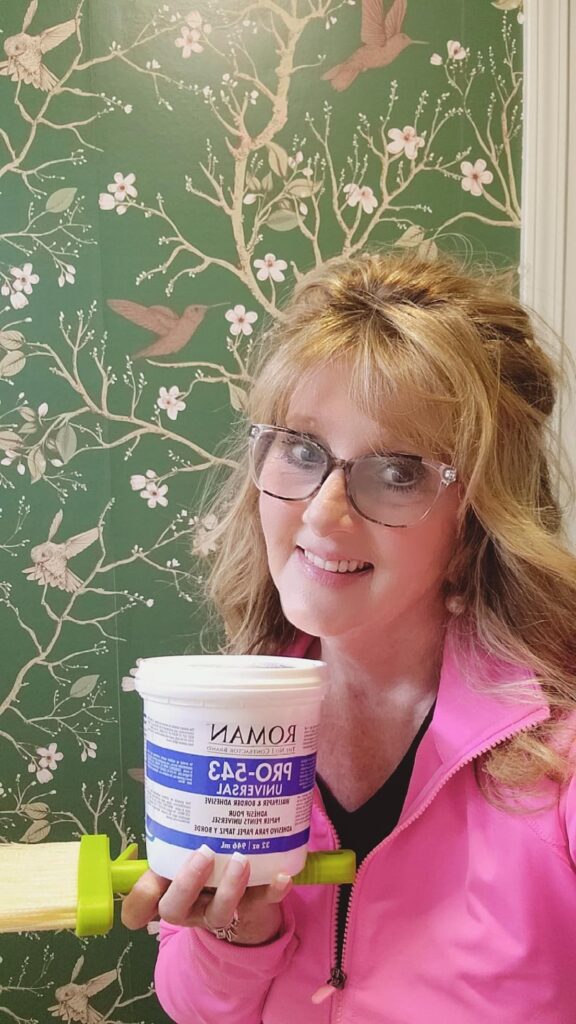
- The first thing is to apply the wallpaper paste to the wall using a paint roller. This is one of the key advantages of paste-the-wall wallpaper; Pasting the wall makes less mess and avoids wetting the paper. I used Roman Pro-543 32 oz liquid wallpaper adhesive and think it is the best paste. It’s not too runny or too thick.
- Align the first strip of wallpaper with the vertical line you marked. This step is crucial for ensuring the rest of the strips are straight.
- Smooth the wallpaper onto the wall using a damp sponge to remove any air bubbles. Start from the center and work your way outwards.
- Trim the excess wallpaper using a utility knife. Use a sharp blade for clean cuts around door frames and light switches.
- Repeat the process with the next piece, aligning the patterns carefully to maintain the wallpaper design. With the pattern I chose, this was very easy to do. Following the edges of the wallpaper, the vines and the flowers lined up perfectly for every piece.

Shop & Source


Tips for a Flawless Finish
- Ordering a sample first is an easy way to ensure you love the pattern and color in your space.
- Use a straight edge to press the wallpaper firmly into corners and edges.
- Avoid overloading the wall with excess paste to prevent excess adhesive from oozing out.
- Work in small sections to keep the paste from drying out before you can apply the wallpaper.
Collaborations
I was fortunate to work with three fabulous companies on this project. Peel and Paper provided the stunning wallpaper. The Turkish Towel Company added luxurious towels that perfectly complemented the new look. This organic 100% Turkish cotton bath towel set is spa-like. Thick, soft, and gentle on your body and the planet. You can use this link to receive 15% off of $150.00.
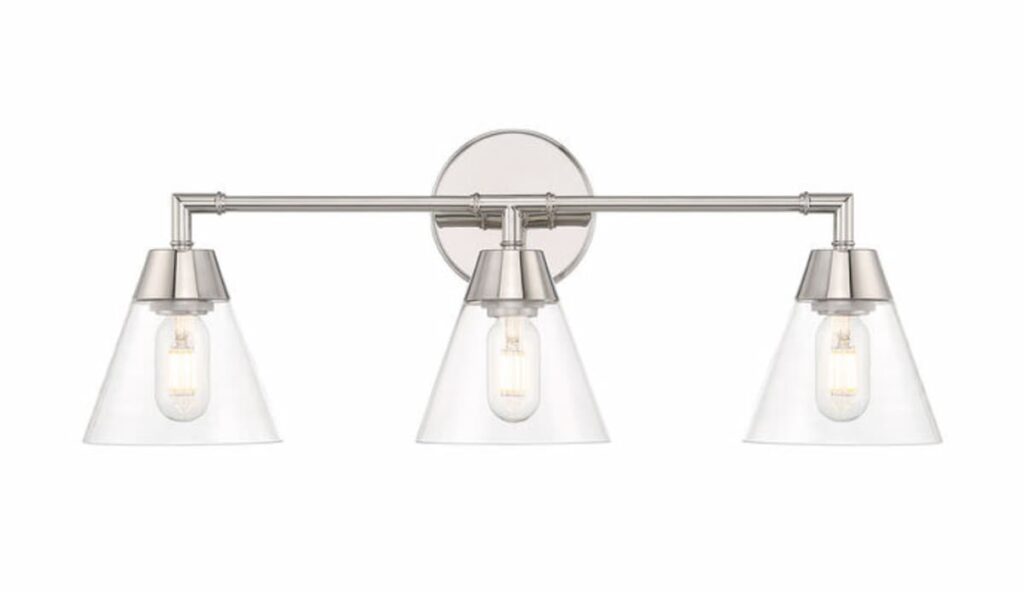
Lights.com provided this beautiful lighting that highlighted the wallpaper’s design. I chose the Owen 3 light vanity light in polished nickel.
I love the shiny chrome finish and vintage light bulb option that added charm to the room.
How to use extra leftover wallpaper?
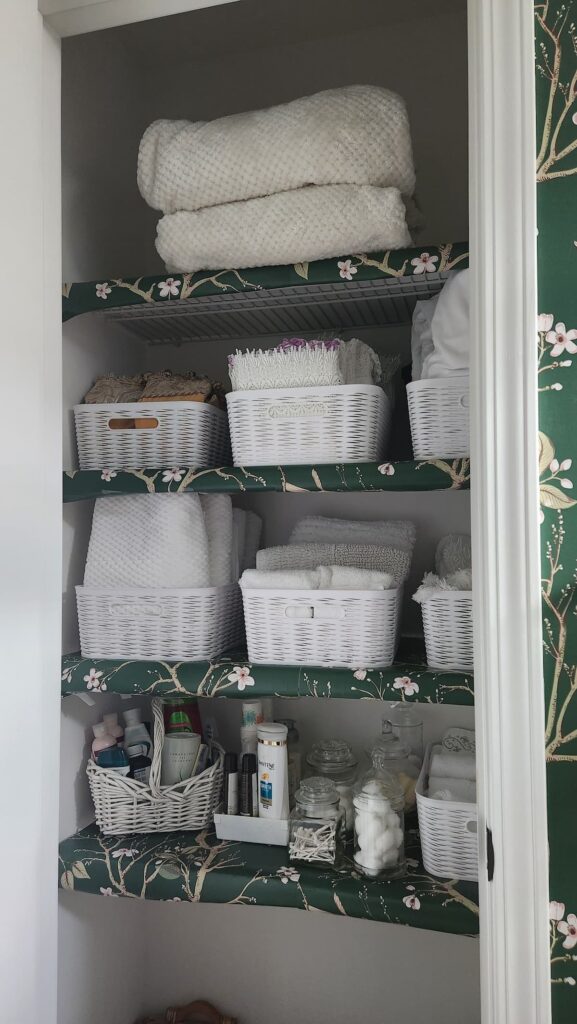
With the extra wallpaper I had left over I decided to cover my wire linen closet shelving. I laid the wallpaper on each shelf and adhered the paper underneath the shelf with clear packing tape.
Now when guests open the door for towels or linens they will get a beautiful surprise of an organized and matching closet. The closet looks so well-finished now.

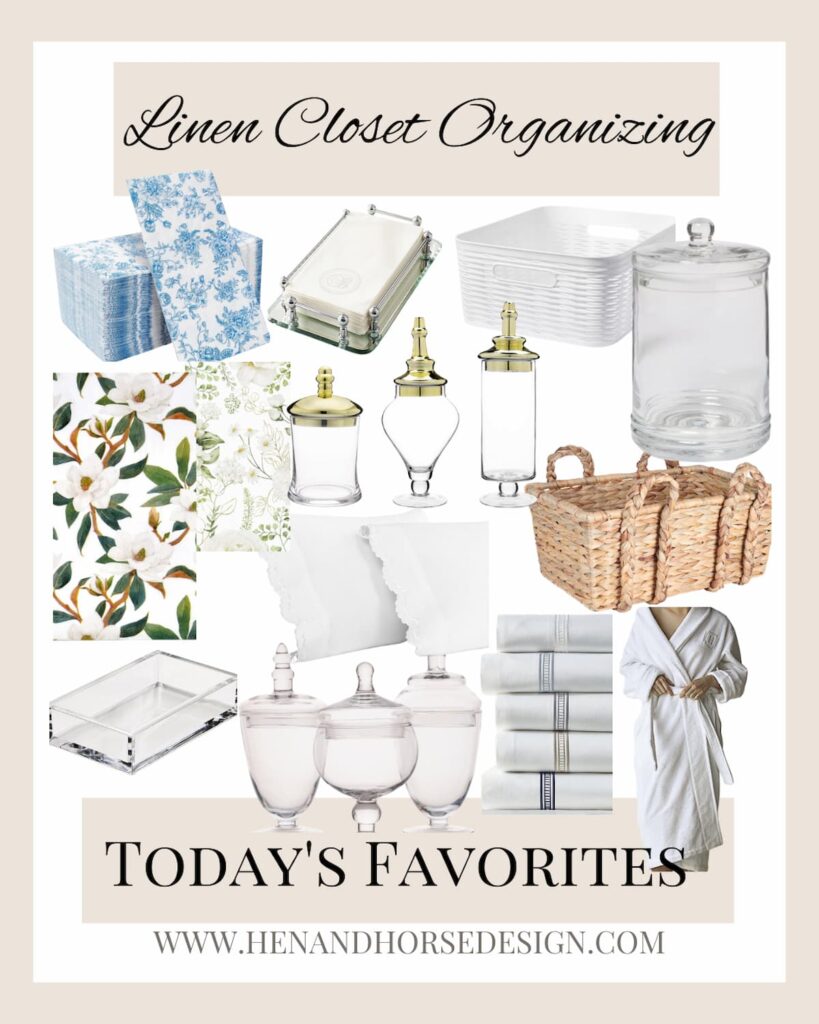
Linen closet organizing sources
Click on the photo for links.
Final Thoughts
Wallpaper installation can seem daunting, especially if it’s your first time. But with the right tools, materials, and a step-by-step guide, it becomes an enjoyable DIY project. Whether you choose traditional wallpaper patterns or a modern design, the key is to take your time and enjoy the transformation. Remember, the best tips for hanging paste-the-wall wallpaper come from experience, so don’t be afraid to get started and make your home uniquely yours.
Happy decorating!
This blog post includes affiliate links. If you purchase through these links, I may earn a small commission at no extra cost to you. Thank you for supporting my blog.

You know how much I love wallpaper! Your bathroom was beautiful before and now it is GORGEOUS! I love the pattern and all of your great tips! Well done!
You have a great eye! I love how your bathroom turned out and the design you picked.