How to Create a Luxurious Guest Room and Retreat
Thank you for stopping by to see my guest room makeover! I’m thrilled to be able to show you How to Create a Luxurious Guest Room and Retreat!
Our guest room was in need of a sprucing up for sure. The truth is that our guest room had never really been painted since we moved in five years ago.
Since I wasn’t really sure what I would like to do in this room or what color I would want, we chose to wait, and here we are. Five years of living here and now I am thinking it was totally worth the wait!
My idea for the guest room evolved over time after seeing inspiration for one thing here, and another thing there. Let’s start at the beginning.
What is a guest room?
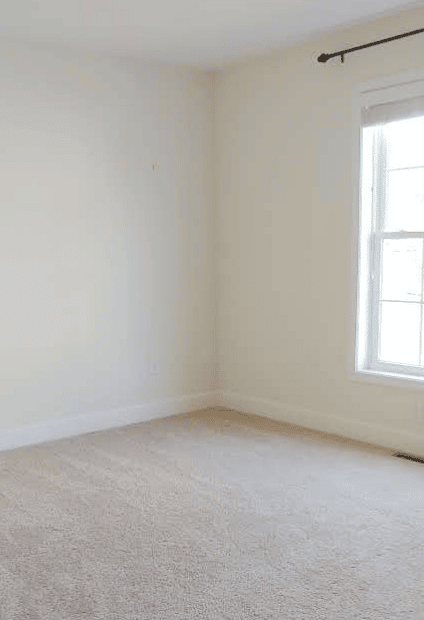
Step 1. Removing the Wall to Wall Carpet
Our whole-home has dark hardwood floors with the exception of my husband’s office and our guest room. Our first step was to have the wall to wall carpet removed, then have the hardwood laid down. We had the hardwood added and installed by the flooring company that installed the hardwood in the rest of the house. They did a fantastic job and matched the new floors perfectly to the existing rooms.
Wallpaper or Paint?
Now that the flooring was done, it was game on for my creative mind to get going with my bedroom dream design.
Originally I thought I would hang wallpaper on one accent wall. I wanted to have a guest room that was welcoming and cozy, with a bit of added drama. I’m going to be using this room as my office as well, so adding a desk would be in order. I was blessed to inherit my mother’s desk from her home and I was more than excited to give it a beautiful place to live.
However, I didn’t end up going with the wall paper as I originally thought. (I still have the wallpaper samples and will be showing you a fun DIY with them in the very near future)
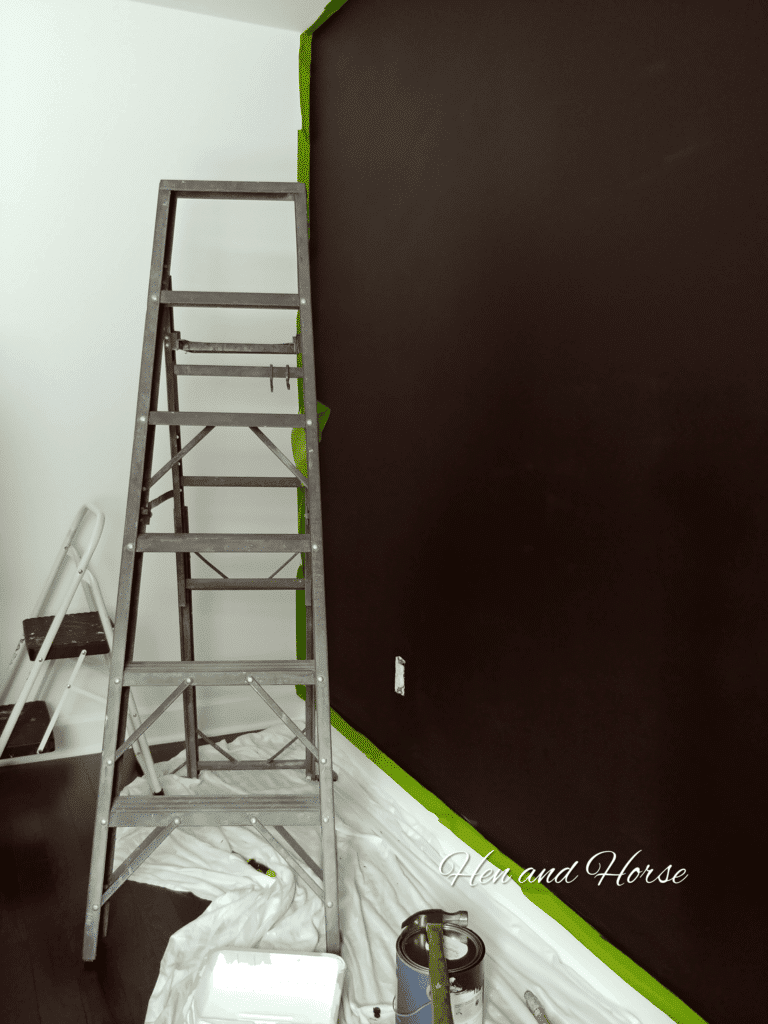
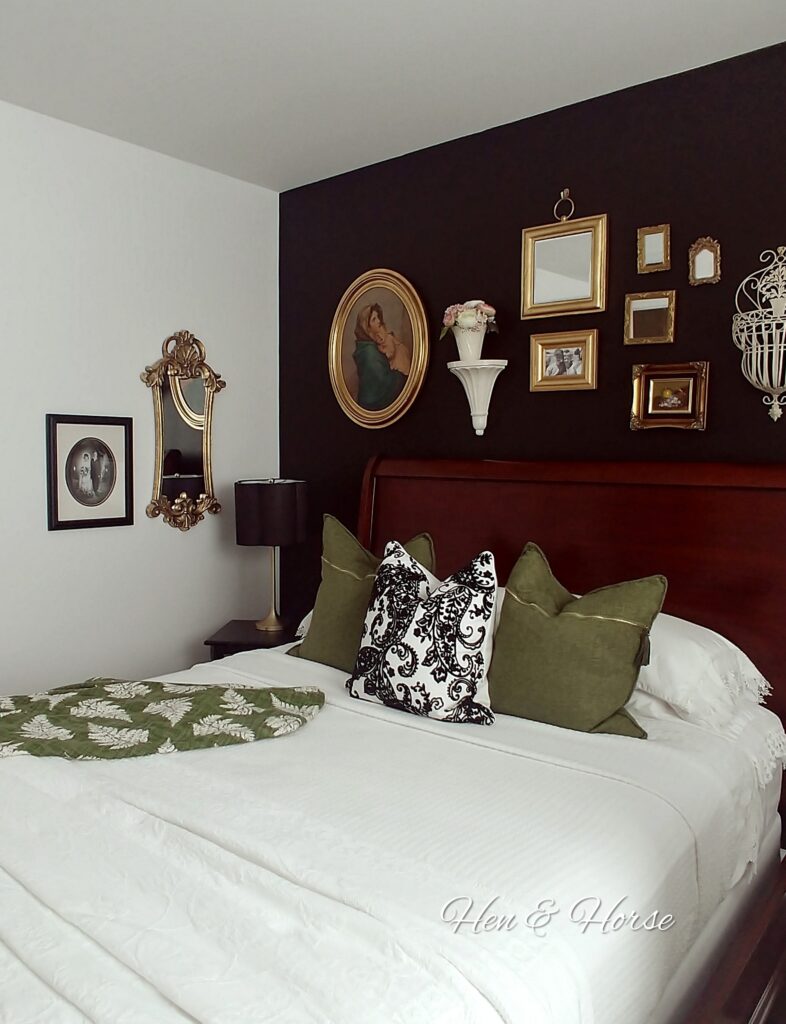
What I decided for the room, was to paint the accent wall a true black. I’m so pleased with how the color immediately added the start of the ‘drama’ I was looking for. I used Benjamin Moore Black Regal Select paint PM-9 in the Matte finish. Click Here
Prior to painting, I re-caulked all of the floor moldings where the wall meets the molding. Caulking can add so much to the finished look of the room and I highly recommend it and spending the time to prep prior to painting. This is the caulk I used. Click here
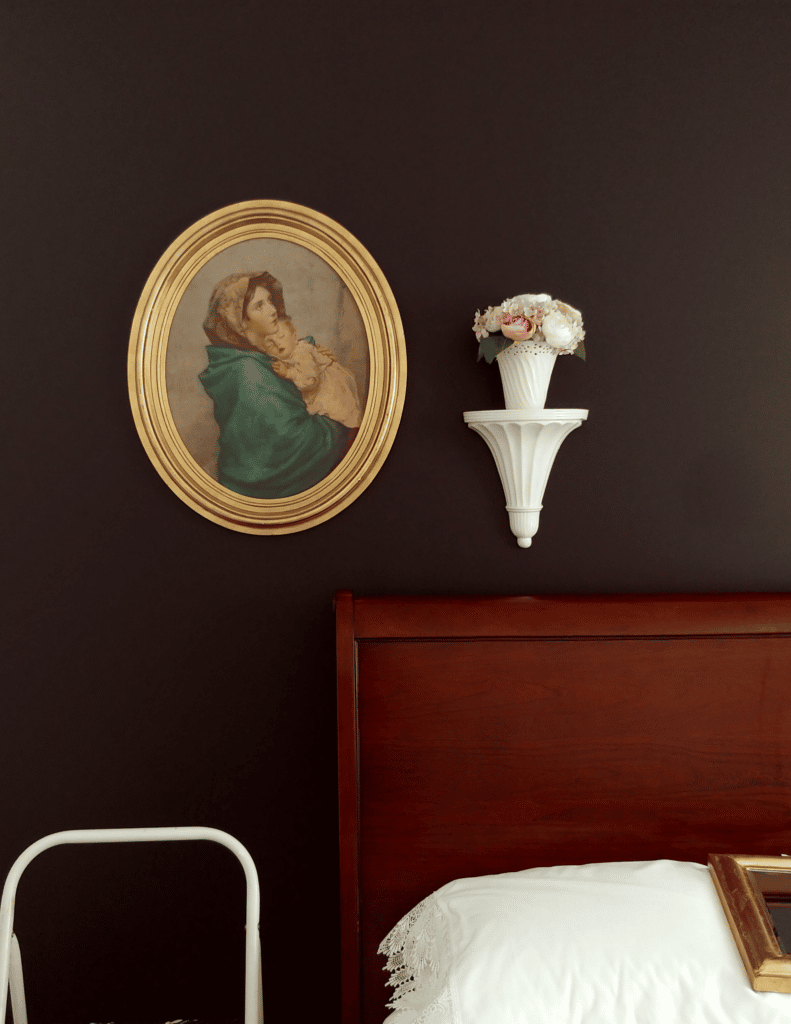
For the other three walls in the room, I chose Chantilly Lace by Benjamin Moore. Click Here for the paint sample.
Painting in the Guest Room
Up next is the painting of the guest room. When painting, I’m not the best at the cutting in part without getting it on the ceiling. I opted to take the time and prep the wall with frog tape. Let me tell you, this stuff is A-mazing!!!! The crisp line was worth the time it took to put the tape around the room! I’m talking no touchups are needed when applied correctly. There is something so satisfying about a crisp straight paint line!!! Click the link here for the frog tape.
Next, since the painting was done, it was time to start with the fun. Decorating! I wanted to use as many of the items that I could and previously had in my home without spending a lot of extra money.
Shop Your Home Decor
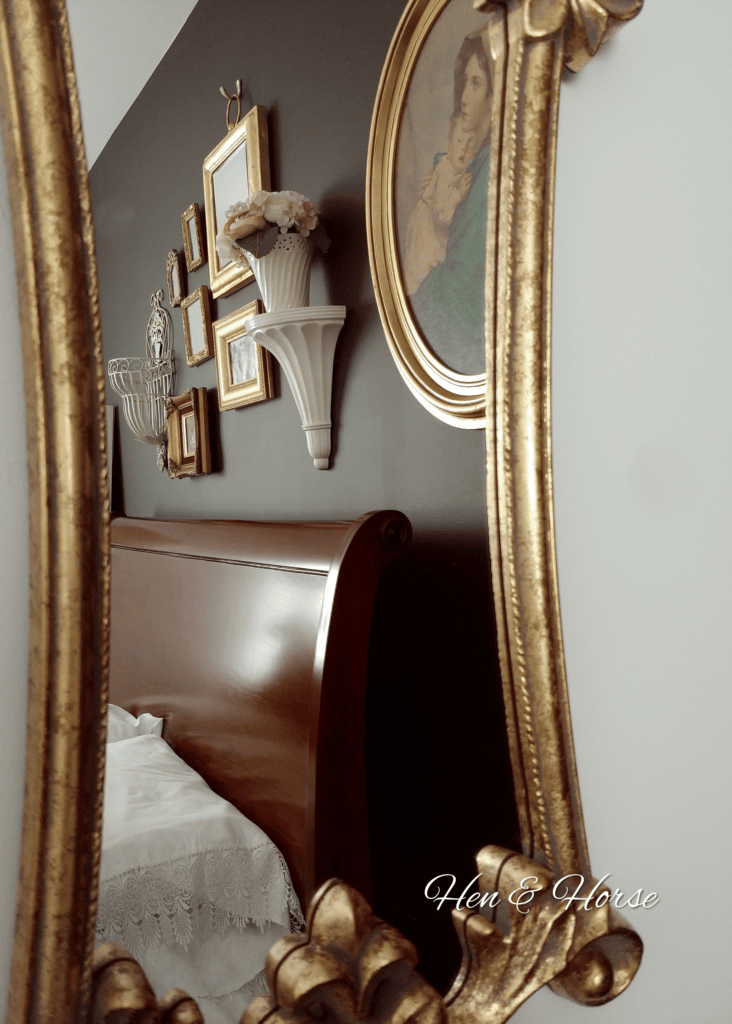
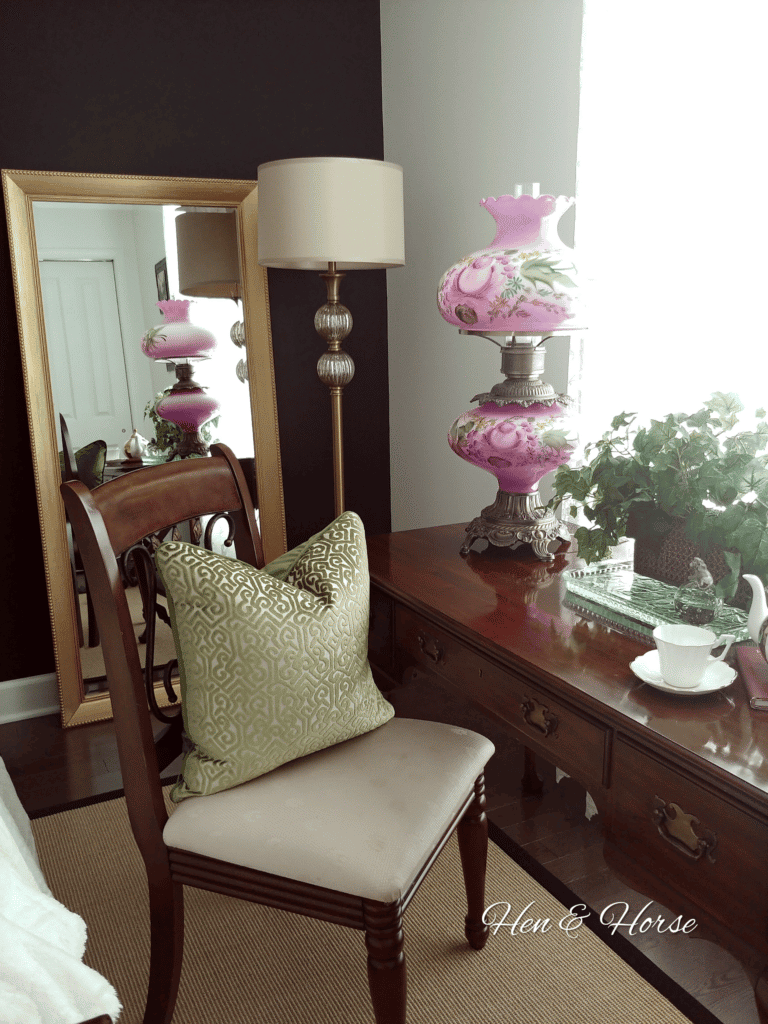
When we think outside of the box, and if we use what we already have in a different way, the results can be amazing. I’m a believer in using what we already have acquired and trying different ways to display or utilize those decor items. I shopped my home, and here are a few things I found (several gold frame mirrors, a mother and child painting that was my grandmother’s and I had always wanted to hang in just the right spot, and a recent throw I purchased from Home Goods.)
In addition, years ago I would take a ceramics class at night and in that class, I made this lovely wall sconce, so I’m adding that to my gallery wall. Then I found a wrought iron planter to add a bit of greenery to marry in the green color of the fern throw! How’s it looking so far??
Shop & Source
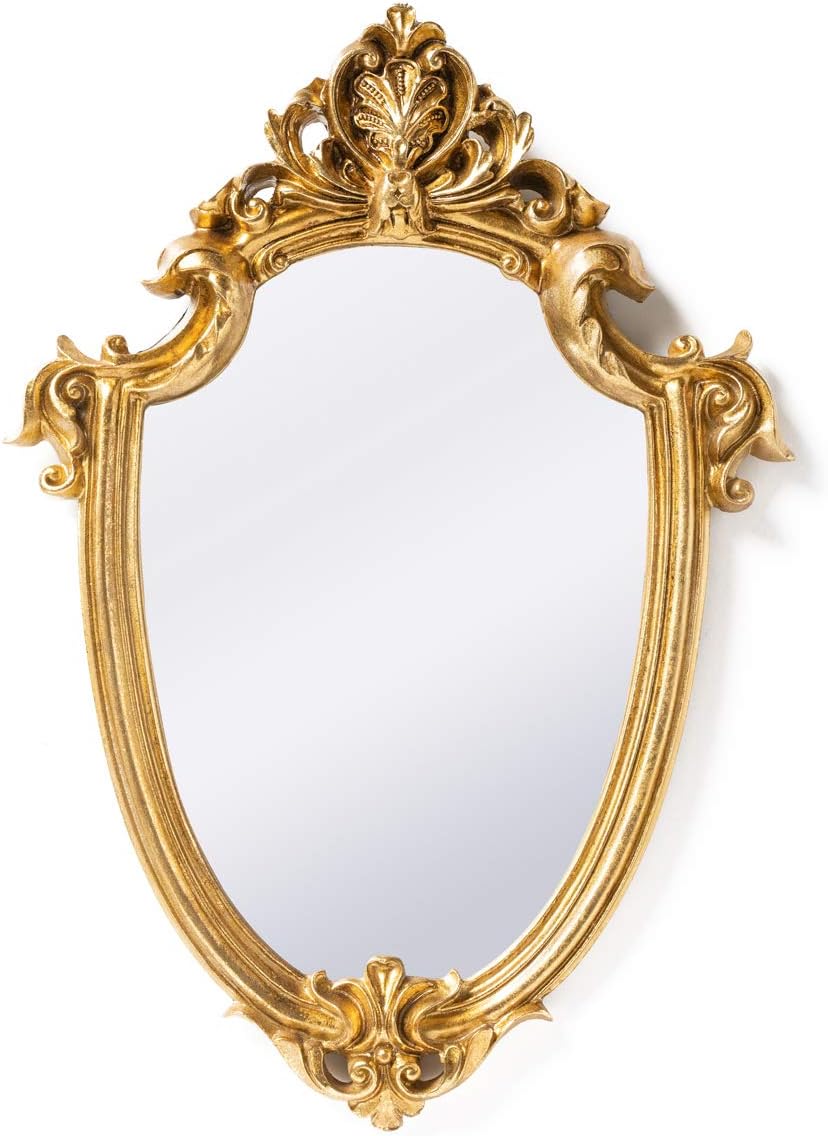
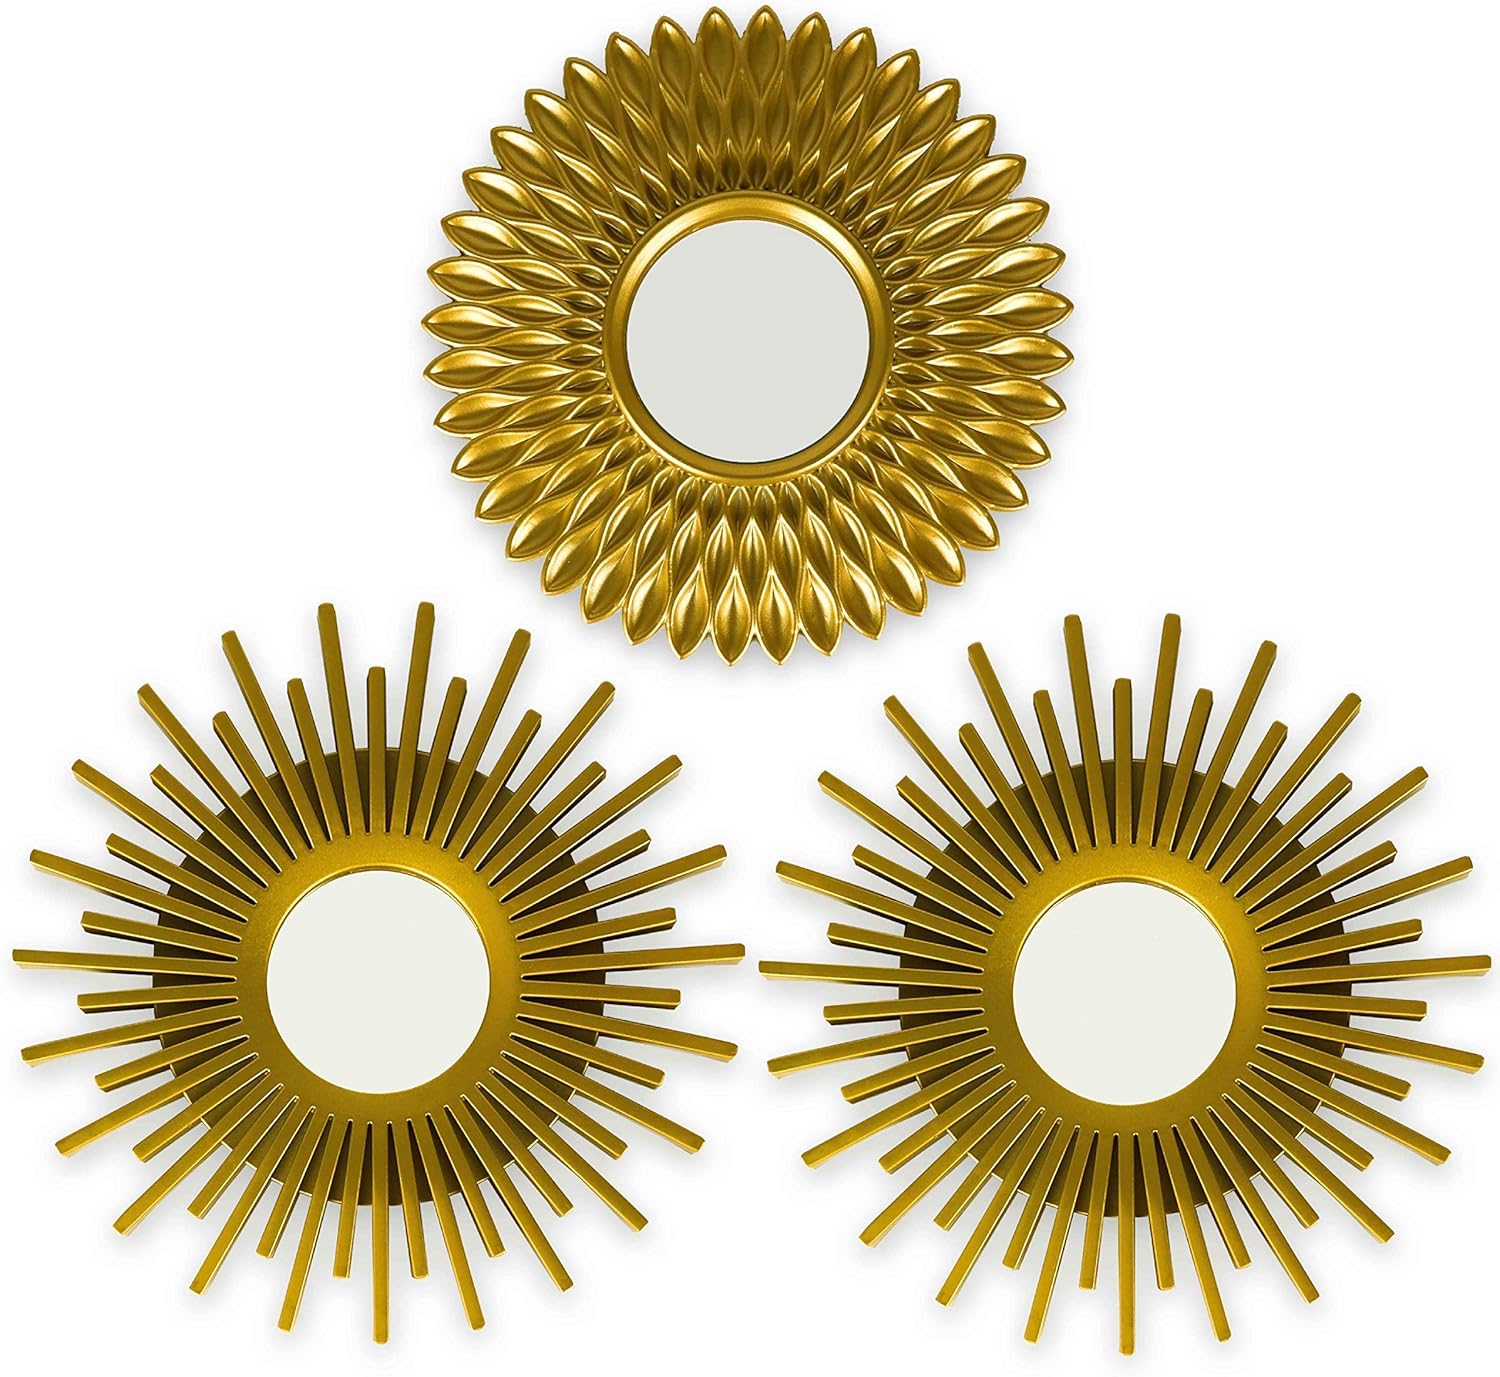
The reflection of a mirror around the room adds dimension and can make your room appear larger. I’m a gold mirror lover!
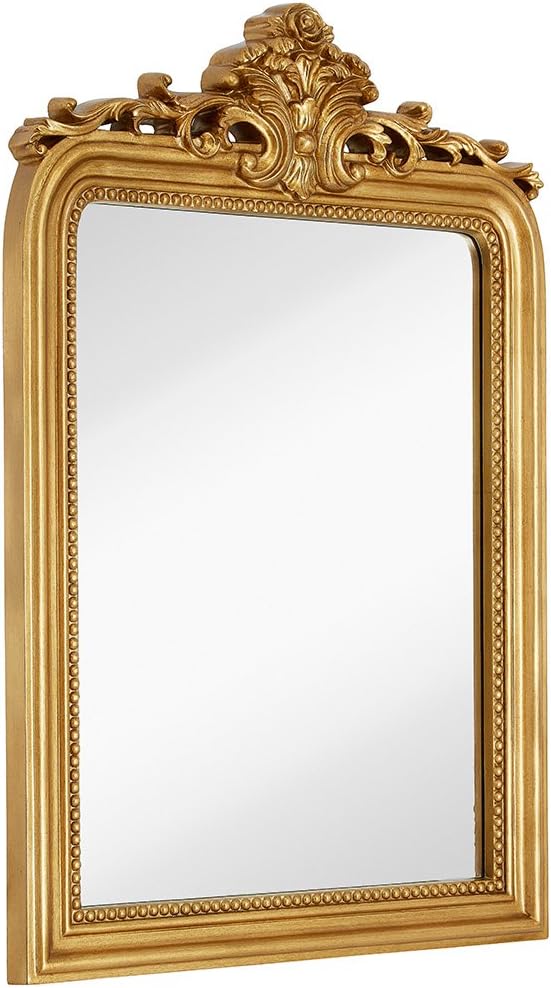
This Large One is Stunning Click Here
Click Here for the this pretty mirror similar to mine
Time to add a few pillows. When selecting my pillows I carried the green theme from other parts of my home into the guest room. Black and white pillows are always a fun option as well.
Click Here for the Green Pillow .

A few black and white options!
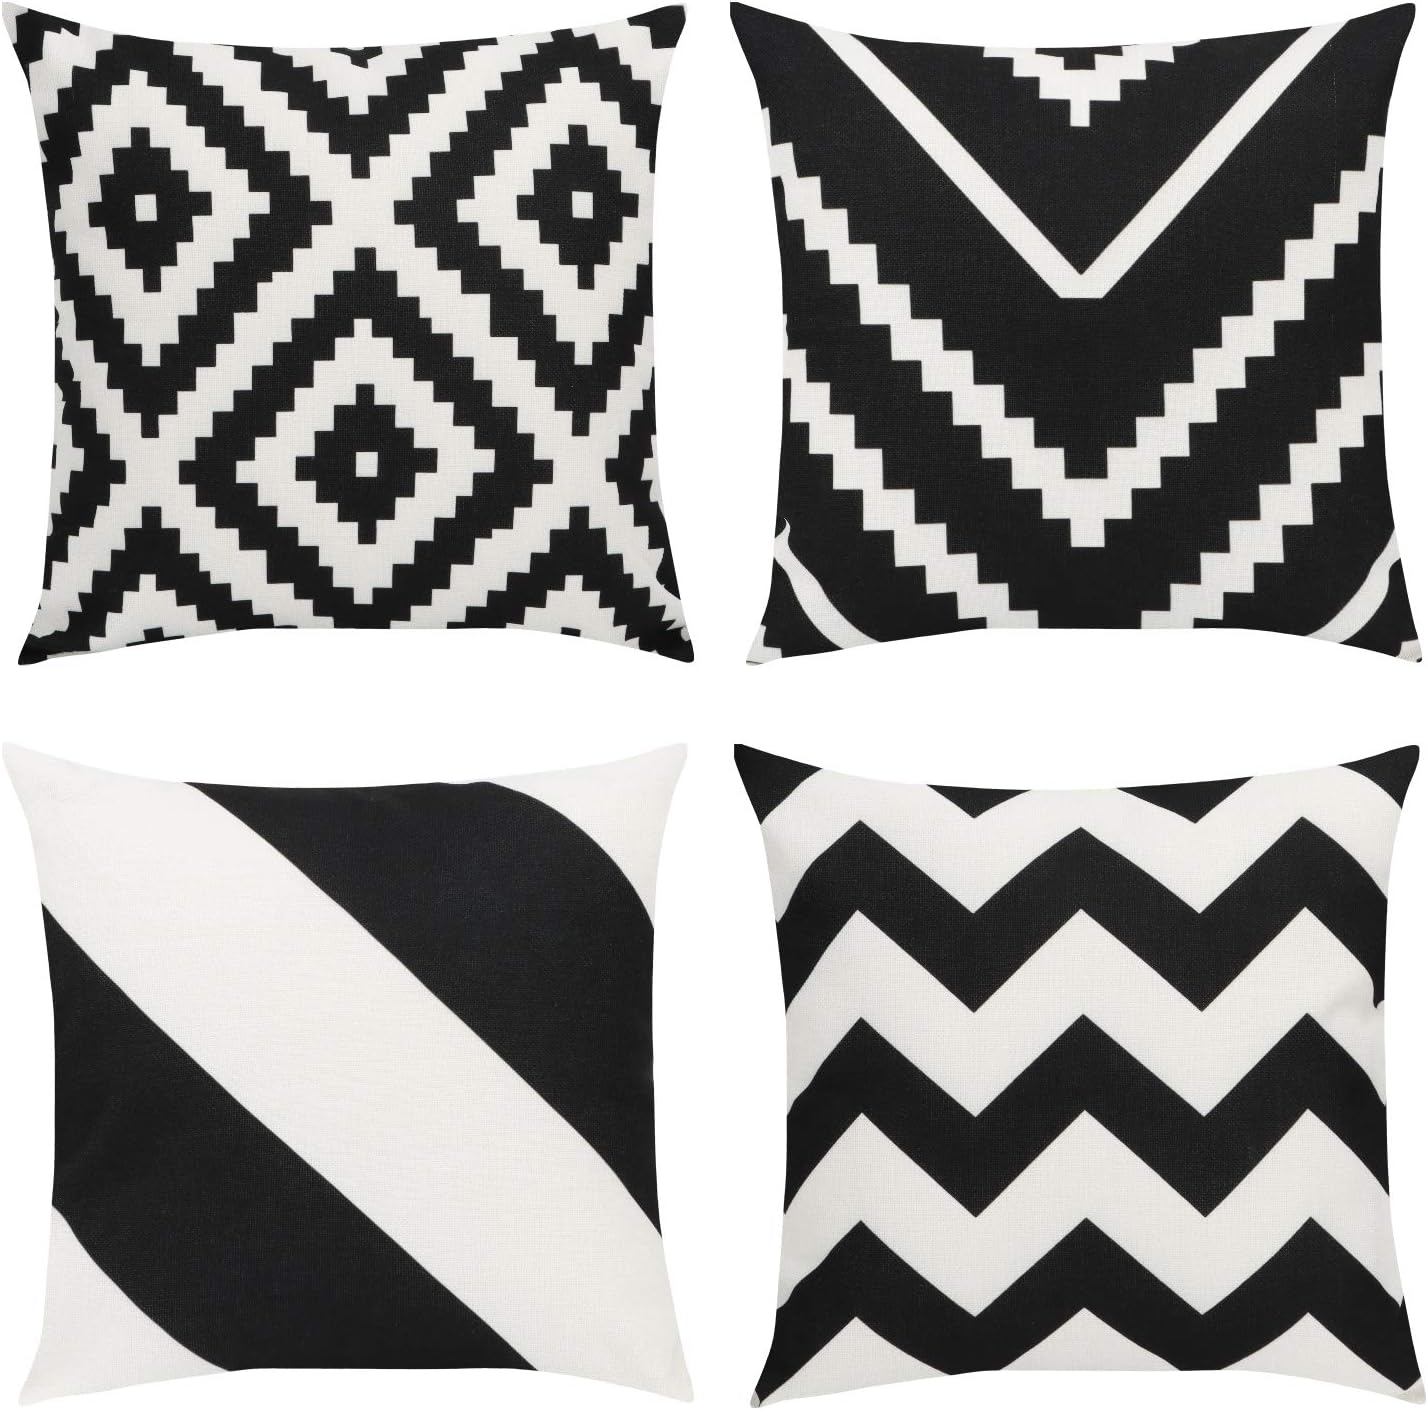
Or Click Here 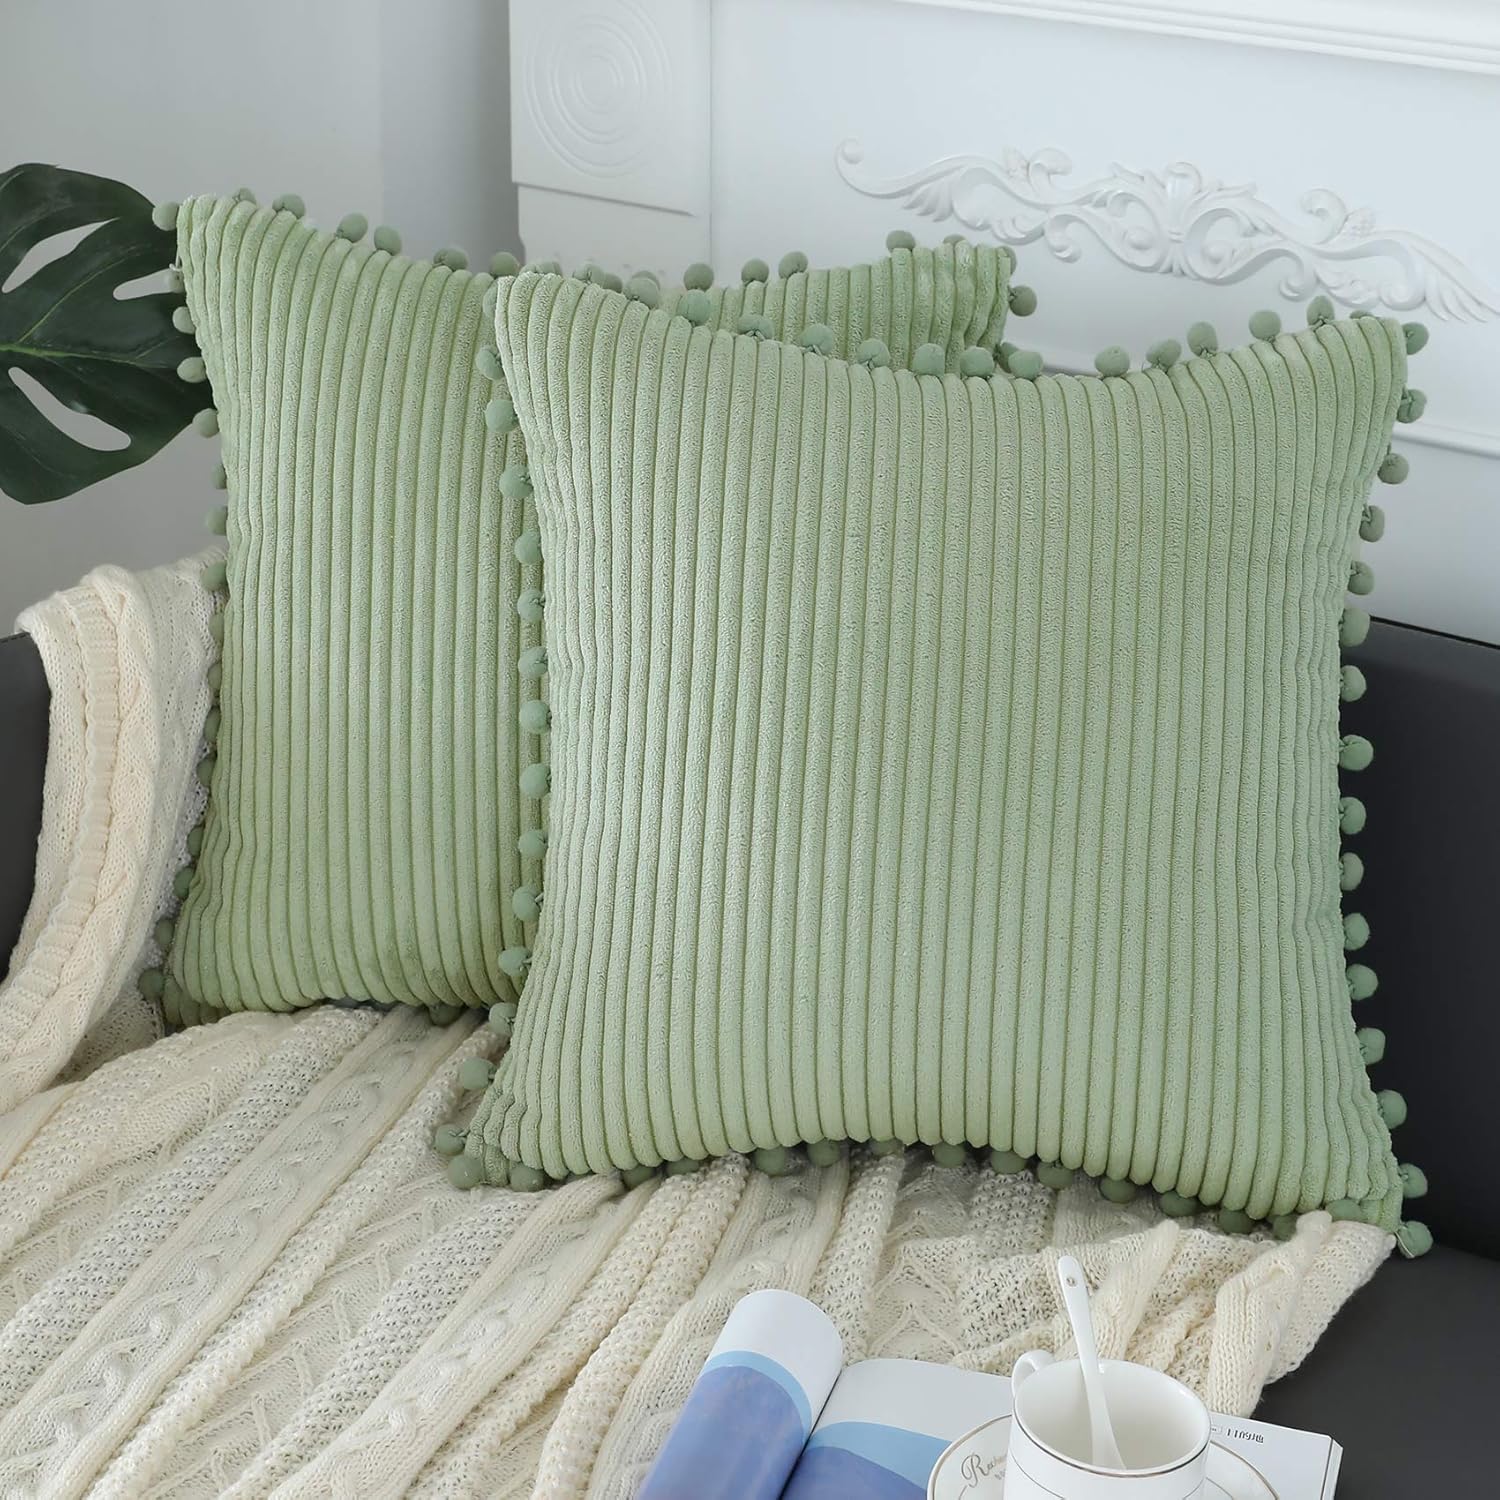
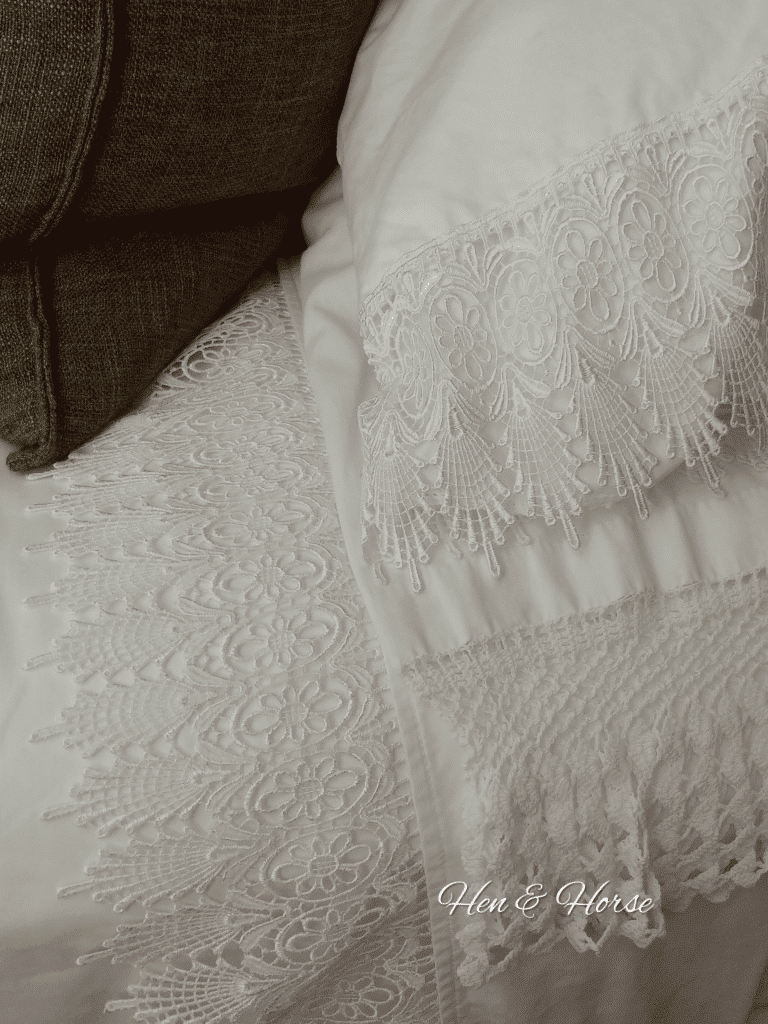
Vintage Lace Makes a Beautiful & Luxurious Bed
Lastly, vintage linens are my go to when making the bed. I love the feel and weight of luxurious cotton. Adding lace and other adornments with your bed linens make it so special for your guests. One of the reasons I choose white or neutral bedding is that it allows you to change the color and decorating of your room easily from season to season. Just change the pillows or the throw.
It was so much fun to create our new guest room / my new office. Writing my blog posts from here is going to be so inspiring for me. I hope you find some inspiration to create your own room makeover as well!
XO Susan
I hope you are inspired by this post! For more daily inspiration follow me on Instagram and Pinterest.
