Easy DIY Easter Wreath Makeover for Your Front Door
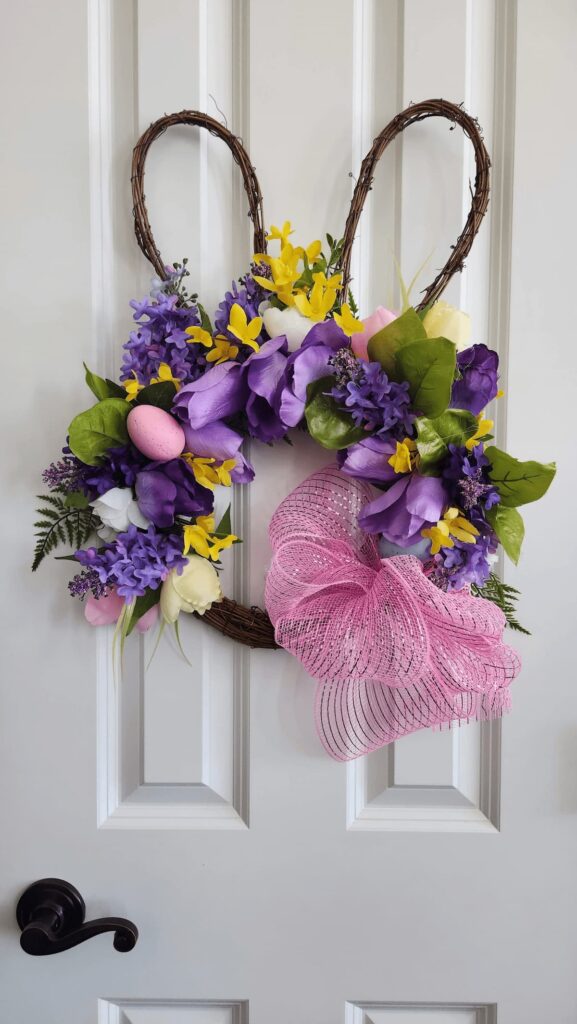
Wait until you see how I transformed this store wreath into something a bit more. Today I’m sharing an easy DIY Easter wreath makeover.
Hi there, I’m Susan, and welcome to ‘the Roost’! I always strive to provide fun new ways to inspire you, spark your weekly inspiration and creativity, and give you the motivation to create the home of your dreams. All on a budget and while having fun doing it!
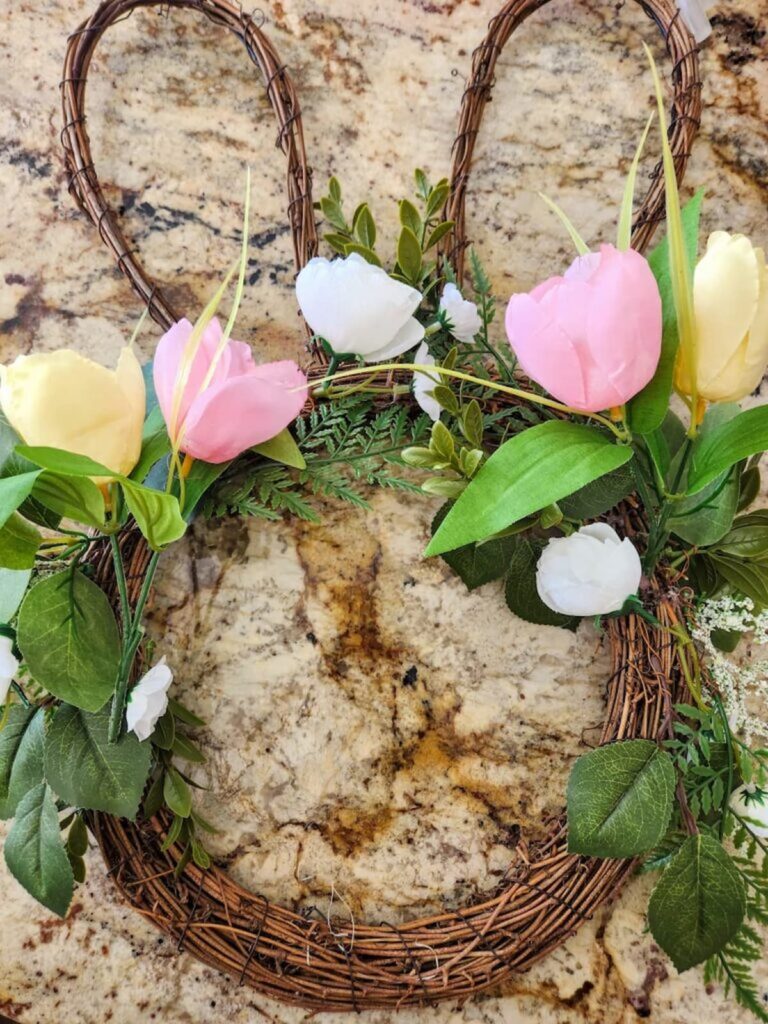
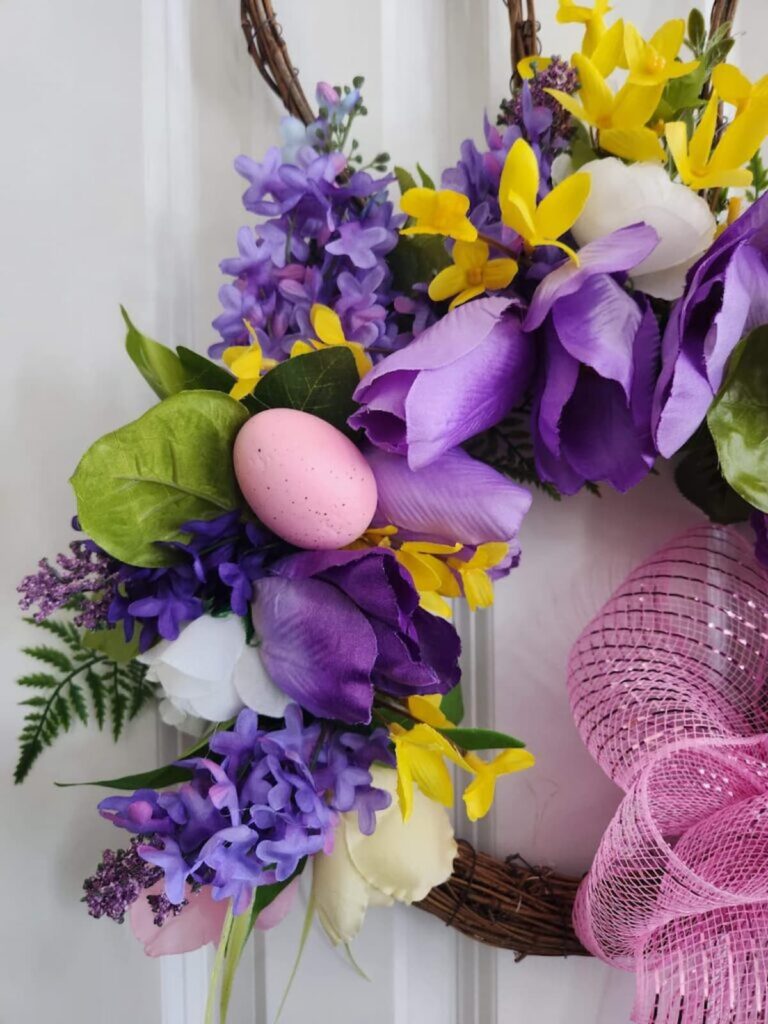
DIY Easter wreath makeover (from this to that)
New ideas for something to hang on your door
I always look for new ideas for something to hang on our door. While I don’t typically head to the dollar store I am known to hit up Michael’s on a semi-regular basis.
I was in the market for something entirely different when I saw this sweet bunny grapevine wreath. It had a few plastic easter eggs on it which I thought I could use for my easter egg topiary tree. But how could I embellish this wreath easily and make it, well, better?
Typically I prefer to make my own wreaths or restyle ones I already have. It is always best to shop your home for old things you can make new.
Here is what I did.
DIY Easter Wreath makeover 101
In my mind, there is pretty much nothing that can’t be solved with hot glue. It’s a great way to take a wire wreath form, a dollar tree wreath, or any floral wreath or craft and up the ante!
How do you jazz up a store-bought wreath?
Supplies you will need
- store-bought wreath with minimal decorations or any wreath you have that needs a refresh
- glue gun
- wire clippers
- 2 bunches of tulips (any color)
- 1 bunch of forsythia stems
- 1 bunch of Hyacinth flowers
- roll of pink mess ribbon
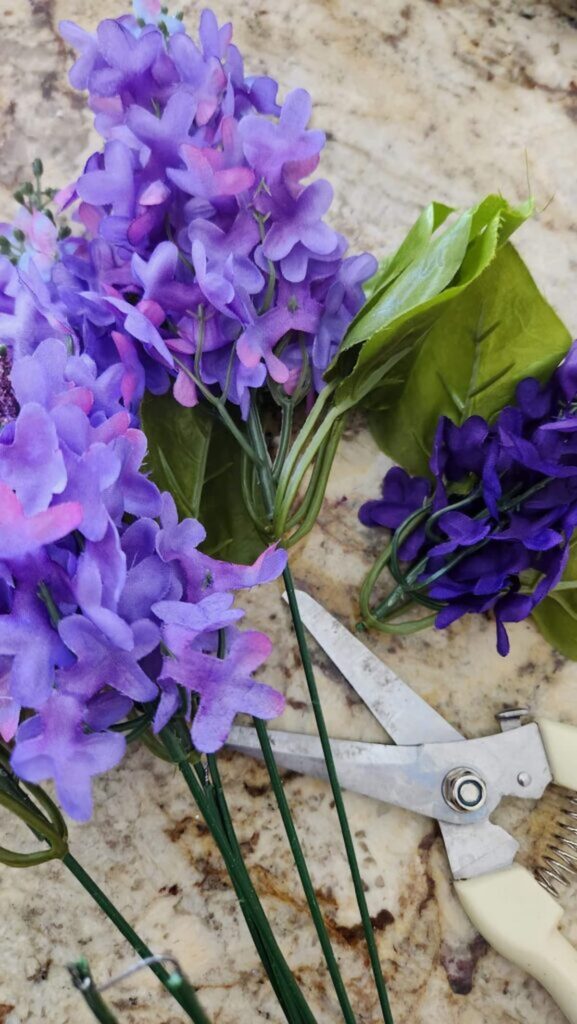
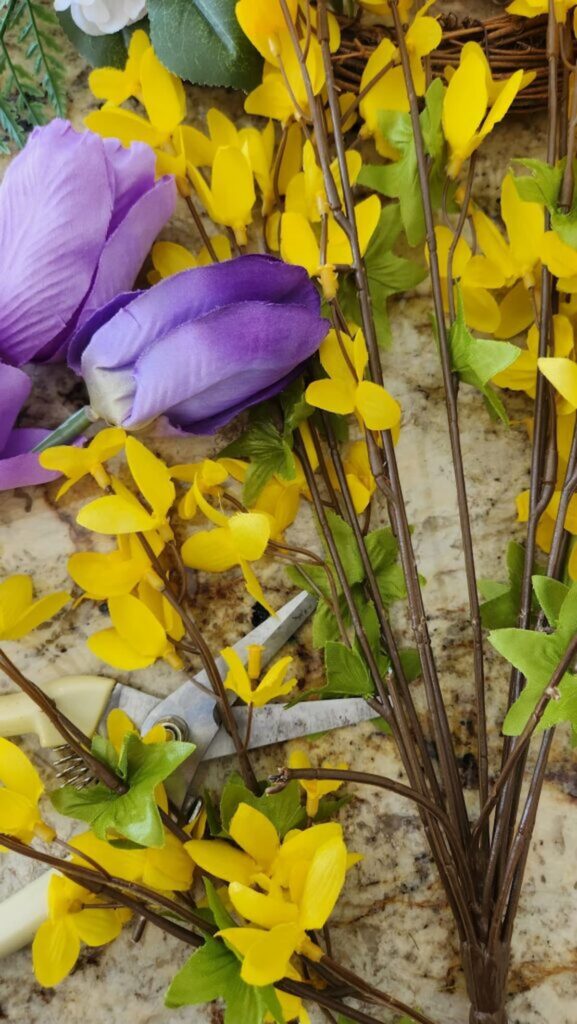
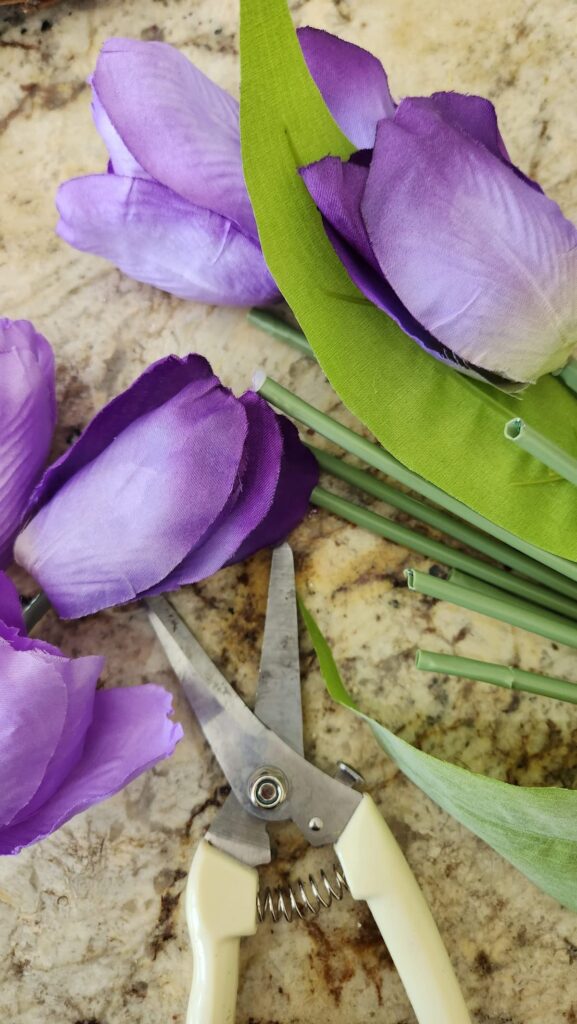
Start by clipping the heads of the flowers off of the stems.
On several of the stems, I left the faux leaves attached to fill in the spots with greenery.
Cut the flower tops down on the tulips to a smaller size, then use a glue gun to attach them to the easter bunny wreath, working your way around.
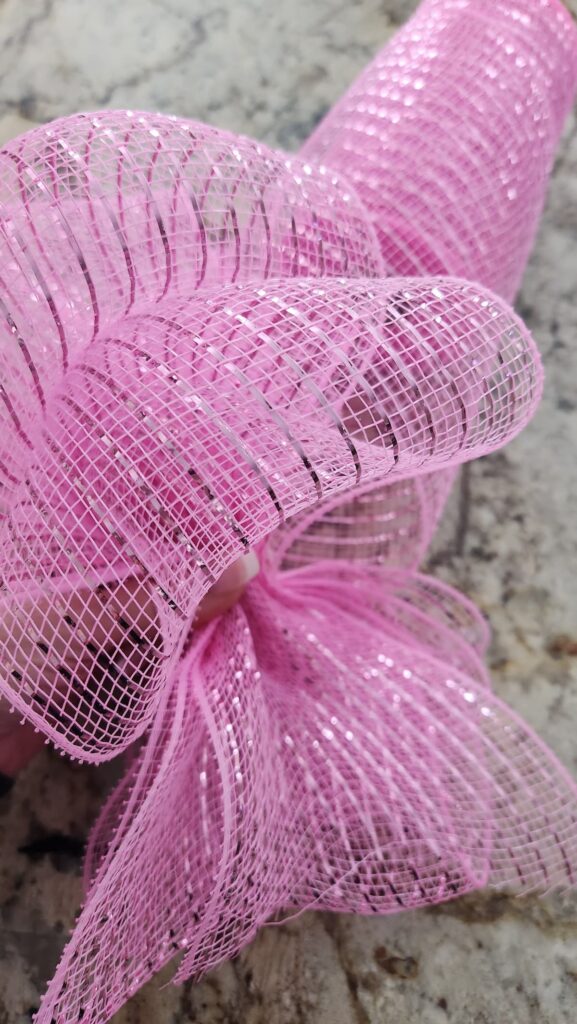
Tying the ribbon was super simple since I used a piece of floral wire. Twisting it around was the easy way to have it attached.
Since this was going to hang on my front porch, I didn’t need to worry about the back of the wreath.
Once I arranged the flowers where I wanted them, I added a mesh pink bow to my simple easter wreath.
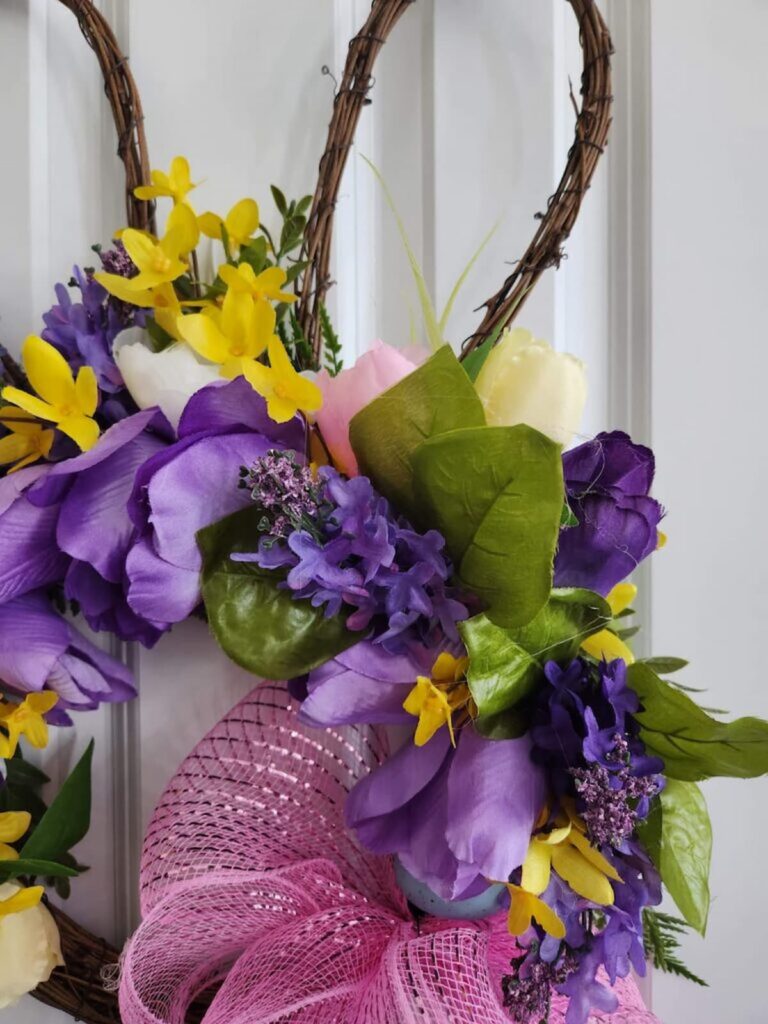
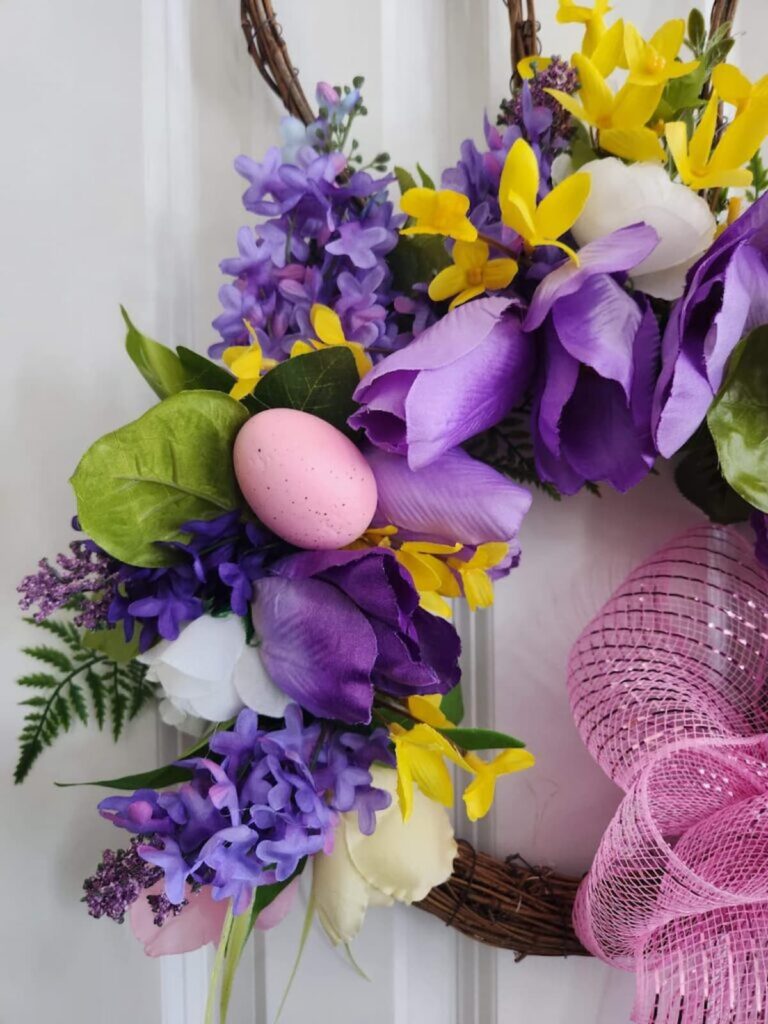
DIY Easter Wreath Ideas
- The first thing that came to mind is to light it up. That’s right. Adding a battery pack of twinkly lights always seems to ‘brighten’ up everything. I prefer fairy lights since they are so delicate.
- Have you ever noticed? Don’t DIY Easter wreaths tend to be fuller than craft store wreaths? They are in my house anyway. I love to add lots of greenery to jazz it up.
- Embellish your wreath with pom poms, bunny ears, or colorful eggs
- Do you like simple wreaths? Paper flowers or a wooden wreath frame can be made or purchased at a craft supplies store.
- A little bit of burlap ribbon goes a long way.
- Want the frame of the store bought wreath but not the flowers on it? Take the whole thing apart and start with just the base.
- How about attaching paper egg cartons with faux colorful eggs glued into it? Spray paint works wonders and would be a great idea to give your carton some color.
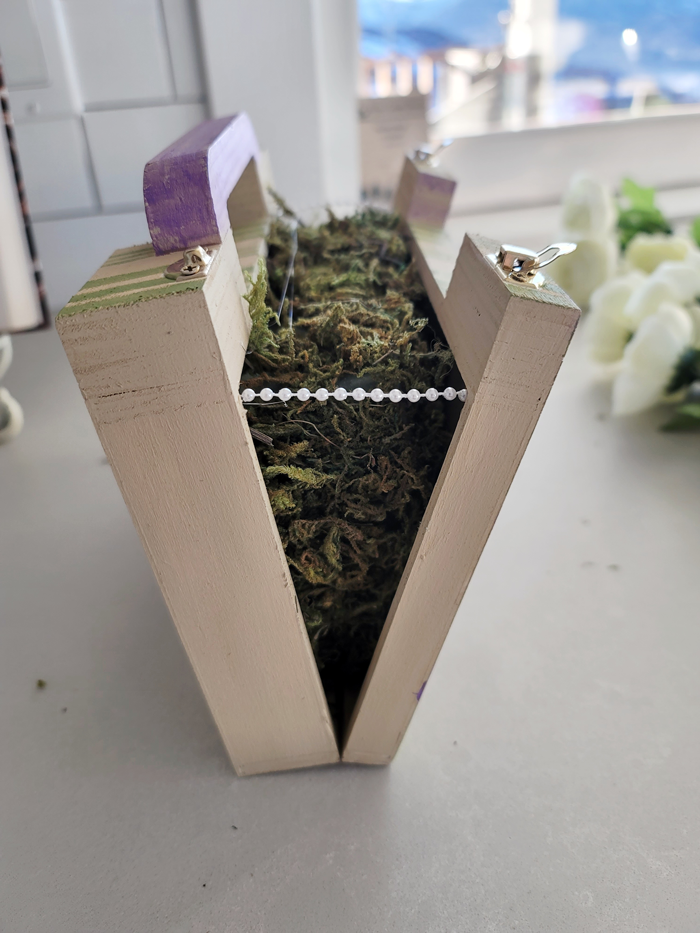
My friend Crystal from Sweet Valley Acres has an alternative to her front door wreath. Wait til you see what she did with a clutch! Here is a sneak peek.
Looking for more inspiration for what to do with your front door? Check this out here.
How do you make a cheap wreath look expensive?
The perfect way to make your cheaper wreath look like it came out of an exclusive shop is by adding fabulous faux flowers. Not just any flowers, but really realistic-looking stems. Higher-priced faux flowers are definitely worth the extra money. They last for years and may be reused in another DIY project or simply placed in a ginger jar or special vase.


Not up for making your own DIY Easter wreath?
Frequently Asked Questions
- What materials do I need?
- You’ll need a wreath base (such as foam or grapevine), artificial flowers and greenery, ribbon, hot glue gun, and scissors.
- How do I make it?
- Start by attaching greenery to the wreath base, then add flowers and decorative elements, securing them with hot glue. Finish with a festive bow.
- Where can I find materials?
- Craft stores, online retailers, and dollar stores often carry a variety of Easter-themed decorations and supplies.
- How long does it take?
- Depending on the complexity, it usually takes about 30 minutes to an hour to complete a DIY Easter wreath.
- Any tips for a professional look?
- Arrange elements evenly around the wreath, vary textures and colors for visual interest, and fluff and adjust as needed for a polished finish.
I hope you have a wonderful easter season and are inspired to make a cute easter wreath. I’d love to see what you make so be sure to tag me if you post on social media.




Such a pretty wreath. I love the colors and how you snuck an egg in and of course the little ears are so cute! Thank you so very much for sharing my wreath alternative. It is always fun to try something new!
Thank you Crystal. I’m happy to share yours as well.